Soap Scum in the Shower: A Safer Cleaning Plan
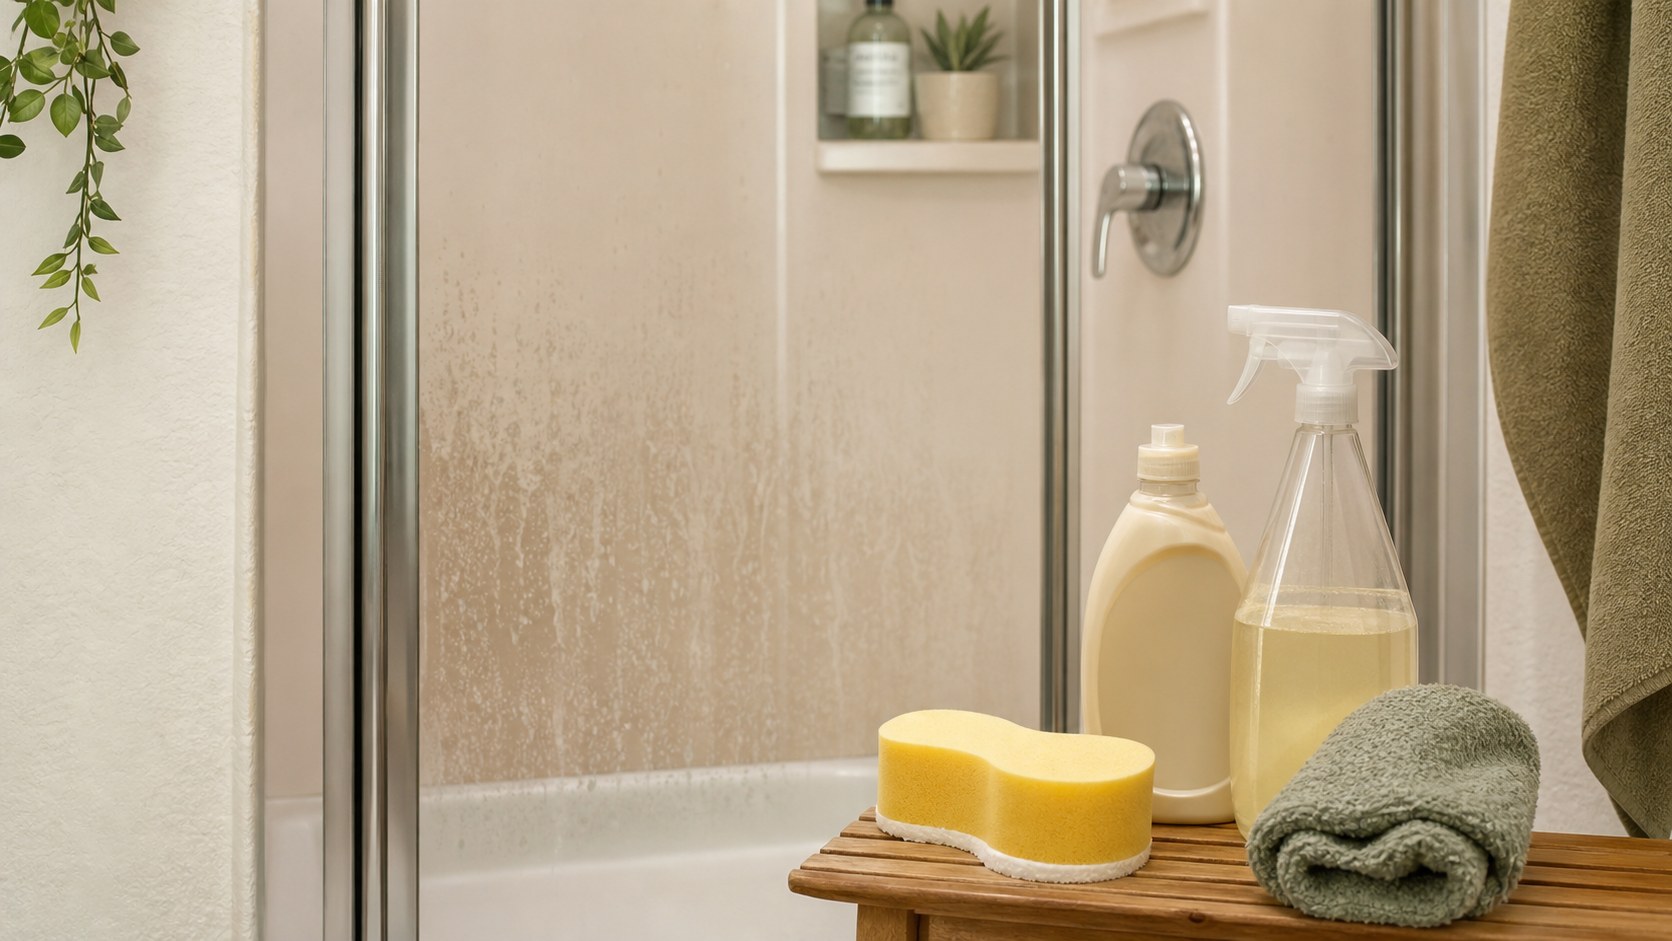
Soap scum is a cloudy or waxy film made from soap residue, body oils, and minerals left on wet shower surfaces. To remove it safely, identify whether you have glass, tile, acrylic, fiberglass, stone, or a refinished tub, then use one compatible cleaner and a non-scratch tool. Do not treat dark growth, failing caulk, or etched glass as ordinary soap scum.
By Portia Me'uan Thomas. Updated August 17, 2026. Edited for renter-aware safety.
Time: 20-45 minutes. Difficulty: Easy. Safety: Low to medium because bathroom cleaners can irritate.
Quick Answer
Ventilate the bathroom, rinse the surface, spot test a mild bathroom cleaner or dish-soap solution, let it sit briefly, wipe with a non-scratch sponge, rinse well, and dry. Do not mix bleach, ammonia, vinegar, or drain products.
Material Fit
Bathroom buildup is surface-dependent. The same acidic cleaner that helps glass can damage stone, metal finish, or failing grout.
| Material or surface | Safest first method | Conditional next method | Avoid / stop line |
|---|---|---|---|
| Glass shower door | Warm water, microfiber, then label-safe glass or bathroom cleaner. | Short dwell time only, followed by rinse and drying. | Stop for scratches, cloudy film inside glass, or loose seals. |
| Chrome or brushed metal | Mild soap and water first; dry immediately. | Use mineral remover only if the label says it is safe for that finish. | Avoid abrasive pads, long acid dwell time, and bleach mixes. |
| Acrylic / fiberglass tub or surround | Soft cloth and non-abrasive cleaner. | Repeat light passes instead of scrubbing hard. | Stop if the surface dulls, scratches, or feels soft. |
| Natural stone or unknown tile | Use pH-neutral cleaner only. | Ask maintenance before acidic cleaners. | Avoid vinegar, lime removers, and abrasive powders. |
Before You Start
- Open the door, window, or fan for ventilation.
- Read the cleaner label and use one product at a time.
- Spot test on a hidden corner, especially on acrylic or refinished tubs.
- Never mix bleach and ammonia, bleach and vinegar, or bathroom cleaner with drain cleaner.
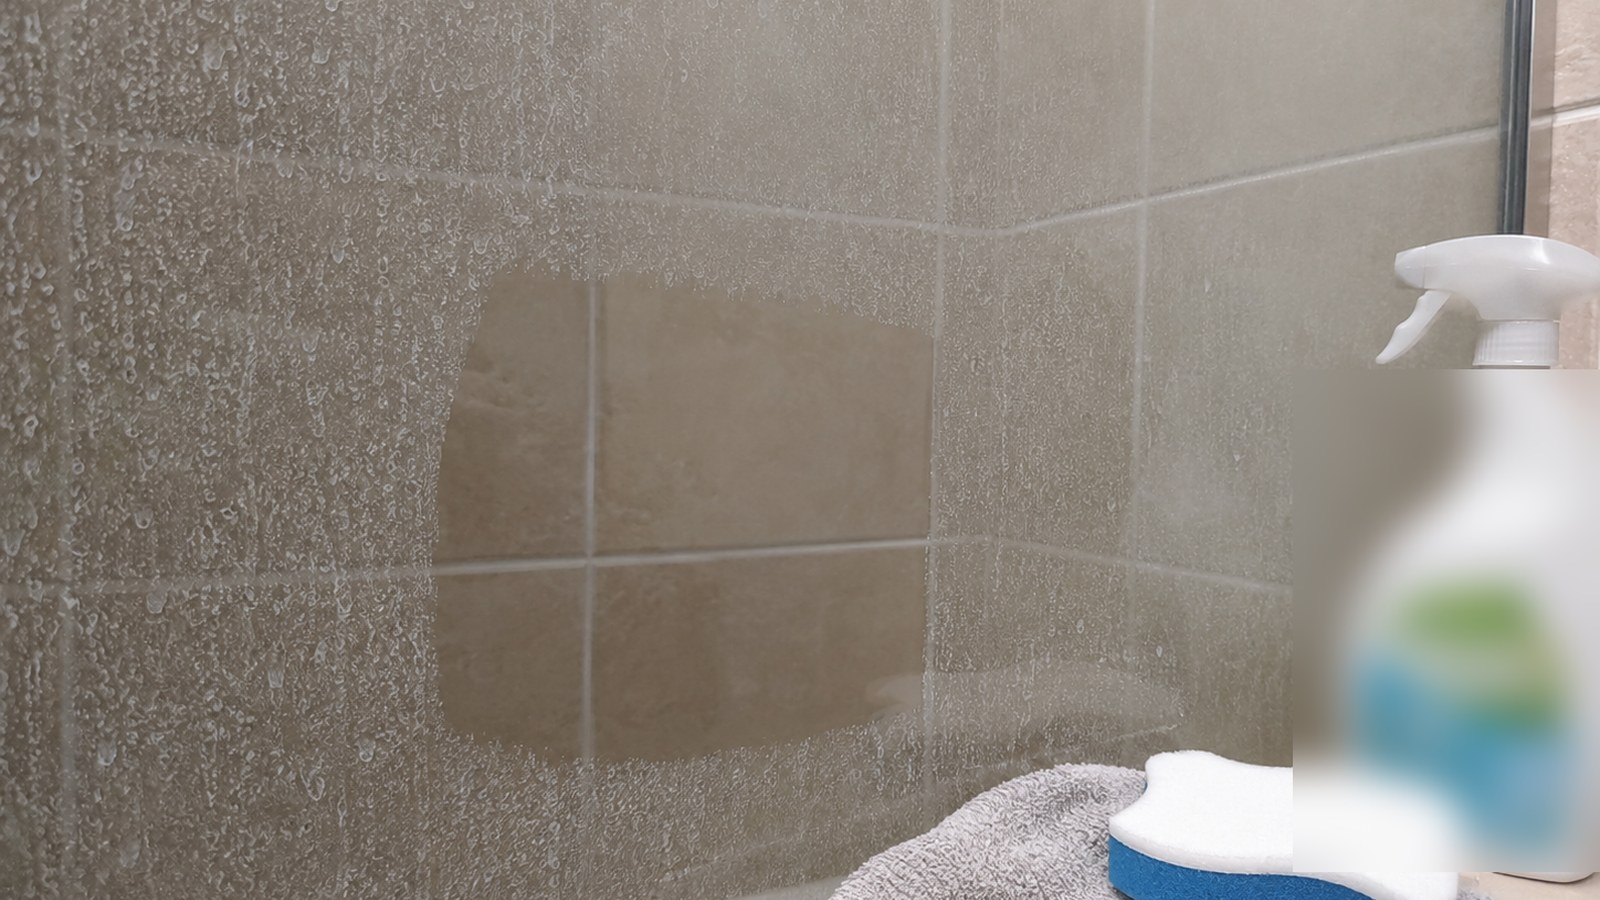
Tools Needed
- Gloves
- Non-scratch sponge
- Mild bathroom cleaner or dish soap
- Soft cloth
- Bucket or cup for rinsing
- Dry towel
Renter Notes
Use only non-scratch tools on rental tubs, tile, acrylic surrounds, and shower doors. Report cracked caulk, loose tile, leaks, or recurring dark growth instead of covering them with stronger cleaner.
Step-by-Step Guide
- Rinse the shower surface with warm water to loosen surface residue.
What I check before the next step: I use as little water as possible and check that the surface is not staying wet underneath. - Apply a small amount of mild cleaner to a sponge or cloth.
What I check before the next step: Before continuing, I confirm the step stayed dry, visible, reversible, and within the lease or my comfort level. - Let the cleaner sit briefly according to the label, without letting it dry on the surface.
What I check before the next step: I let the area dry before judging the result. A stain that looks better while wet can reappear, so I wait before adding another product. - Wipe in small sections with a non-scratch sponge.
What I check before the next step: I check the surface before I add more product: spreading, dull finish, strong odor, or lingering dampness means I stop and let the area dry. - Rinse thoroughly so cleaner and soap residue do not remain slippery.
What I check before the next step: I use as little water as possible and check that the surface is not staying wet underneath. - Dry the surface with a towel and leave ventilation running until the bathroom feels dry.
What I check before the next step: I let the area dry before judging the result. A stain that looks better while wet can reappear, so I wait before adding another product.
Safe Next Steps
- If the result improved, do one normal-use test and finish with the checklist item: Bathroom ventilated.
- If the result is mixed, stop after the listed low-risk checks and decide whether the issue belongs with maintenance, your landlord, or a licensed professional.
- If the result did not improve or got worse, do not add force, stronger chemicals, hidden disassembly, or a new tool. Contact maintenance if any stop sign appears.
- For a rental, send a short maintenance message with where the issue is, when you noticed it, what changed, what safe check you tried, and two photos. Keep the confirmation.
Common Mistakes
- Mixing cleaners to make them stronger.
- Using abrasive pads that scratch acrylic or glass.
- Forgetting to rinse the tub floor and leaving it slippery.
- Treating moldy caulk as normal soap scum.
How to Remove Soap Scum From Different Shower Surfaces
soap scum and body-oil residue on shower surfaces is treated here as a beginner observation and control problem first, not a chance to prove you can take apart the home. The safe version is visible, reversible, and easy to stop.
For renters, the important line is ownership. You can usually observe, photograph, time, clean lightly, or tighten a visible non-security part, but hidden systems, building-owned fixtures, and lease-controlled hardware belong to maintenance.
What to Check Before You Act
Record the starting condition, perform only one low-risk check at a time, and compare residue type, surface material, compatibility spot, rinse and dry result. Do not repeat a step that needs more force, chemical, height, access, or disassembly.
| Check | Before | After | Interpretation |
|---|---|---|---|
| Residue type | Record waxy film, white mineral scale, dark spots, damaged caulk, or rough etching | After one safe check: photograph and test a small wet wipe | Correct identification prevents the wrong chemistry Stop if growth, caulk failure, cracking, or unknown damage is present. |
| Surface material | Record acrylic, fiberglass, tile, stone, glass coating, grout, and metal finish | After one safe check: match the cleaner to every contacted material | The most sensitive surface sets the method Stop if material or coating is unknown. |
| Compatibility spot | Record gloss, color, texture, and cloth transfer | After one safe check: test a hidden area for the label contact time | No finish change is required Stop if surface dulls, scratches, softens, or transfers. |
| Rinse and dry result | Record film, slipperiness, odor, and water beading after rinse | After one safe check: rinse thoroughly and dry with a soft cloth | A clean non-slippery surface without residue is the target Stop if chemical odor remains or the floor stays slippery. |
Common Situations and Stop Points
| Symptom | Possible context | Safe first check | Stop point |
|---|---|---|---|
| Residue type | Correct identification prevents the wrong chemistry | photograph and test a small wet wipe | growth, caulk failure, cracking, or unknown damage is present |
| Surface material | The most sensitive surface sets the method | match the cleaner to every contacted material | material or coating is unknown |
| Compatibility spot | No finish change is required | test a hidden area for the label contact time | surface dulls, scratches, softens, or transfers |
| Rinse and dry result | A clean non-slippery surface without residue is the target | rinse thoroughly and dry with a soft cloth | chemical odor remains or the floor stays slippery |
Try It or Report It?
| Situation | Beginner can try | Do not touch | Contact |
|---|---|---|---|
| Observe and document | Identify residue and every surface material first. Ventilate and use one label-approved mild product. | Hidden, fixed, energized, pressurized, structural, or lease-controlled parts | Use the record if the baseline is abnormal |
| One reversible first step | Test a hidden area and use a soft non-scratch tool. Rinse fully, dry, and check for slipperiness. | Anything that needs force, drilling, cutting, panel removal, or mixed chemicals | Maintenance if the first step fails or the condition returns |
| Condition persists | Repeat the observation for residue type and surface material, not the repair | Do not escalate tools or improvise a workaround | Landlord, maintenance, manufacturer support, or the responsible professional |
| Warning sign appears | Stop, keep distance, and photograph only if that is safe | Stop before mixing cleaners or layering unknown prior products. Stop for natural stone or specialty coatings without confirmed guidance. Stop for mold-like growth, damaged grout, loose tile, or failing caulk. | Urgent maintenance, utility, emergency services, or another appropriate safety channel |
Renter-Safe First Steps
- Identify residue and every surface material first.
- Ventilate and use one label-approved mild product.
- Test a hidden area and use a soft non-scratch tool.
- Rinse fully, dry, and check for slipperiness.
Stop Lines
- Stop before mixing cleaners or layering unknown prior products.
- Stop for natural stone or specialty coatings without confirmed guidance.
- Stop for mold-like growth, damaged grout, loose tile, or failing caulk.
- Stop if the surface dulls, scratches, softens, or changes color.
- Stop if ventilation is inadequate or fumes cause discomfort.
Additional FAQ
How do I remove built-up soap scum without scratching?
Work in small sections with one surface-compatible cleaner, the label contact time, and a non-scratch sponge. Rinse fully between passes and stop if stronger force would be needed.
How can I prevent soap scum buildup?
Rinse visible residue, dry wet surfaces when practical, improve ventilation, and use a light regular cleaning routine instead of waiting for a heavy layer.
How can I tell soap scum from hard-water scale?
Soap scum often feels waxy or greasy; mineral deposits are usually chalkier. They can overlap, so start with the gentlest compatible method.
Can I mix two cleaners for stubborn buildup?
No. Rinse away one product completely and follow label guidance; never mix household cleaners.
What should I include in a maintenance message?
Include the exact location, when it started, photos, the residue type and surface material and compatibility spot and rinse and dry result, what safe check you performed, and whether the condition improved, stayed the same, or worsened.
Related Next Steps
- Hard Water Stains on Faucets and Shower Glass - Use the mineral-specific compatibility test.
- Bathroom Mold Spots: Clean, Document, or Report? - Escalate recurring growth and moisture problems.
- Simple Weekly Cleaning Routine for a First Apartment - Use lighter regular cleaning to prevent heavy buildup.
What Not to Do
- Do not mix bleach and ammonia or any unknown cleaners.
- Do not scrape shower glass, tile, or tub finish with metal tools.
- Do not remove caulk or grout as a beginner cleaning task.
- Do not stand on tub edges or toilets to reach high areas.
When to Pause and Ask for Help
Contact maintenance if you see cracked grout, failing caulk, loose tile, active leaks, soft walls, recurring mold, or buildup in an area you cannot reach safely without a ladder.
FAQ
Is vinegar good for soap scum?
It can help on some surfaces, but avoid it on natural stone and never combine it with bleach.
What causes soap scum in a shower?
Soap residue, body oils, hard-water minerals, poor rinsing, and surfaces that stay wet all help the film build up.
Can I use a magic sponge?
Use caution. It can dull finishes, so spot test and use light pressure only.
What if the black spots are in caulk?
Treat that as possible mold or failed caulk and contact maintenance if it is recurring or widespread.
Final Checklist
- Bathroom ventilated
- One cleaner used
- Spot test completed
- Non-scratch tool used
- Surface rinsed well
- Tub floor not slippery
- Leaks or mold reported
You May Also Like
More beginner-safe guides that connect to this repair, the same room, or the next safety decision a renter may need.
- Bathroom Mold Spots: Clean, Document, or Report? - Handle small bathroom mold spots with ventilation, protective gear, and clear renter stop points.
- Hard Water Stains on Faucets and Shower Glass - Remove light mineral spots from faucets and shower glass without scratching finishes or mixing chemicals.
- Slow Shower Drain: Safe Hair and Soap Buildup Cleanup - Clear hair and soap buildup from a slow shower drain without harsh chemicals or pipe damage.
- Simple Weekly Cleaning Routine for a First Apartment - Create a realistic weekly cleaning routine for a first apartment without turning it into a full-day project.
- Coffee on Carpet: Blot, Test, and Stop Before Damage - Blot a fresh or recent coffee stain from carpet with gentle, renter-safe steps and clear stop points.
- Grease on Kitchen Walls: Gentle Cleaning for Painted Surfaces - Learn how to clean grease off painted kitchen walls with a gentle spot test, minimal moisture, and stop points that protect rental finishes.
- Sticky Residue on Rental Surfaces: Gentle Removal Tests - Lift tape, label, and mystery sticky residue with spot tests that protect rental finishes.
- Patio Door Track Cleaning Without Removing the Door - Clean dirt from a sliding patio door track without removing the door or damaging rental hardware.