Hard Water Stains on Faucets and Shower Glass
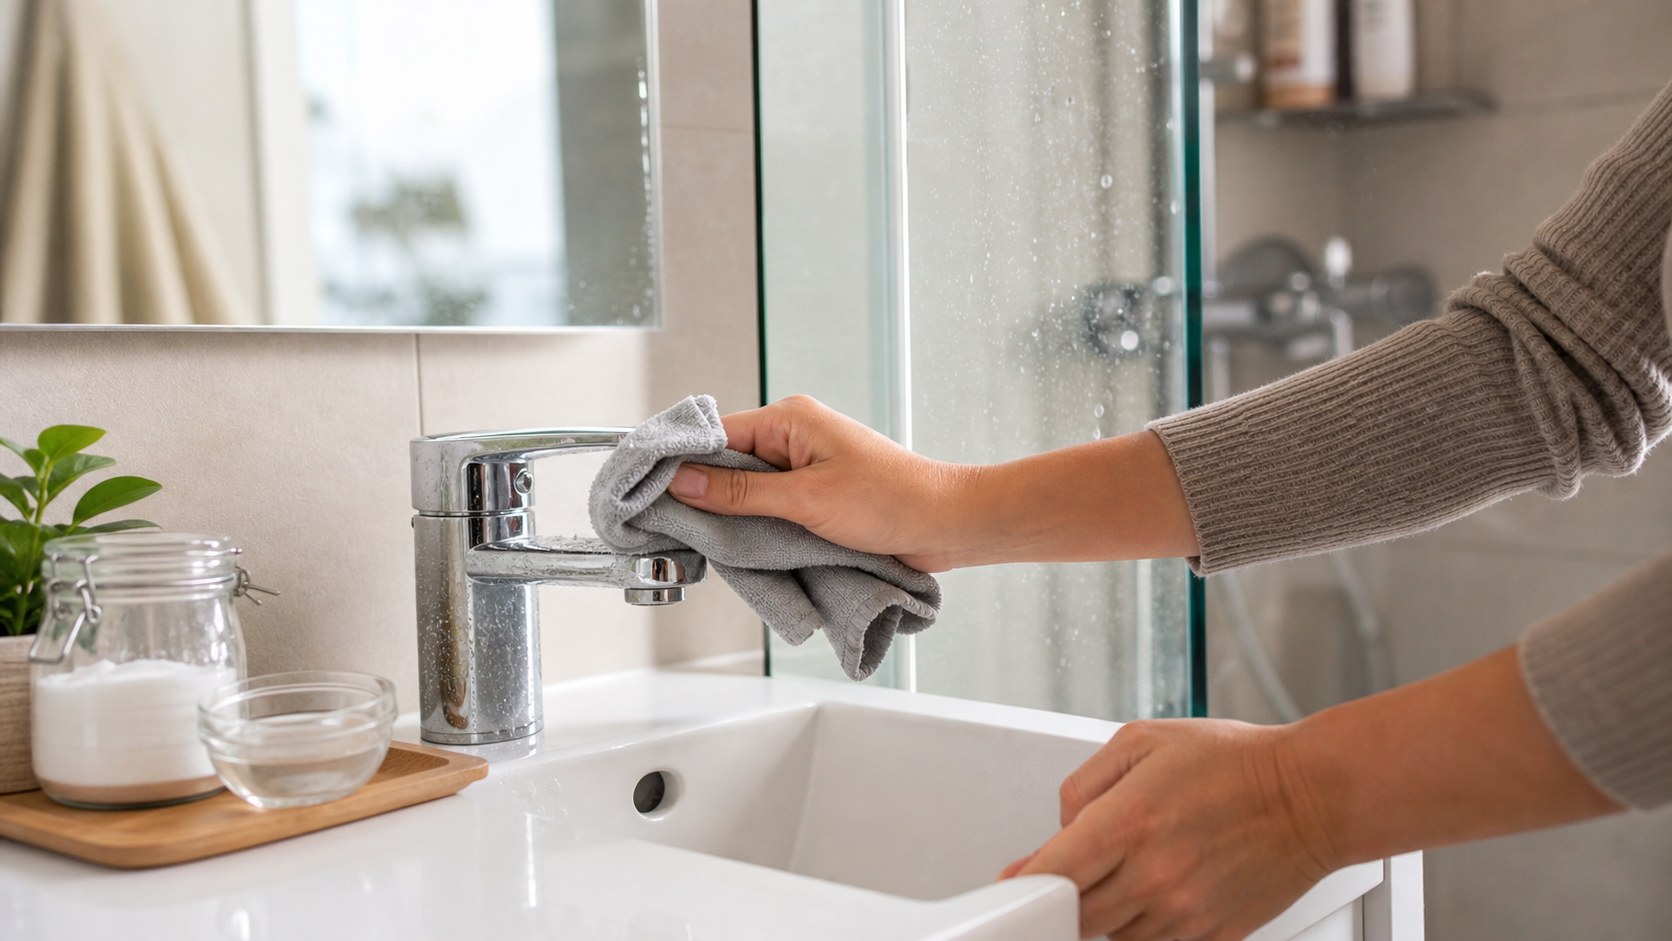
Use this for cloudy spots on chrome faucets, shower glass, or tile caused by mineral deposits. This guide is for visible surface buildup, not damaged plating, leaking fixtures, or deep etching in glass.
By Portia Me'uan Thomas. Updated August 17, 2026. Edited for renter-aware safety.
Time: 15-25 minutes. Difficulty: Easy. Safety: Low with ventilation.
Quick Answer
Wipe loose dirt away, spot test a mild vinegar-and-water solution on the surface, let it sit briefly on mineral spots, wipe with a soft cloth, rinse well, and dry. Avoid abrasive pads and never mix vinegar with bleach.
Material Fit
Bathroom buildup is surface-dependent. The same acidic cleaner that helps glass can damage stone, metal finish, or failing grout.
| Material or surface | Safest first method | Conditional next method | Avoid / stop line |
|---|---|---|---|
| Glass shower door | Warm water, microfiber, then label-safe glass or bathroom cleaner. | Short dwell time only, followed by rinse and drying. | Stop for scratches, cloudy film inside glass, or loose seals. |
| Chrome or brushed metal | Mild soap and water first; dry immediately. | Use mineral remover only if the label says it is safe for that finish. | Avoid abrasive pads, long acid dwell time, and bleach mixes. |
| Acrylic / fiberglass tub or surround | Soft cloth and non-abrasive cleaner. | Repeat light passes instead of scrubbing hard. | Stop if the surface dulls, scratches, or feels soft. |
| Natural stone or unknown tile | Use pH-neutral cleaner only. | Ask maintenance before acidic cleaners. | Avoid vinegar, lime removers, and abrasive powders. |
Before You Start
- Check whether the surface is natural stone, brass, oil-rubbed bronze, or another finish that may not tolerate vinegar.
- Open the bathroom door or window for ventilation.
- Spot test on a hidden edge before treating the whole fixture or glass panel.
- Do not use vinegar near bleach or any bleach-containing bathroom cleaner.
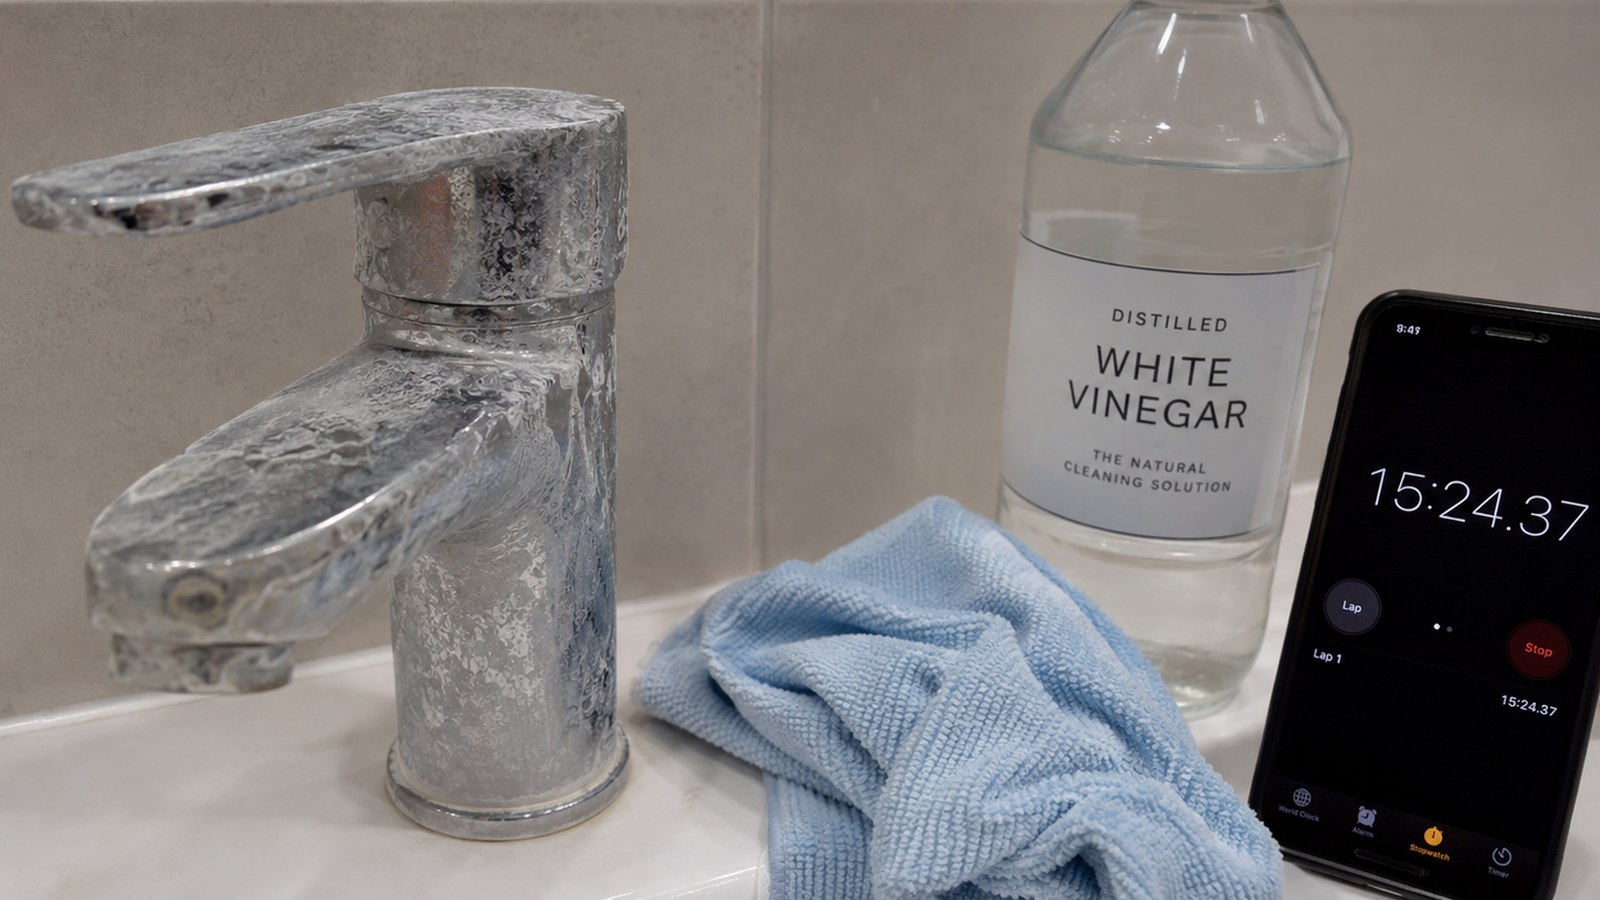
Tools Needed
- White vinegar
- Water
- Soft cloths
- Spray bottle or bowl
- Old toothbrush for grout edges
- Dry towel
- Gloves
Renter Notes
Some fixture finishes are delicate. Spot test first, keep vinegar away from natural stone, and report damaged plating or leaking fixtures instead of trying to polish them back.
Step-by-Step Guide
- Rinse or wipe the surface to remove grit that could scratch.
What I check before the next step: I use as little water as possible and check that the surface is not staying wet underneath. - Mix equal parts white vinegar and water.
What I check before the next step: I keep the mix weak and controlled, then apply it to a cloth rather than pouring it on the surface. - Apply the solution to a cloth rather than spraying near seams, electronics, or hardware gaps.
What I check before the next step: Before continuing, I confirm the step stayed dry, visible, reversible, and within the lease or my comfort level. - Hold the damp cloth on the mineral spot for a few minutes.
What I check before the next step: I use as little water as possible and check that the surface is not staying wet underneath. - Wipe gently, using a soft toothbrush only on sturdy edges or grout lines.
What I check before the next step: I check the surface before I add more product: spreading, dull finish, strong odor, or lingering dampness means I stop and let the area dry. - Rinse with plain water and dry the surface completely to prevent new spots.
What I check before the next step: I let the area dry before judging the result. A stain that looks better while wet can reappear, so I wait before adding another product.
Safe Next Steps
- If the result improved, do one normal-use test and finish with the checklist item: Surface identified.
- If the result is mixed, stop after the listed low-risk checks and decide whether the issue belongs with maintenance, your landlord, or a licensed professional.
- If the result did not improve or got worse, do not add force, stronger chemicals, hidden disassembly, or a new tool. Contact maintenance if any stop sign appears.
- For a rental, send a short maintenance message with where the issue is, when you noticed it, what changed, what safe check you tried, and two photos. Keep the confirmation.
Common Mistakes
- Using abrasive pads on shower glass or plated faucets.
- Leaving vinegar on finishes too long.
- Treating natural stone with acidic cleaner.
- Mixing vinegar with bleach-based cleaners.
Mineral deposit surface test
hard-water mineral deposits on faucets or shower glass is treated here as a beginner observation and control problem first, not a chance to prove you can take apart the home. The safe version is visible, reversible, and easy to stop.
For renters, the important line is ownership. You can usually observe, photograph, time, clean lightly, or tighten a visible non-security part, but hidden systems, building-owned fixtures, and lease-controlled hardware belong to maintenance.
What to Check Before You Act
Record the starting condition, perform only one low-risk check at a time, and compare material identification, deposit versus damage, compatibility spot, deposit release. Do not repeat a step that needs more force, chemical, height, access, or disassembly.
| Check | Before | After | Interpretation |
|---|---|---|---|
| Material identification | Record glass coating, faucet finish, stone, grout, caulk, and manufacturer instructions | After one safe check: identify every surface the product could touch | Compatibility depends on the most sensitive nearby material Stop if the finish or coating is unknown. |
| Deposit versus damage | Record white scale, pitting, flaking finish, corrosion, cracks, and leaks | After one safe check: photograph and feel only a dry safe edge lightly | Mineral film can be cleaned; corrosion and coating failure cannot Stop if metal is pitted, finish flakes, glass is cracked, or a leak is active. |
| Compatibility spot | Record color, gloss, texture, and residue after a short label-approved contact | After one safe check: test a tiny hidden area and rinse fully | No material change is required before continuing Stop if surface darkens, dulls, etches, or softens. |
| Deposit release | Record scale reduction after one gentle pass | After one safe check: repeat only within product contact-time limits | Gradual release is safer than aggressive scraping Stop if force, blades, or repeated chemical exposure would be needed. |
Common Situations and Stop Points
| Symptom | Possible context | Safe first check | Stop point |
|---|---|---|---|
| Material identification | Compatibility depends on the most sensitive nearby material | identify every surface the product could touch | the finish or coating is unknown |
| Deposit versus damage | Mineral film can be cleaned; corrosion and coating failure cannot | photograph and feel only a dry safe edge lightly | metal is pitted, finish flakes, glass is cracked, or a leak is active |
| Compatibility spot | No material change is required before continuing | test a tiny hidden area and rinse fully | surface darkens, dulls, etches, or softens |
| Deposit release | Gradual release is safer than aggressive scraping | repeat only within product contact-time limits | force, blades, or repeated chemical exposure would be needed |
Try It or Report It?
| Situation | Beginner can try | Do not touch | Contact |
|---|---|---|---|
| Observe and document | Identify faucet finish, glass coating, stone, grout, and seals. Separate mineral film from corrosion or damaged coating. | Hidden, fixed, energized, pressurized, structural, or lease-controlled parts | Use the record if the baseline is abnormal |
| One reversible first step | Test one compatible product in a hidden area. Use short contact time, gentle wiping, full rinsing, and drying. | Anything that needs force, drilling, cutting, panel removal, or mixed chemicals | Maintenance if the first step fails or the condition returns |
| Condition persists | Repeat the observation for material identification and deposit versus damage, not the repair | Do not escalate tools or improvise a workaround | Landlord, maintenance, manufacturer support, or the responsible professional |
| Warning sign appears | Stop, keep distance, and photograph only if that is safe | Stop when the surface or coating is unknown. Stop for cracked glass, corrosion, flaking finish, or active leaks. Stop if the test dulls, darkens, etches, or softens material. | Urgent maintenance, utility, emergency services, or another appropriate safety channel |
Renter-Safe First Steps
- Identify faucet finish, glass coating, stone, grout, and seals.
- Separate mineral film from corrosion or damaged coating.
- Test one compatible product in a hidden area.
- Use short contact time, gentle wiping, full rinsing, and drying.
Stop Lines
- Stop when the surface or coating is unknown.
- Stop for cracked glass, corrosion, flaking finish, or active leaks.
- Stop if the test dulls, darkens, etches, or softens material.
- Stop before mixing acids, bleach, or other cleaners.
- Stop before razor blades, metal tools, or aggressive abrasives.
Additional FAQ
Is vinegar safe on every faucet?
No. Some finishes and nearby stone or grout can be damaged. Check manufacturer guidance and test first.
Why did the white mark remain?
It may be etched glass, damaged coating, or corrosion rather than removable scale. Stop escalating and document it.
What should I include in a maintenance message?
Include the exact location, when it started, photos, the material identification and deposit versus damage and compatibility spot and deposit release, what safe check you performed, and whether the condition improved, stayed the same, or worsened.
Related Next Steps
- Apartment Showerhead Replacement: The Renter-Safe Version - Check whether deposits, not hardware failure, caused poor spray.
- Soap Scum in the Shower: A Safer Cleaning Plan - Separate mineral scale from soap residue.
- Under-Sink Leak Check: What to Look For Before Touching Plumbing - Report any active fixture leak rather than cleaning around it.
What Not to Do
- Do not mix vinegar and bleach.
- Do not scrape glass or faucets with razor blades as a beginner rental task.
- Do not remove shower-door hardware to clean mineral spots.
- Do not ignore mineral buildup that comes with leaking or dripping fixtures.
When to Pause and Ask for Help
Contact maintenance if the faucet leaks, finish is peeling, shower glass is etched or cracked, mineral buildup returns immediately because of a drip, or the surface may be natural stone that needs special care.
FAQ
Can vinegar damage faucets?
It can damage some finishes if too strong or left too long. Spot test and rinse promptly.
What if the spots do not come off?
They may be etched into glass or built up over time. Avoid aggressive scraping and ask maintenance about approved cleaning.
Can I use toilet bowl cleaner on hard water stains?
No. It is too harsh for faucets and shower glass and can damage finishes.
How do I slow hard water spots?
Dry faucets and shower glass after use when practical, especially in areas with heavy mineral water.
Final Checklist
- Surface identified
- Ventilation opened
- Spot test passed
- Mild solution used
- Surface rinsed
- Surface dried
- Leaks reported
You May Also Like
More beginner-safe guides that connect to this repair, the same room, or the next safety decision a renter may need.
- Soap Scum in the Shower: A Safer Cleaning Plan - Learn how to remove soap scum from shower glass, tile, acrylic, or tubs with one compatible cleaner, gentle tools, and a thorough rinse.
- Apartment Showerhead Replacement: The Renter-Safe Version - Find out whether renters can replace an apartment showerhead, how to ask permission, save the original part, and avoid damaging wall plumbing.
- Simple Weekly Cleaning Routine for a First Apartment - Create a realistic weekly cleaning routine for a first apartment without turning it into a full-day project.
- Slow Shower Drain: Safe Hair and Soap Buildup Cleanup - Clear hair and soap buildup from a slow shower drain without harsh chemicals or pipe damage.
- Coffee on Carpet: Blot, Test, and Stop Before Damage - Blot a fresh or recent coffee stain from carpet with gentle, renter-safe steps and clear stop points.
- Grease on Kitchen Walls: Gentle Cleaning for Painted Surfaces - Learn how to clean grease off painted kitchen walls with a gentle spot test, minimal moisture, and stop points that protect rental finishes.
- Bathroom Mold Spots: Clean, Document, or Report? - Handle small bathroom mold spots with ventilation, protective gear, and clear renter stop points.
- Sticky Residue on Rental Surfaces: Gentle Removal Tests - Lift tape, label, and mystery sticky residue with spot tests that protect rental finishes.