Patio Door Track Cleaning Without Removing the Door
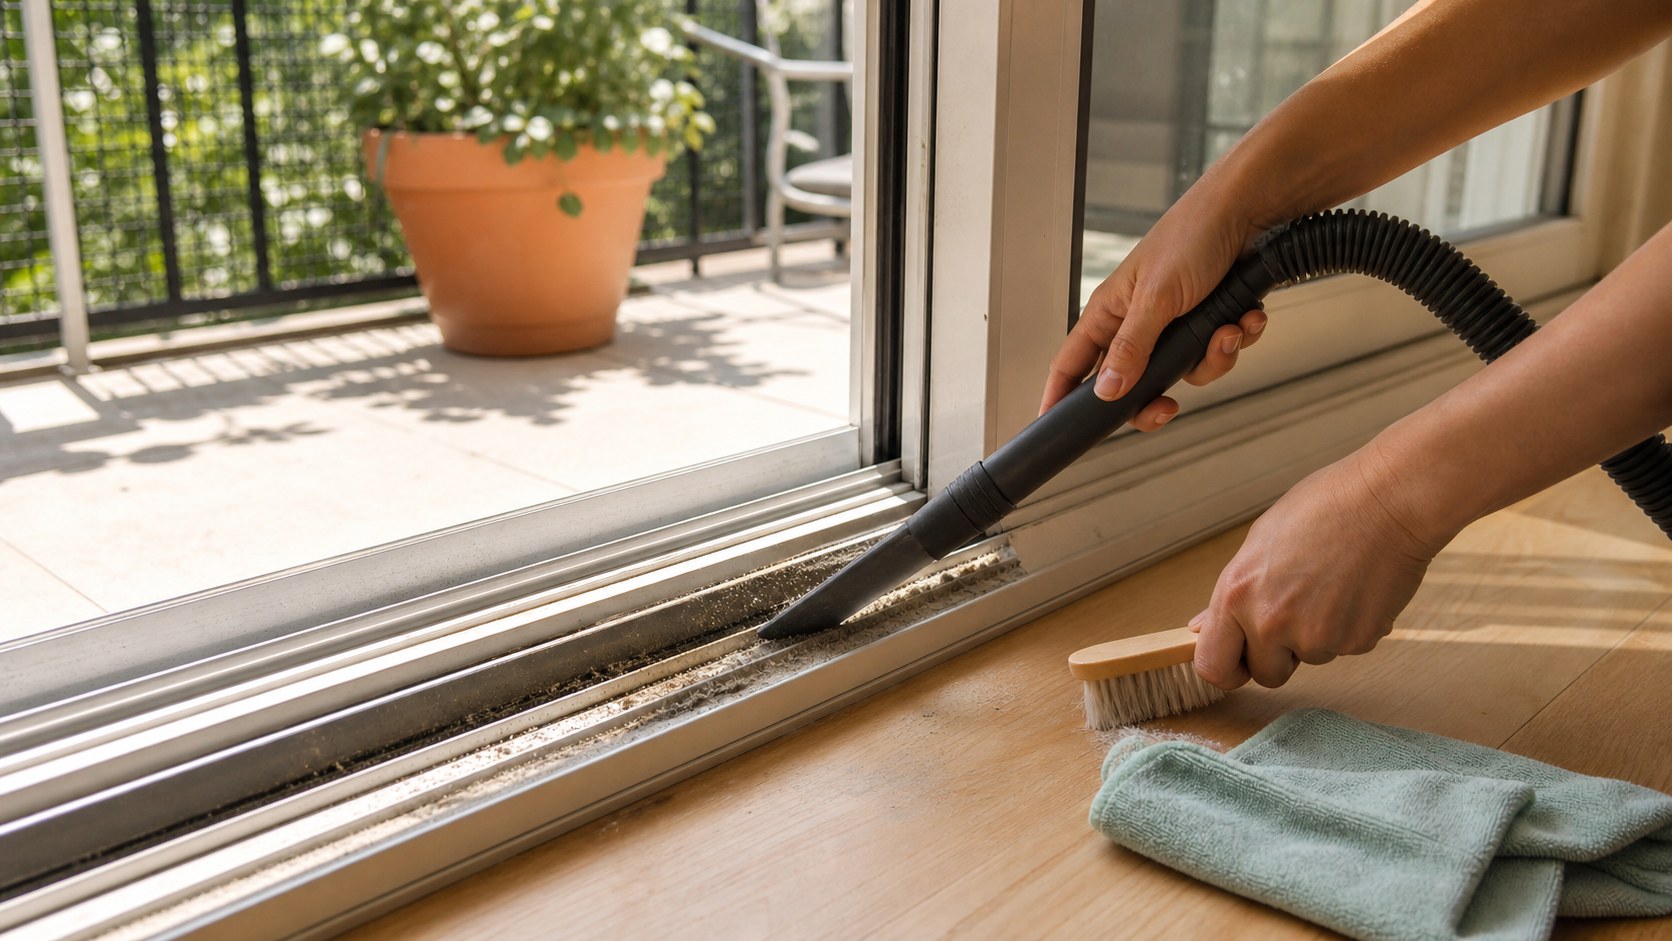
Use this when a sliding patio or balcony door track is gritty, dusty, or sticky but the door still moves and locks. This is track cleaning only, not door removal, roller repair, lock repair, or exterior structural work.
By Portia Me'uan Thomas. Updated August 17, 2026. Edited for renter-aware safety.
Time: 15-30 minutes. Difficulty: Easy. Safety: Low.
Quick Answer
Vacuum loose debris, loosen dirt with a soft brush, wipe the track with mild soapy water, dry it well, and test the door gently. Do not remove the sliding door, force a stuck door, or spray lubricant without approval.
Material Fit
Hardware and setup tasks depend on what the screw or load is biting into. When the material is unknown, I stop before drilling or anchoring.
| Material or surface | Safest first method | Conditional next method | Avoid / stop line |
|---|---|---|---|
| Solid wood or sturdy cabinet face | Hand-tighten visible screws a quarter-turn at a time. | Use normal-use testing before adding load. | Stop for splitting, spinning screws, or shifting alignment. |
| Particleboard / MDF furniture | Gentle cam-lock or screw adjustment only. | Unload shelves before testing. | Avoid over-tightening; it can crumble the material. |
| Drywall or plaster wall | Use removable or approved methods first. | Anchors only with landlord approval and correct hardware. | Stop if the wall crumbles, flexes, or hides utilities. |
| Tile, brick, metal frame, entry door | Document and request approval or maintenance. | Professional installation may be needed. | Do not drill or modify without written permission. |
Before You Start
- Keep the door stable and do not lift it out of the track.
- Check for insects, broken glass, sharp metal, or water damage before cleaning.
- Spot test any cleaner on nearby frame finish.
- Do not use a ladder or lean outside to clean exterior tracks.
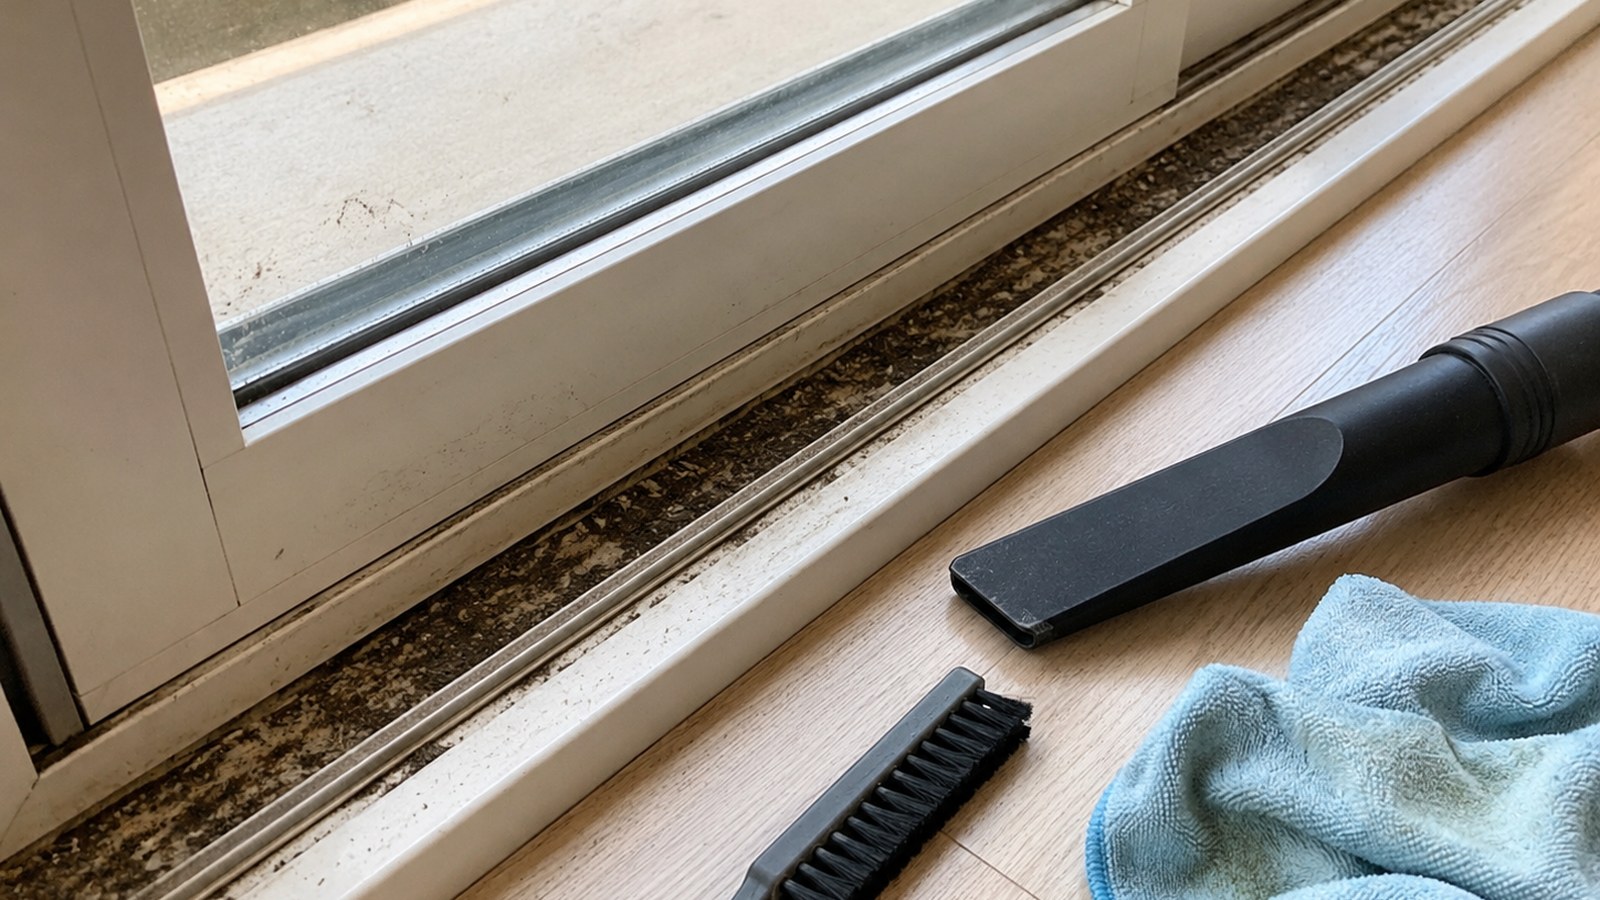
Tools Needed
- Vacuum with crevice tool
- Soft brush or old toothbrush
- Mild dish soap
- Small bowl of water
- Microfiber cloths
- Dry towel
Renter Notes
Sliding doors, rollers, locks, and weather seals are usually property-owned. Clean visible dirt, but report sticking, broken locks, damaged screens, leaks, or gaps to maintenance.
Step-by-Step Guide
- Open the door only enough to reach the visible track safely.
What I check before the next step: I keep the door or window from trapping me while testing. Entry locks, broken latches, cracked frames, or security uncertainty belong with maintenance or a locksmith. - Vacuum loose dirt, leaves, and grit with a crevice tool.
What I check before the next step: Before continuing, I confirm the step stayed dry, visible, reversible, and within the lease or my comfort level. - Brush corners gently to loosen stuck debris.
What I check before the next step: Before continuing, I confirm the step stayed dry, visible, reversible, and within the lease or my comfort level. - Wipe the track with a lightly damp soapy cloth.
What I check before the next step: I keep the mix weak and controlled, then apply it to a cloth rather than pouring it on the surface. - Wipe again with plain water, then dry the track completely.
What I check before the next step: I use as little water as possible and check that the surface is not staying wet underneath. - Slide the door gently and report sticking, grinding, lock problems, or water entering the track.
What I check before the next step: I let the area dry before judging the result. A stain that looks better while wet can reappear, so I wait before adding another product.
Safe Next Steps
- If the result improved, do one normal-use test and finish with the checklist item: Door not removed.
- If the result is mixed, stop after the listed low-risk checks and decide whether the issue belongs with maintenance, your landlord, or a licensed professional.
- If the result did not improve or got worse, do not add force, stronger chemicals, hidden disassembly, or a new tool. Contact maintenance if any stop sign appears.
- For a rental, send a short maintenance message with where the issue is, when you noticed it, what changed, what safe check you tried, and two photos. Keep the confirmation.
Common Mistakes
- Flooding the track and sending water into flooring.
- Forcing a stuck sliding door.
- Using oily lubricant that attracts more dirt.
- Removing screws or rollers to clean deeper.
Sliding door track debris cleanup
dirt and debris in a patio or balcony sliding-door track is treated here as a beginner observation and control problem first, not a chance to prove you can take apart the home. The safe version is visible, reversible, and easy to stop.
For renters, the important line is ownership. You can usually observe, photograph, time, clean lightly, or tighten a visible non-security part, but hidden systems, building-owned fixtures, and lease-controlled hardware belong to maintenance.
What to Check Before You Act
Record the starting condition, perform only one low-risk check at a time, and compare door safety, debris pattern, drainage openings, after-clean movement. Do not repeat a step that needs more force, chemical, height, access, or disassembly.
| Check | Before | After | Interpretation |
|---|---|---|---|
| Door safety | Record glass cracks, lock function, frame alignment, weight, and track seating | After one safe check: operate once slowly while staying inside | An intact seated locking door supports surface cleaning Stop if glass is damaged or the door lifts, derails, jams, or will not lock. |
| Debris pattern | Record loose grit, hair, sticky residue, corrosion, and object in the track | After one safe check: photograph and vacuum loose material with a narrow non-scratching tool | Loose debris should reduce without disassembly Stop if an object is under the roller or requires prying. |
| Drainage openings | Record visible weep holes, standing water, staining, and exterior path | After one safe check: keep visible openings free of loose surface debris | Open drainage should not be sealed or flooded Stop if standing water persists or access requires exterior work. |
| After-clean movement | Record sound, resistance, alignment, and lock engagement | After one safe check: slide and lock once after the dry track is clear | Smoother normal movement suggests debris was involved Stop if resistance, grinding, lift, or lock failure remains. |
Common Situations and Stop Points
| Symptom | Possible context | Safe first check | Stop point |
|---|---|---|---|
| Door safety | An intact seated locking door supports surface cleaning | operate once slowly while staying inside | glass is damaged or the door lifts, derails, jams, or will not lock |
| Debris pattern | Loose debris should reduce without disassembly | photograph and vacuum loose material with a narrow non-scratching tool | an object is under the roller or requires prying |
| Drainage openings | Open drainage should not be sealed or flooded | keep visible openings free of loose surface debris | standing water persists or access requires exterior work |
| After-clean movement | Smoother normal movement suggests debris was involved | slide and lock once after the dry track is clear | resistance, grinding, lift, or lock failure remains |
Try It or Report It?
| Situation | Beginner can try | Do not touch | Contact |
|---|---|---|---|
| Observe and document | Keep the door installed, seated, and supported. Photograph track, lock, and visible drainage first. | Hidden, fixed, energized, pressurized, structural, or lease-controlled parts | Use the record if the baseline is abnormal |
| One reversible first step | Vacuum loose debris and wipe the interior track with minimal compatible moisture. Dry fully, then test sliding and locking once. | Anything that needs force, drilling, cutting, panel removal, or mixed chemicals | Maintenance if the first step fails or the condition returns |
| Condition persists | Repeat the observation for door safety and debris pattern, not the repair | Do not escalate tools or improvise a workaround | Landlord, maintenance, manufacturer support, or the responsible professional |
| Warning sign appears | Stop, keep distance, and photograph only if that is safe | Stop before lifting, removing, or adjusting the sliding door or rollers. Stop for cracked glass, derailment, grinding, or lock failure. Stop before leaning outside or performing exterior work. | Urgent maintenance, utility, emergency services, or another appropriate safety channel |
Renter-Safe First Steps
- Keep the door installed, seated, and supported.
- Photograph track, lock, and visible drainage first.
- Vacuum loose debris and wipe the interior track with minimal compatible moisture.
- Dry fully, then test sliding and locking once.
Stop Lines
- Stop before lifting, removing, or adjusting the sliding door or rollers.
- Stop for cracked glass, derailment, grinding, or lock failure.
- Stop before leaning outside or performing exterior work.
- Stop before blocking weep holes or flooding the track.
- Stop for persistent standing water, corrosion, or frame damage.
Additional FAQ
Should I lubricate the track?
Check the door manufacturer or maintenance guidance. The wrong lubricant can attract dirt, affect rollers, or create a slip hazard.
What if the door is still hard to move?
Stop after surface debris is removed. Rollers, alignment, frame, and heavy door work belong to maintenance.
What should I include in a maintenance message?
Include the exact location, when it started, photos, the door safety and debris pattern and drainage openings and after-clean movement, what safe check you performed, and whether the condition improved, stayed the same, or worsened.
Related Next Steps
- Apartment Balcony Cleaning and Safety Check - Keep balcony debris and drainage under control.
- Sticky Apartment Door: Find the Rub Before You Force It - Use the alignment documentation method for a binding door.
- Front Door Security Check for Renters - Treat lock failure as a security issue.
What Not to Do
- Do not remove the sliding door.
- Do not disassemble locks, rollers, or weather stripping.
- Do not use metal tools that scratch the track.
- Do not work from outside at height or from a balcony edge.
When to Pause and Ask for Help
Contact maintenance if the door is hard to move, does not lock, has broken glass or screen damage, leaks during rain, grinds loudly, jumps the track, or the frame looks bent.
FAQ
Can I use lubricant?
Avoid oil unless the door manual or maintenance recommends it. Dirt can stick to oily tracks.
Why does the door still stick after cleaning?
Rollers, alignment, frame damage, or a worn track may need maintenance.
Can I remove the door to clean under it?
No. Sliding doors are heavy and easy to damage or drop.
What if bugs are in the track?
Clean visible debris and report recurring pests or gaps to maintenance.
Final Checklist
- Door not removed
- Loose dirt vacuumed
- Track brushed gently
- Light soap wipe completed
- Track dried
- Lock and movement checked
- Maintenance contacted for sticking or leaks
You May Also Like
More beginner-safe guides that connect to this repair, the same room, or the next safety decision a renter may need.
- Apartment Balcony Cleaning and Safety Check - Keep an apartment balcony clean and safe with dry sweeping, secured loose items, visible drainage, and no-ladder renter-friendly checks.
- Stop Dirt at the Door: First-Apartment Entry Setup - Reduce entryway dirt with renter-safe mats, shoe habits, and simple cleaning routines.
- Drafty Apartment Window: Renter-Safe First Fixes - Reduce cold window drafts with removable renter-friendly steps before asking maintenance for repair.
- Pest Evidence in a Rental: Where to Check First - Look for early pest evidence in a rental apartment and report it before the problem spreads.
- Coffee on Carpet: Blot, Test, and Stop Before Damage - Blot a fresh or recent coffee stain from carpet with gentle, renter-safe steps and clear stop points.
- Simple Weekly Cleaning Routine for a First Apartment - Create a realistic weekly cleaning routine for a first apartment without turning it into a full-day project.
- Soap Scum in the Shower: A Safer Cleaning Plan - Learn how to remove soap scum from shower glass, tile, acrylic, or tubs with one compatible cleaner, gentle tools, and a thorough rinse.
- Grease on Kitchen Walls: Gentle Cleaning for Painted Surfaces - Learn how to clean grease off painted kitchen walls with a gentle spot test, minimal moisture, and stop points that protect rental finishes.