Stovetop Burn Marks: Safe Cleaning After the Surface Cools
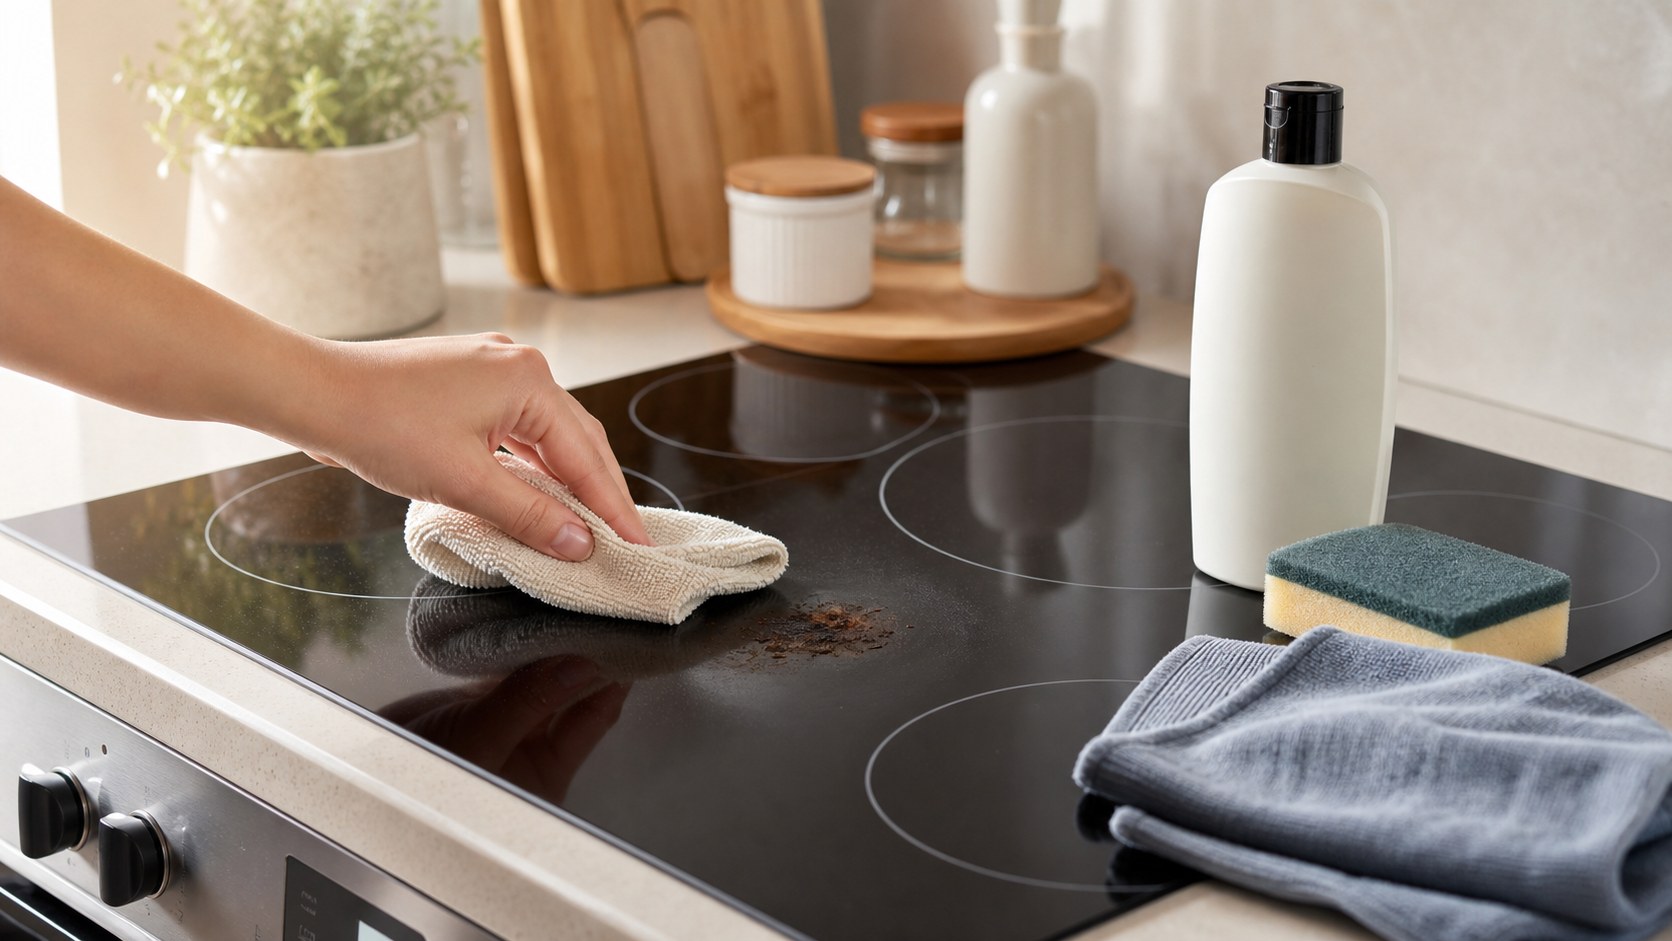
Use this when a stovetop has light burn marks, cooked-on food, or cloudy residue after cooking. This is surface cleaning only, not burner repair, gas work, or electrical appliance troubleshooting.
By Portia Me'uan Thomas. Updated August 17, 2026. Edited for renter-aware safety.
Time: 20-40 minutes. Difficulty: Easy. Safety: Low for cool surfaces.
Quick Answer
Let the stovetop cool completely, remove loose crumbs, spot test a cleaner approved for your stovetop type, soften the residue, wipe with a non-scratch sponge, rinse, and dry. Stop for cracks, gas smell, sparking, or burner problems.
Material Fit
Kitchen surfaces fail in different ways: paint lifts, stainless scratches, glass cracks, and hood parts can hide electrical risk.
| Material or surface | Safest first method | Conditional next method | Avoid / stop line |
|---|---|---|---|
| Painted wall | Dish soap on a damp cloth, then plain-water wipe. | Repeat after drying if paint stays stable. | Stop if paint transfers, bubbles, or feels tacky. |
| Tile backsplash | Warm soapy water and a soft brush on grout only if grout is solid. | Degreaser only if labeled for tile and grout. | Avoid soaking outlets, cracked grout, and switch plates. |
| Stainless or enamel stovetop | Cool surface, soft cloth, mild dish soap. | Plastic scraper only if the appliance manual allows it. | Stop for gas smell, sparks, damaged controls, or liquid entering seams. |
| Metal range hood filter | Remove only if it releases easily; soak in warm soapy water. | Use a labeled degreaser if allowed by the manual. | Do not touch wiring, fan blades, bulbs, or internal hood panels. |
Before You Start
- Turn all controls off and wait until the stovetop is fully cool.
- Check whether you have glass, ceramic, enamel, stainless, coil, or gas grates.
- Spot test cleaner on a small area before treating the whole top.
- Do not mix bleach, ammonia, oven cleaner, or other strong products.
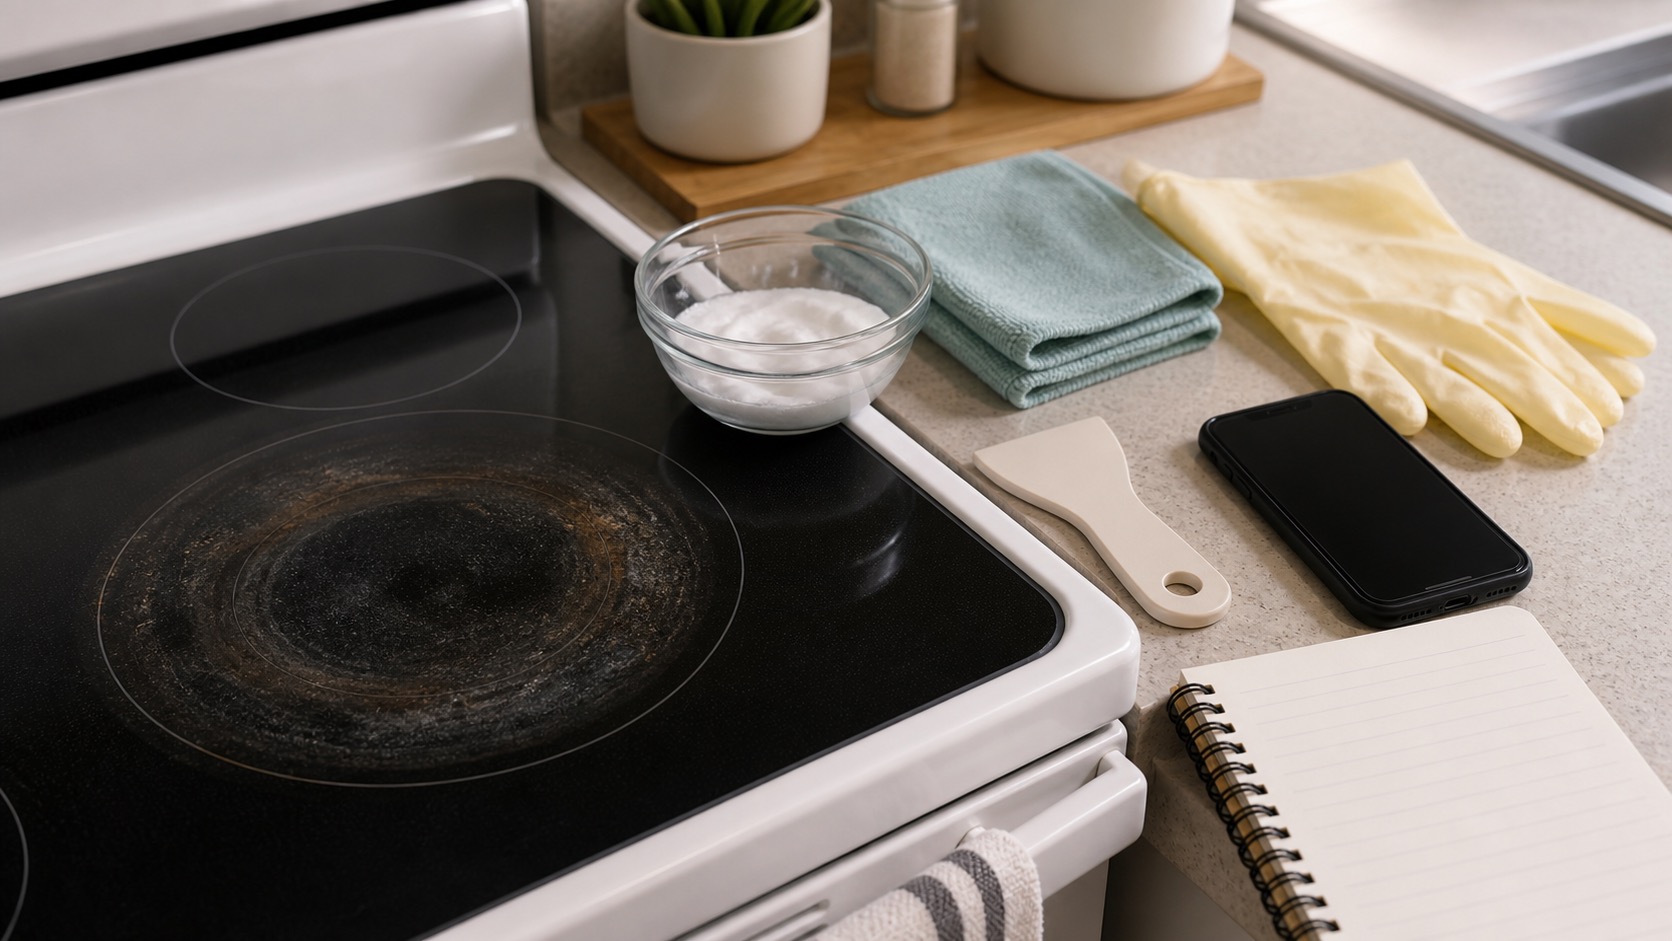
Tools Needed
- Non-scratch sponge
- Soft cloths
- Mild dish soap
- Stovetop-safe cleaner
- Plastic scraper only if approved for glass cooktops
- Dry towel
Renter Notes
Rental appliances may have specific cleaning rules. Do not use oven cleaner on a stovetop unless the label and appliance manual allow it, and report damaged burners, cracked glass, or control problems.
Step-by-Step Guide
- Remove loose crumbs and dry debris with a soft cloth.
What I check before the next step: I photograph the condition before cleaning or covering it. Spreading marks, softness, recurring odor, or leak-related damage should be reported. - Apply warm soapy water or a stovetop-safe cleaner to the cooled mark.
What I check before the next step: I look for spreading water, wet electrical areas, sewage odor, swelling, or moisture below the fixture. Any of those turns this into a stop-and-report issue. - Let residue soften for a few minutes without flooding burner openings or seams.
What I check before the next step: Before continuing, I confirm the step stayed dry, visible, reversible, and within the lease or my comfort level. - Wipe gently with a non-scratch sponge.
What I check before the next step: I do not mix chemicals or scrub harder if the finish changes. I ventilate, spot-check, and stop for strong odor, spreading stains, mold growth, or damaged surfaces. - Use only an approved plastic scraper on glass if the appliance instructions allow it.
What I check before the next step: I stay with accessible, user-facing checks only. Heat, burning smell, leaks, damaged cords, error codes, or panel access means the next step is maintenance. - Wipe with plain water, dry fully, and test the burner only after the surface is clean and dry.
What I check before the next step: I look for spreading water, wet electrical areas, sewage odor, swelling, or moisture below the fixture. Any of those turns this into a stop-and-report issue.
Safe Next Steps
- If the result improved, do one normal-use test and finish with the checklist item: Stove fully cool.
- If the result is mixed, stop after the listed low-risk checks and decide whether the issue belongs with maintenance, your landlord, or a licensed professional.
- If the result did not improve or got worse, do not add force, stronger chemicals, hidden disassembly, or a new tool. Contact maintenance if any stop sign appears.
- For a rental, send a short maintenance message with where the issue is, when you noticed it, what changed, what safe check you tried, and two photos. Keep the confirmation.
Common Mistakes
- Cleaning while the stove is still hot.
- Using abrasive powder or steel wool on glass or enamel.
- Letting water run into burner openings.
- Using oven cleaner on the wrong surface.
Stovetop residue versus surface damage
dark cooked-on residue or a suspected burn mark on a stovetop is treated here as a beginner observation and control problem first, not a chance to prove you can take apart the home. The safe version is visible, reversible, and easy to stop.
For renters, the important line is ownership. You can usually observe, photograph, time, clean lightly, or tighten a visible non-security part, but hidden systems, building-owned fixtures, and lease-controlled hardware belong to maintenance.
What to Check Before You Act
Record the starting condition, perform only one low-risk check at a time, and compare appliance safety, surface and damage, compatibility spot, residue release. Do not repeat a step that needs more force, chemical, height, access, or disassembly.
| Check | Before | After | Interpretation |
|---|---|---|---|
| Appliance safety | Record off status, full cooling, gas odor, sparks, error code, and burner behavior | After one safe check: confirm controls are off and the surface is completely cool | Cleaning starts only after appliance safety is established Stop if gas, heat, sparking, smoke, error, or burner malfunction is present. |
| Surface and damage | Record cooktop material, cracks, chips, pitting, melted residue, and coating loss | After one safe check: compare with the manual and photograph under side light | Damage cannot be cleaned away Stop if glass is cracked or the finish is chipped, pitted, or melted. |
| Compatibility spot | Record gloss, scratches, discoloration, and residue transfer | After one safe check: test the manufacturer-approved cleaner on a small cool area | No finish change is required Stop if scratching, dulling, or color change appears. |
| Residue release | Record transfer after one label-approved dwell and gentle pass | After one safe check: wipe with the specified non-scratch tool | Gradual transfer suggests cooked-on residue Stop if a blade, heavy abrasion, or repeated chemical treatment would be needed. |
Common Situations and Stop Points
| Symptom | Possible context | Safe first check | Stop point |
|---|---|---|---|
| Appliance safety | Cleaning starts only after appliance safety is established | confirm controls are off and the surface is completely cool | gas, heat, sparking, smoke, error, or burner malfunction is present |
| Surface and damage | Damage cannot be cleaned away | compare with the manual and photograph under side light | glass is cracked or the finish is chipped, pitted, or melted |
| Compatibility spot | No finish change is required | test the manufacturer-approved cleaner on a small cool area | scratching, dulling, or color change appears |
| Residue release | Gradual transfer suggests cooked-on residue | wipe with the specified non-scratch tool | a blade, heavy abrasion, or repeated chemical treatment would be needed |
Try It or Report It?
| Situation | Beginner can try | Do not touch | Contact |
|---|---|---|---|
| Observe and document | Turn the appliance off and allow complete cooling. Identify cooktop material and separate residue from damage. | Hidden, fixed, energized, pressurized, structural, or lease-controlled parts | Use the record if the baseline is abnormal |
| One reversible first step | Use only a manufacturer-approved cleaner and tool. Test small, wipe gently, rinse or remove residue as directed, and dry. | Anything that needs force, drilling, cutting, panel removal, or mixed chemicals | Maintenance if the first step fails or the condition returns |
| Condition persists | Repeat the observation for appliance safety and surface and damage, not the repair | Do not escalate tools or improvise a workaround | Landlord, maintenance, manufacturer support, or the responsible professional |
| Warning sign appears | Stop, keep distance, and photograph only if that is safe | Stop for gas odor, sparks, smoke, error codes, or abnormal burner behavior. Stop for cracked glass, chips, pitting, melted material, or coating loss. Stop before knives, unapproved razor blades, steel wool, or aggressive abrasives. | Urgent maintenance, utility, emergency services, or another appropriate safety channel |
Renter-Safe First Steps
- Turn the appliance off and allow complete cooling.
- Identify cooktop material and separate residue from damage.
- Use only a manufacturer-approved cleaner and tool.
- Test small, wipe gently, rinse or remove residue as directed, and dry.
Stop Lines
- Stop for gas odor, sparks, smoke, error codes, or abnormal burner behavior.
- Stop for cracked glass, chips, pitting, melted material, or coating loss.
- Stop before knives, unapproved razor blades, steel wool, or aggressive abrasives.
- Stop before mixing cleaners or cleaning a warm surface.
- Stop if the finish changes or the mark does not transfer.
Additional FAQ
How do I know if it is a stain or damage?
Residue usually transfers gradually with an approved method; cracks, pitting, melted texture, coating loss, and discoloration that does not transfer are damage clues.
Can I use a razor scraper?
Only if the exact cooktop manufacturer permits the specified scraper and technique. Many surfaces and coatings can scratch.
What should I include in a maintenance message?
Include the exact location, when it started, photos, the appliance safety and surface and damage and compatibility spot and residue release, what safe check you performed, and whether the condition improved, stayed the same, or worsened.
Related Next Steps
- Range Hood Filter Cleaning: Grease Soak and Stop Points - Reduce grease buildup around the cooking zone.
- Grease on Kitchen Walls: Gentle Cleaning for Painted Surfaces - Use paint-safe methods for nearby wall residue.
- Appliance Problem or Repair Risk? A Beginner Troubleshooting Filter - Treat burner and electrical symptoms as appliance issues.
What Not to Do
- Do not clean around a gas smell; leave and call the proper emergency or utility contact.
- Do not remove fixed burners or open appliance panels.
- Do not scrape with knives or razor blades unless the manual specifically allows a glass scraper and you know how to use it safely.
- Do not mix bleach and ammonia or combine strong cleaners.
When to Pause and Ask for Help
Contact maintenance if glass is cracked, a burner sparks or will not turn off, there is a gas smell, controls feel loose, a coil is damaged, liquid entered the appliance, or marks remain after gentle cleaning.
FAQ
Can I use baking soda?
A mild baking soda paste can help some surfaces, but spot test and avoid abrasive pressure.
What if the burn mark is under the glass?
Do not open the appliance. Report it to maintenance.
Can I use a razor blade on a glass cooktop?
Only if the appliance manual allows it. Beginners should avoid metal scraping if unsure.
Why does the mark come back?
Residue may be left behind or cookware may be spilling. Clean after the surface cools each time.
Final Checklist
- Stove fully cool
- Surface type checked
- Cleaner spot tested
- No abrasive tools used
- Seams not flooded
- Surface dried
- Appliance issues reported
You May Also Like
More beginner-safe guides that connect to this repair, the same room, or the next safety decision a renter may need.
- Grease on Kitchen Walls: Gentle Cleaning for Painted Surfaces - Learn how to clean grease off painted kitchen walls with a gentle spot test, minimal moisture, and stop points that protect rental finishes.
- Range Hood Filter Cleaning: Grease Soak and Stop Points - Clean a removable range hood filter without touching wiring, fans, or high-risk appliance parts.
- Appliance Problem or Repair Risk? A Beginner Troubleshooting Filter - Use a beginner safety filter before checking a fridge, washer, dryer, dishwasher, AC, or stove.
- Simple Weekly Cleaning Routine for a First Apartment - Create a realistic weekly cleaning routine for a first apartment without turning it into a full-day project.
- Under-Sink Leak Check: What to Look For Before Touching Plumbing - Check under a kitchen or bathroom sink for early leak signs without taking plumbing apart.
- Loose Cabinet Handles and Drawer Pulls: A 10-Minute Check - Tighten loose cabinet knobs and drawer pulls without stripping screws or damaging rental cabinets.
- Food Spill Inside the Fridge: Clean It Without Spreading Odor - Clean sticky fridge spills and odors without using harsh chemicals where food is stored.
- Garbage Disposal Smell: Safe Cleaning Without Reaching Inside - Freshen a garbage disposal with safe cleaning steps and clear stop points for jams or leaks.