Under-Sink Leak Check: What to Look For Before Touching Plumbing
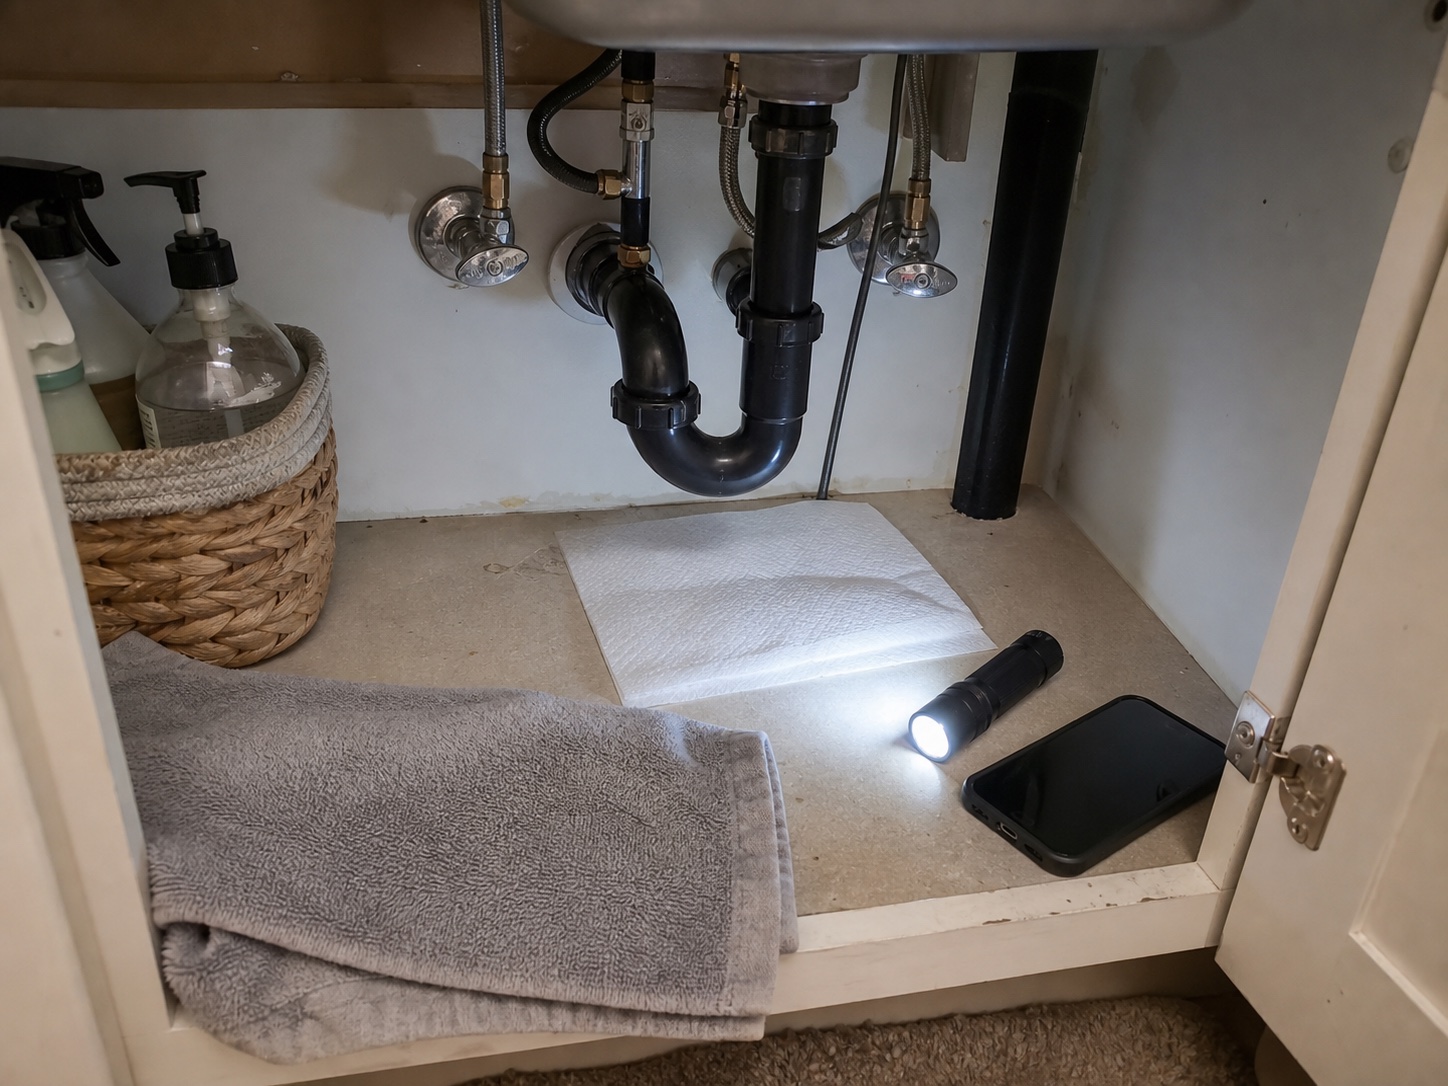
Use this for a routine check or when you notice musty smells, cabinet stains, or damp items under a sink. This guide is for inspection and documentation, not pipe replacement.
By Portia Me'uan Thomas. Updated August 17, 2026. Edited for renter-aware safety.
Time: 10-15 minutes. Difficulty: Easy. Safety: Low to medium.
Quick Answer
Clear the cabinet, dry the area, run water while watching the drain, supply lines, shutoff valves, and cabinet floor, then take photos of any drips, stains, swelling, or mold. Report active leaks to your landlord or maintenance team promptly.
Before You Start
- Remove stored items so you can see the cabinet floor and back wall.
- Throw away wet cardboard or paper products that can hide moisture.
- Do not touch outlets, garbage disposal wiring, or wet electrical cords.
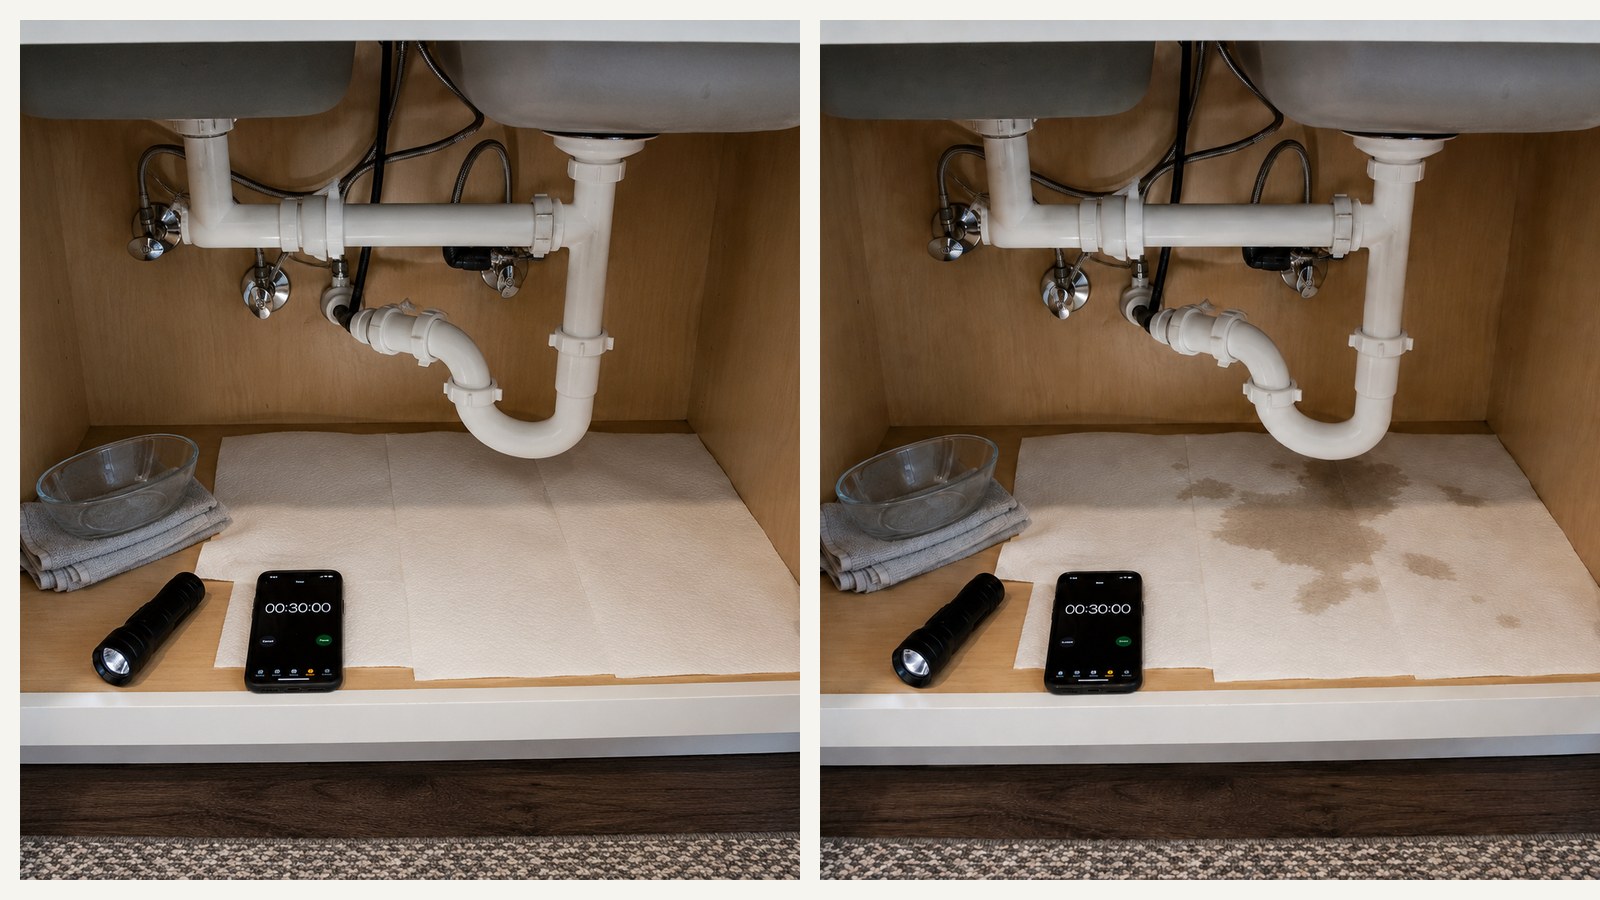
Tools Needed
- Flashlight
- Paper towels
- Phone camera
- Small bucket or bowl
- Gloves
- Trash bag
Renter Notes
Under-sink plumbing is usually building-owned in rentals. Do not tighten valves, replace supply lines, or disassemble pipes unless maintenance instructs you to; document and report problems early.
Step-by-Step Guide
- Clear everything from under the sink and set a towel or bucket nearby.
What I check before the next step: I look for spreading water, wet electrical areas, sewage odor, swelling, or moisture below the fixture. Any of those turns this into a stop-and-report issue. - Wipe the cabinet floor dry so new moisture is easy to spot.
What I check before the next step: I do not mix chemicals or scrub harder if the finish changes. I ventilate, spot-check, and stop for strong odor, spreading stains, mold growth, or damaged surfaces. - Run cold water for 30 seconds while watching the drain pipe and P-trap.
What I check before the next step: I look for spreading water, wet electrical areas, sewage odor, swelling, or moisture below the fixture. Any of those turns this into a stop-and-report issue.
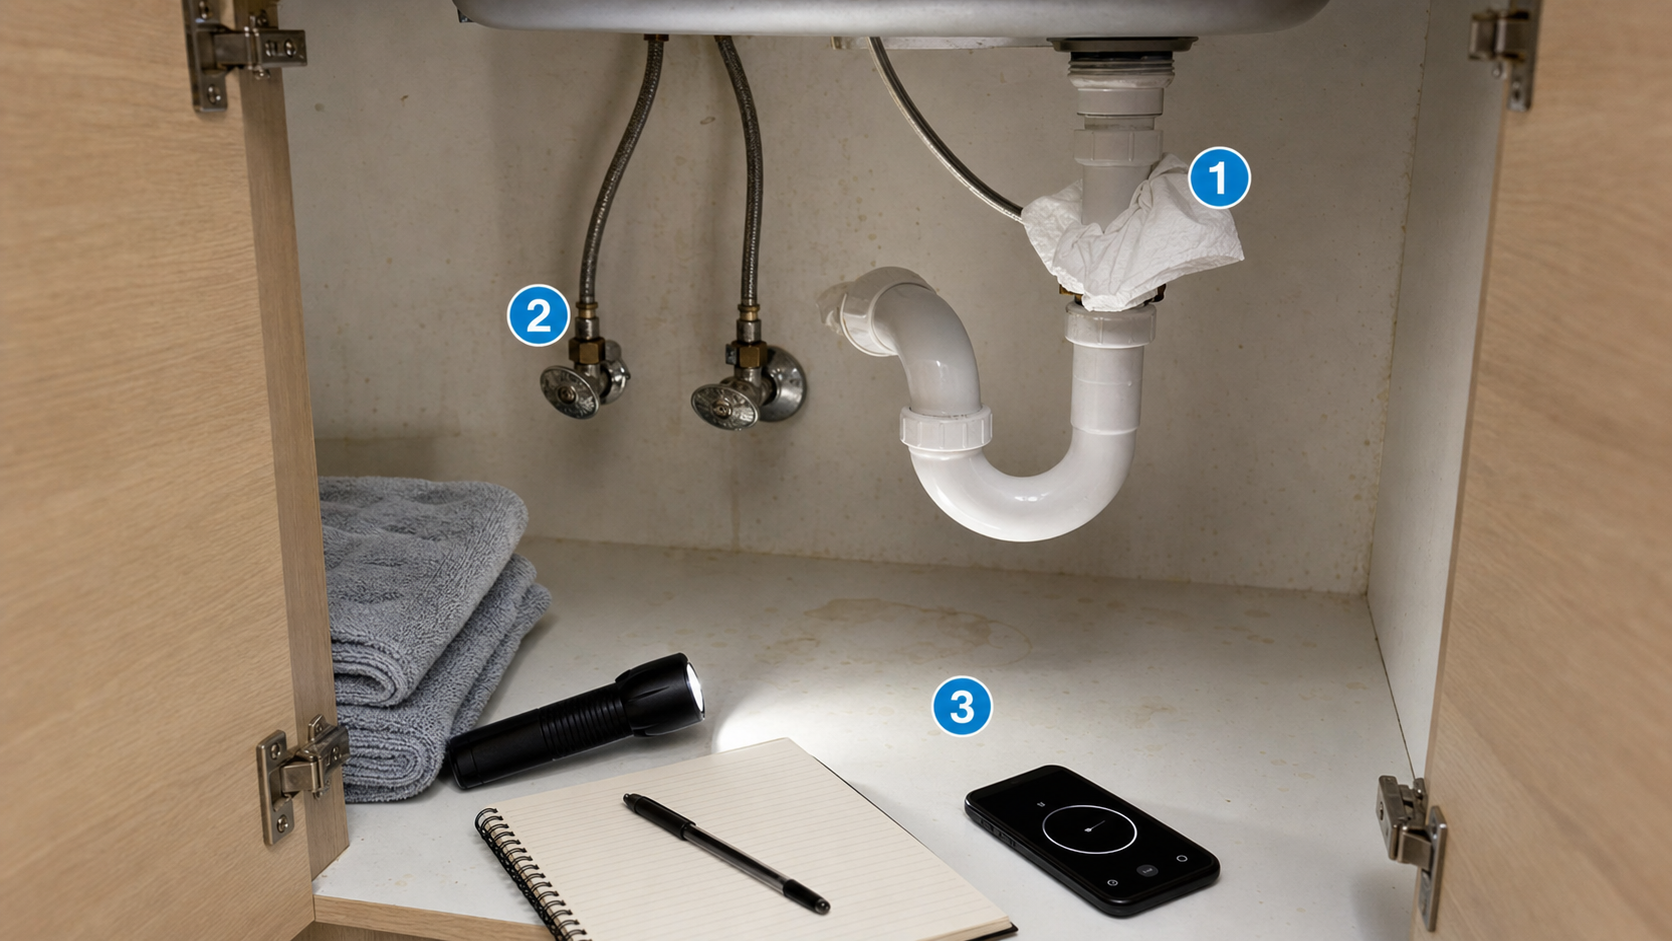
- Run hot water for 30 seconds and check the same areas again.
What I check before the next step: I look for spreading water, wet electrical areas, sewage odor, swelling, or moisture below the fixture. Any of those turns this into a stop-and-report issue. - Turn the faucet off and look at supply lines, shutoff valves, cabinet seams, and the back wall.
What I check before the next step: I look for spreading water, wet electrical areas, sewage odor, swelling, or moisture below the fixture. Any of those turns this into a stop-and-report issue. - Take photos of stains, swelling, drips, rust, or mold and send them through the maintenance process.
What I check before the next step: I make the note useful: date, location, what changed, one wide photo, and one close-up before I touch anything else.
Safe Next Steps
- If the result improved, do one normal-use test and finish with the checklist item: Cabinet cleared.
- If the result is mixed, stop after the listed low-risk checks and decide whether the issue belongs with maintenance, your landlord, or a licensed professional.
- If the result did not improve or got worse, do not add force, stronger chemicals, hidden disassembly, or a new tool. Contact maintenance immediately for the stop signs listed below.
- For a rental, send a short maintenance message with where the issue is, when you noticed it, what changed, what safe check you tried, and two photos. Keep the confirmation.
Common Mistakes
- Leaving cleaning bottles packed around the pipes so leaks stay hidden.
- Assuming an old stain is harmless without checking whether it is damp.
- Tightening valves aggressively and creating a bigger leak.
Leak inspection
An under-sink leak check is a visual and paper-towel inspection. It is not pipe repair, trap removal, valve replacement, or tightening random fittings.
The goal is to learn whether moisture is old or active, whether it appears only when water runs, and whether it is close to materials or electrical items that make it more urgent.
What to Check Before You Act
Use the table after clearing the cabinet. Keep the test short and stop if water appears near electricity or spreads quickly.
| Check | Before | After | Interpretation |
|---|---|---|---|
| Cold-water run | Dry towel under drain path | Record wet/dry after 30 seconds | May point to drain-side leak. |
| Hot-water run | Dry towel under same area | Record wet/dry after 30 seconds | Confirms whether temperature or faucet use changes leak behavior. |
| No-use observation | Cabinet dry after faucet off | Record wet/dry after 15 minutes | Moisture while unused can be more urgent. |
| Cabinet material | Flat cabinet floor | Record swelling/stain/odor | Material damage suggests the leak may not be new. |
Common Situations and Stop Points
| Symptom | Possible context | Safe first check | Stop point |
|---|---|---|---|
| Wet only when water runs | Drain, stopper, trap, or connection leak | Short run test and photos | Do not open trap unless allowed and prepared |
| Wet near shutoff valve | Supply-side leak | Photograph and avoid force | Emergency maintenance if active |
| Musty smell but no drip | Old leak or hidden moisture | Clear cabinet and photograph stains | Mold-like growth or swollen wood |
| Water near disposal cord | Leak plus electrical hazard | Stop using area | Urgent maintenance |
Try It or Report It?
| Situation | Beginner can try | Do not touch | Contact |
|---|---|---|---|
| Routine dry check | Clear cabinet, run short water test, use paper towel | Pipe nuts, valves, disposal wiring | Report any moisture or damage |
| Active drip | Bucket/towel if safe, photos, timing | Random tightening or trap removal | Maintenance |
| Water near electricity | Stay clear and document from safe spot | Cord, outlet, switch, disposal | Emergency maintenance |
| Recurring leak after repair | Compare photos and ticket history | Repeated DIY fixes | Follow up with maintenance |
Renter-Safe First Steps
- Clear stored items.
- Dry the cabinet floor so new moisture stands out.
- Run short faucet tests while watching from a safe position.
- Photograph stains, rust, swollen wood, and active drips.
Stop Lines
- Stop for water near electrical cords, outlets, disposal wiring, or appliances.
- Stop for active dripping from a supply valve or pipe you do not recognize.
- Stop if a valve is stiff, rusty, painted, or leaking.
- Stop for swollen cabinet floor, mold-like growth, sewage odor, or recurring moisture.
- Stop if the leak cannot be contained while waiting.
Additional FAQ
Should I tighten the P-trap?
Not as a default. Plastic parts can crack or shift. Document first and follow maintenance instructions.
How often should I check?
Monthly is a good baseline, plus after clogs, disposal use, or any plumbing work.
What should I remove from the cabinet?
Remove paper, cardboard, cleaning supplies, and anything touching the pipe area so moisture is visible.
Related Next Steps
- Small Water Leak: What to Do While Waiting for Maintenance - Use it if the check finds active water.
- Slow Bathroom Sink: Renter-Safe First Checks Before Maintenance - Slow sink checks and drain timing.
- First Apartment Maintenance Checklist - Add under-sink checks to the monthly routine.
What Not to Do
- Do not disassemble the P-trap or supply lines as a first step.
- Do not ignore water near an outlet or garbage disposal cord.
- Do not cover wet cabinet flooring with a mat and forget about it.
When to Pause and Ask for Help
Contact maintenance immediately for active dripping, wet cabinet wood, swelling, mold, rusted valves, sewage odor, water near electricity, or a leak you cannot clearly contain with a bucket while waiting for help.
FAQ
How often should I check under sinks?
Monthly is a good habit, and also after disposal use, drain clogs, or maintenance work.
Should I turn the shutoff valve?
Only if water is actively leaking and the valve moves easily. Do not force a stiff, rusty, or leaking valve.
What does swollen cabinet wood mean?
It often means repeated moisture. Photograph it and report it even if you do not see an active drip.
Can I use tape on a leaking pipe?
Tape is not a real repair. Use a bucket to limit damage if safe, then contact maintenance.
Final Checklist
- Cabinet cleared
- Area dried before testing
- Cold and hot water tested
- Valves and cabinet floor checked
- Photos taken
- Active leaks reported
References
Use these official resources as background context. Product manuals, lease rules, local requirements, property maintenance instructions, and qualified professional advice should still come first for your exact home.
- Fix a Leak Week - EPA WaterSense. Use for general leak awareness; rental plumbing repairs should still follow lease and maintenance rules.
- A brief guide to mold, moisture and your home - U.S. Environmental Protection Agency. Use for moisture-control context when a sink leak leaves swelling, odor, stains, or recurring dampness.
You May Also Like
More beginner-safe guides that connect to this repair, the same room, or the next safety decision a renter may need.
- First Apartment Maintenance Checklist - A realistic monthly checklist for keeping a first apartment safer and easier to manage.
- Slow Bathroom Sink: Renter-Safe First Checks Before Maintenance - Try safe first steps for a slow bathroom sink before escalating to apartment maintenance.
- Garbage Disposal Smell: Safe Cleaning Without Reaching Inside - Freshen a garbage disposal with safe cleaning steps and clear stop points for jams or leaks.
- When Not to DIY a Home Repair - Clear stop signs for repairs that are unsafe, lease-sensitive, or require licensed help.
- Small Water Leak: What to Do While Waiting for Maintenance - Contain a small apartment water leak while waiting for maintenance, document the damage, avoid electrical danger, and know when to escalate.
- Slow Shower Drain: Safe Hair and Soap Buildup Cleanup - Clear hair and soap buildup from a slow shower drain without harsh chemicals or pipe damage.
- Running Toilet in an Apartment: What You Can Check Safely - Check a running toilet tank without replacing plumbing parts or risking a leak.
- Safe to DIY? A Renter's Home Repair Filter - Use a simple safety filter before deciding whether to DIY a repair in your first place.