Garbage Disposal Smell: Safe Cleaning Without Reaching Inside
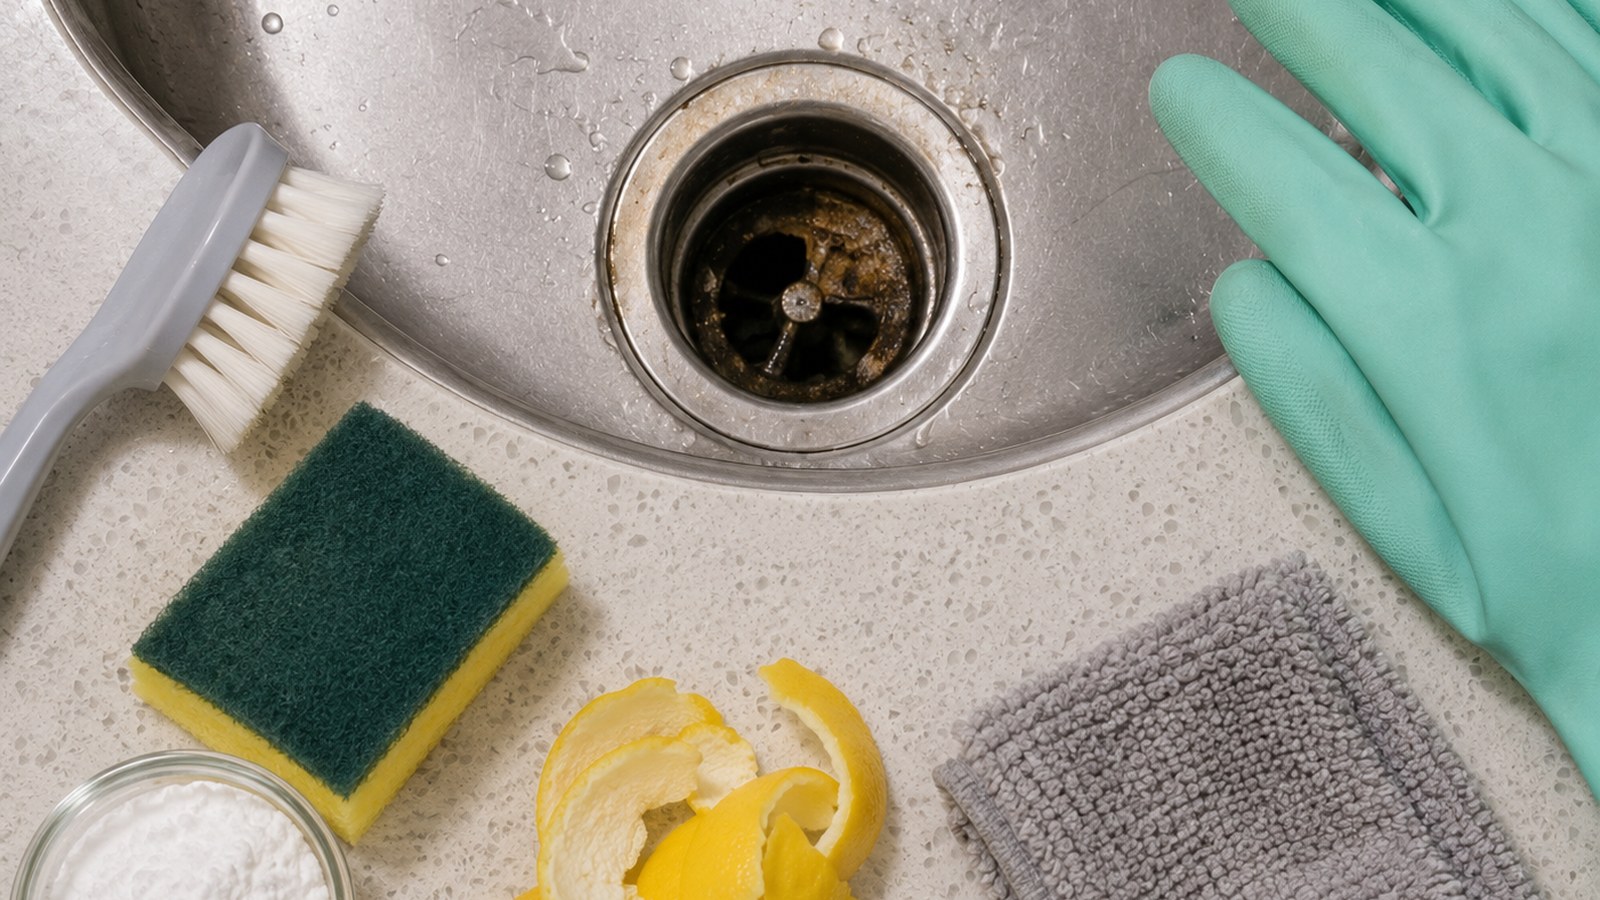
Use this when a garbage disposal smells stale but still runs normally and drains. Do not use this guide for electrical problems, leaks, severe clogs, humming without spinning, or objects stuck inside.
By Portia Me'uan Thomas. Updated August 17, 2026. Edited for renter-aware safety.
Time: 10-15 minutes. Difficulty: Easy. Safety: Medium because blades and electricity are involved.
Quick Answer
Turn off the disposal, remove loose debris only with tongs, flush with cold water, run ice cubes to scrub the chamber, then use baking soda and a small amount of dish soap to freshen it. Never put your hand inside the disposal.
Before You Start
- Make sure the wall switch is off before looking into the drain.
- Use a flashlight instead of reaching inside.
- Keep sleeves, jewelry, and loose cords away from the sink opening.
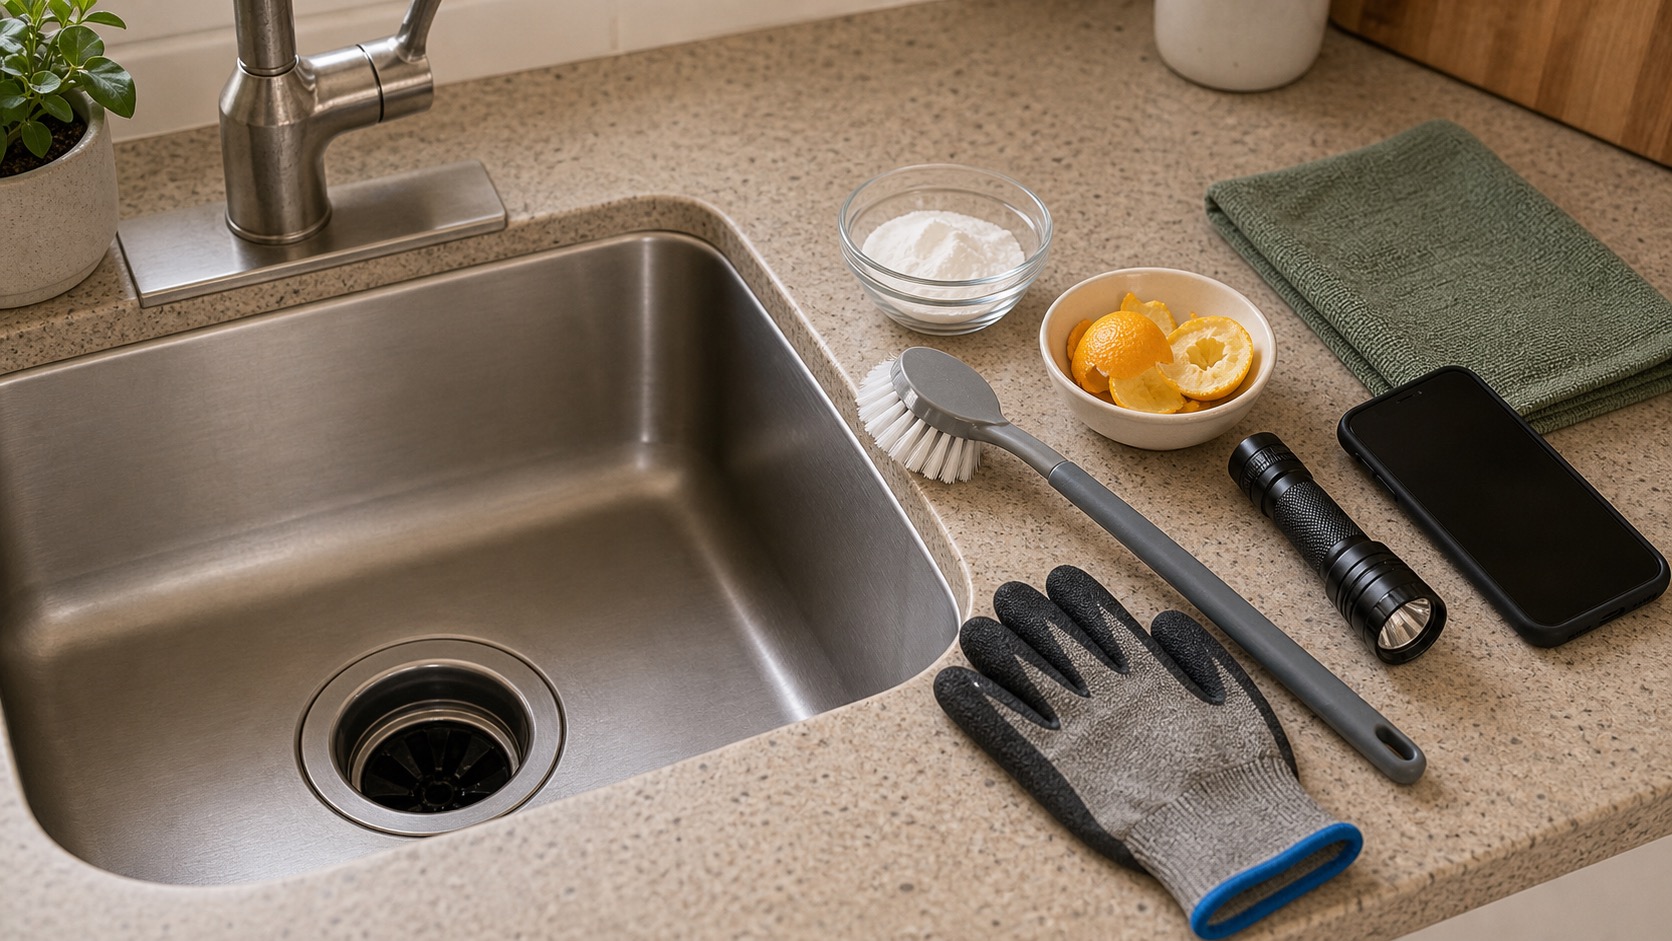
Tools Needed
- Flashlight
- Long tongs or pliers
- Ice cubes
- Baking soda
- Dish soap
- Cold water
- Rubber gloves for nearby cleanup
Renter Notes
A disposal is an appliance connected to plumbing and electricity. Renters should avoid taking it apart, resetting unknown wiring, or trying to repair jams; report leaks, humming, or repeated clogs.
Step-by-Step Guide
- Turn the disposal switch off and look into the opening with a flashlight.
What I check before the next step: Before continuing, I confirm the step stayed dry, visible, reversible, and within the lease or my comfort level. - Remove visible loose debris with long tongs only; keep hands out of the disposal.
What I check before the next step: Before continuing, I confirm the step stayed dry, visible, reversible, and within the lease or my comfort level. - Run cold water for 20-30 seconds to flush the chamber.
What I check before the next step: I look for spreading water, wet electrical areas, sewage odor, swelling, or moisture below the fixture. Any of those turns this into a stop-and-report issue. - Add a handful of ice cubes, turn on cold water, and run the disposal briefly.
What I check before the next step: I look for spreading water, wet electrical areas, sewage odor, swelling, or moisture below the fixture. Any of those turns this into a stop-and-report issue. - Turn it off, add a spoonful of baking soda and a small squirt of dish soap, then let it sit for a few minutes.
What I check before the next step: I do not mix chemicals or scrub harder if the finish changes. I ventilate, spot-check, and stop for strong odor, spreading stains, mold growth, or damaged surfaces. - Run cold water and the disposal again for a short final rinse.
What I check before the next step: I look for spreading water, wet electrical areas, sewage odor, swelling, or moisture below the fixture. Any of those turns this into a stop-and-report issue.
Safe Next Steps
- If the result improved, do one normal-use test and finish with the checklist item: Switch off before inspection.
- If the result is mixed, stop after the listed low-risk checks and decide whether the issue belongs with maintenance, your landlord, or a licensed professional.
- If the result did not improve or got worse, do not add force, stronger chemicals, hidden disassembly, or a new tool. Contact maintenance if any stop sign appears.
- For a rental, send a short maintenance message with where the issue is, when you noticed it, what changed, what safe check you tried, and two photos. Keep the confirmation.
Common Mistakes
- Putting fingers into the disposal to grab debris.
- Using chemical drain cleaner in a disposal.
- Grinding large amounts of food waste and expecting cleaning steps to fix clogs.
Disposal odor and visible-residue cleanup
odor or visible residue around a garbage disposal opening is treated here as a beginner observation and control problem first, not a chance to prove you can take apart the home. The safe version is visible, reversible, and easy to stop.
For renters, the important line is ownership. You can usually observe, photograph, time, clean lightly, or tighten a visible non-security part, but hidden systems, building-owned fixtures, and lease-controlled hardware belong to maintenance.
What to Check Before You Act
Record the starting condition, perform only one low-risk check at a time, and compare odor location, drain behavior, visible accessible residue, cabinet condition. Do not repeat a step that needs more force, chemical, height, access, or disassembly.
| Check | Before | After | Interpretation |
|---|---|---|---|
| Odor location | Record sink opening, splash guard, cabinet, or nearby drain | After one safe check: compare odor with the unit off and sink empty | Location helps separate surface residue from drain or cabinet issues Stop if odor is burning, electrical, gas-like, or sewage-like. |
| Drain behavior | Record water level and drain time without running the disposal | After one safe check: run a small normal water flow only if drainage is clear | Normal drainage supports surface cleaning Stop if water stands, backs up, or appears elsewhere. |
| Visible accessible residue | Record residue on sink and splash-guard surfaces | After one safe check: wipe only surfaces reachable without entering the chamber | Reduced odor after surface cleaning suggests residue was involved Stop if cleaning requires reaching below the guard. |
| Cabinet condition | Record dryness, drip marks, swelling, and cord distance | After one safe check: use a dry paper-towel check from a safe area | A damp cabinet points to a leak or connection issue Stop if water is near the cord, outlet, or unit body. |
Common Situations and Stop Points
| Symptom | Possible context | Safe first check | Stop point |
|---|---|---|---|
| Odor location | Location helps separate surface residue from drain or cabinet issues | compare odor with the unit off and sink empty | odor is burning, electrical, gas-like, or sewage-like |
| Drain behavior | Normal drainage supports surface cleaning | run a small normal water flow only if drainage is clear | water stands, backs up, or appears elsewhere |
| Visible accessible residue | Reduced odor after surface cleaning suggests residue was involved | wipe only surfaces reachable without entering the chamber | cleaning requires reaching below the guard |
| Cabinet condition | A damp cabinet points to a leak or connection issue | use a dry paper-towel check from a safe area | water is near the cord, outlet, or unit body |
Try It or Report It?
| Situation | Beginner can try | Do not touch | Contact |
|---|---|---|---|
| Observe and document | Keep the disposal off during visual cleaning. Remove loose sink debris without entering the chamber. | Hidden, fixed, energized, pressurized, structural, or lease-controlled parts | Use the record if the baseline is abnormal |
| One reversible first step | Clean only accessible sink and splash-guard surfaces with one approved product. Check the cabinet for moisture from a dry safe position. | Anything that needs force, drilling, cutting, panel removal, or mixed chemicals | Maintenance if the first step fails or the condition returns |
| Condition persists | Repeat the observation for odor location and drain behavior, not the repair | Do not escalate tools or improvise a workaround | Landlord, maintenance, manufacturer support, or the responsible professional |
| Warning sign appears | Stop, keep distance, and photograph only if that is safe | Stop before putting hands or tools into the disposal. Stop for humming, jamming, sparks, burning odor, or repeated power trips. Stop for standing water, backup, or sewage odor. | Urgent maintenance, utility, emergency services, or another appropriate safety channel |
Renter-Safe First Steps
- Keep the disposal off during visual cleaning.
- Remove loose sink debris without entering the chamber.
- Clean only accessible sink and splash-guard surfaces with one approved product.
- Check the cabinet for moisture from a dry safe position.
Stop Lines
- Stop before putting hands or tools into the disposal.
- Stop for humming, jamming, sparks, burning odor, or repeated power trips.
- Stop for standing water, backup, or sewage odor.
- Stop for leaks or water near electricity.
- Stop before opening plumbing or appliance parts.
Additional FAQ
Can I reach in if the switch is off?
No. Treat the chamber as a no-reach area; hidden sharp parts and unexpected energizing remain hazards.
Should I use chemical drain cleaner?
Do not combine disposal troubleshooting with harsh drain chemicals. Follow the appliance and product instructions and contact maintenance for a backup.
What should I include in a maintenance message?
Include the exact location, when it started, photos, the odor location and drain behavior and visible accessible residue and cabinet condition, what safe check you performed, and whether the condition improved, stayed the same, or worsened.
Related Next Steps
- Under-Sink Leak Check: What to Look For Before Touching Plumbing - Document any cabinet moisture before it spreads.
- Dishwasher Smells Bad: Safe Cleaning Before You Call Maintenance - Compare symptoms when appliances share a drain area.
- Appliance Problem or Repair Risk? A Beginner Troubleshooting Filter - Use the broader appliance safety filter.
What Not to Do
- Do not put your hand inside the disposal.
- Do not disassemble the disposal or electrical connection.
- Do not grind glass, metal, grease, bones, shells, fibrous peels, or large food scraps.
When to Pause and Ask for Help
Contact maintenance if the disposal hums but does not spin, leaks, trips a breaker, smells like burning, has a stuck object you cannot remove with tongs, backs up into the sink, or repeatedly clogs.
FAQ
Can I use lemon peels?
A small piece may freshen odor, but citrus peels can also add bulk. Ice, cold water, baking soda, and dish soap are gentler.
Why should I use cold water?
Cold water helps keep fats more solid so they flush through instead of coating the disposal and pipes.
Is bleach safe?
Avoid relying on bleach. It can be harsh, splash, and does not remove trapped debris as well as mechanical flushing.
What if something fell in?
Turn the switch off and use tongs if it is loose and reachable. If not, contact maintenance.
Final Checklist
- Switch off before inspection
- Hands kept out
- Loose debris removed with tongs
- Cold water used
- Ice and mild cleaning completed
- Leaks, hums, or clogs reported
You May Also Like
More beginner-safe guides that connect to this repair, the same room, or the next safety decision a renter may need.
- Under-Sink Leak Check: What to Look For Before Touching Plumbing - Check under a kitchen or bathroom sink for early leak signs without taking plumbing apart.
- Bad Fridge Smell: A Step-by-Step Odor Reset - Track down refrigerator odors with a safe cleanout routine for renters and first apartments.
- First Apartment Maintenance Checklist - A realistic monthly checklist for keeping a first apartment safer and easier to manage.
- When Not to DIY a Home Repair - Clear stop signs for repairs that are unsafe, lease-sensitive, or require licensed help.
- Loose Cabinet Handles and Drawer Pulls: A 10-Minute Check - Tighten loose cabinet knobs and drawer pulls without stripping screws or damaging rental cabinets.
- Food Spill Inside the Fridge: Clean It Without Spreading Odor - Clean sticky fridge spills and odors without using harsh chemicals where food is stored.
- Grease on Kitchen Walls: Gentle Cleaning for Painted Surfaces - Learn how to clean grease off painted kitchen walls with a gentle spot test, minimal moisture, and stop points that protect rental finishes.
- Fridge Not Cooling Properly: First Checks Before Repair - Check safe fridge basics like temperature setting, airflow, door seal, and maintenance reporting.