Loose Cabinet Handles and Drawer Pulls: A 10-Minute Check
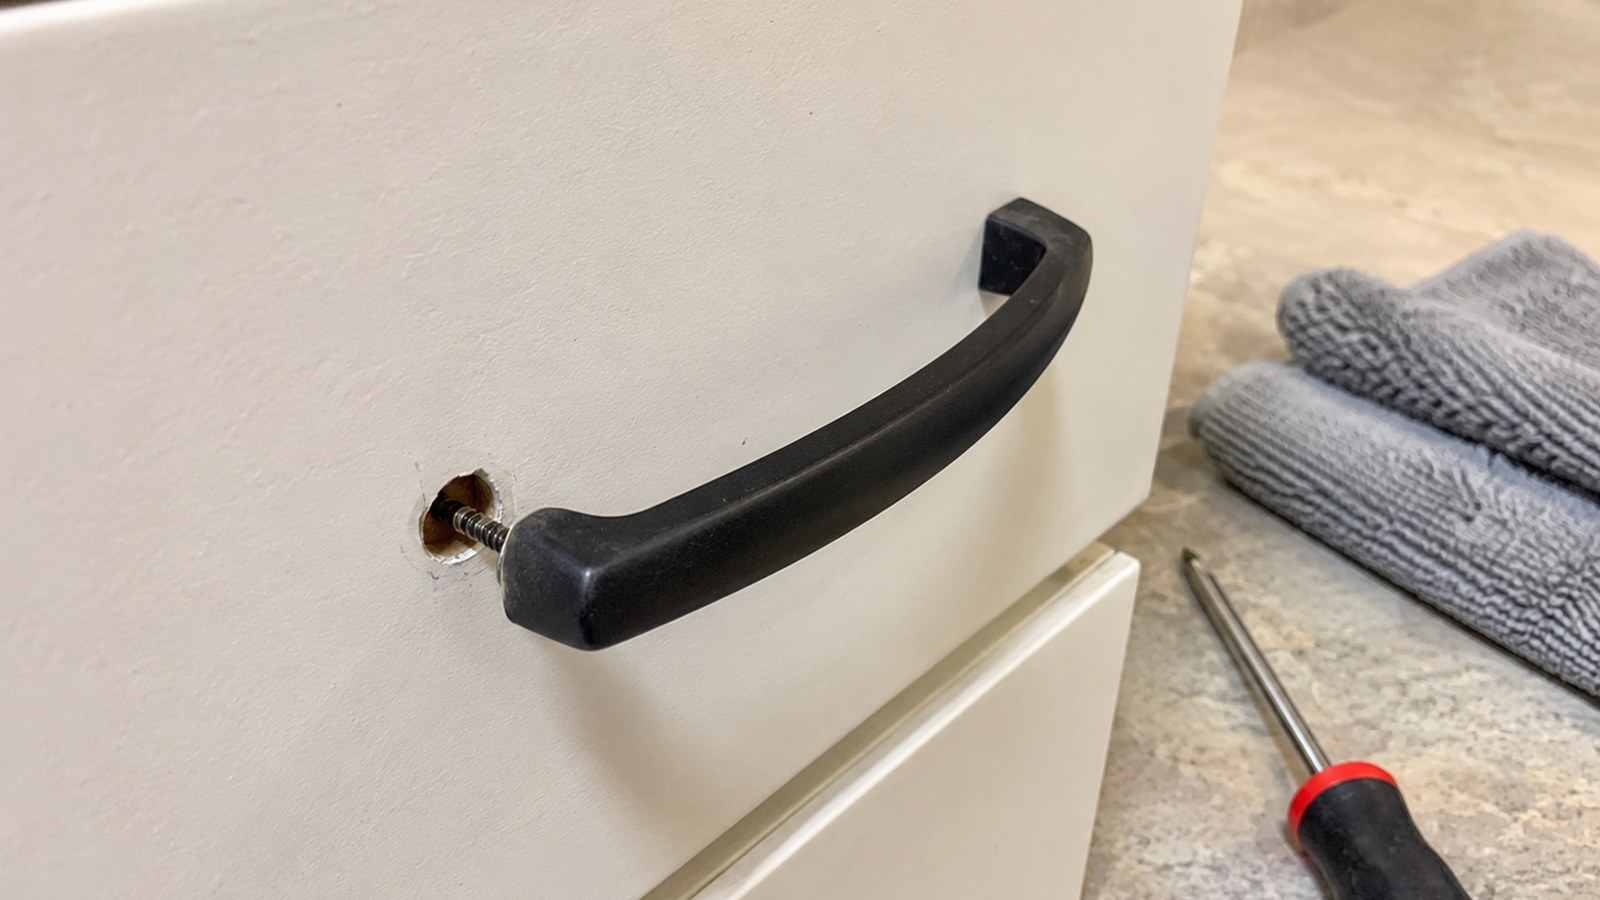
Use this when a kitchen or bathroom cabinet knob, handle, or drawer pull wiggles but is not broken. This guide covers tightening existing hardware, not drilling new holes or replacing cabinet fronts.
By Portia Me'uan Thomas. Updated August 17, 2026. Edited for renter-aware safety.
Time: 5-15 minutes. Difficulty: Easy. Safety: Low.
Quick Answer
Open the cabinet or drawer, support the handle from the outside, tighten the inside screw with the right screwdriver, and stop when the handle is snug. If the screw spins, the wood is damaged, or hardware is missing, report it to maintenance.
Material Fit
Hardware and setup tasks depend on what the screw or load is biting into. When the material is unknown, I stop before drilling or anchoring.
| Material or surface | Safest first method | Conditional next method | Avoid / stop line |
|---|---|---|---|
| Solid wood or sturdy cabinet face | Hand-tighten visible screws a quarter-turn at a time. | Use normal-use testing before adding load. | Stop for splitting, spinning screws, or shifting alignment. |
| Particleboard / MDF furniture | Gentle cam-lock or screw adjustment only. | Unload shelves before testing. | Avoid over-tightening; it can crumble the material. |
| Drywall or plaster wall | Use removable or approved methods first. | Anchors only with landlord approval and correct hardware. | Stop if the wall crumbles, flexes, or hides utilities. |
| Tile, brick, metal frame, entry door | Document and request approval or maintenance. | Professional installation may be needed. | Do not drill or modify without written permission. |
Before You Start
- Empty fragile items from the drawer or cabinet so nothing falls while you work.
- Look at the screw head and choose the screwdriver that fits tightly.
- Check whether the handle is loose or the cabinet material around it is damaged.
Tools Needed
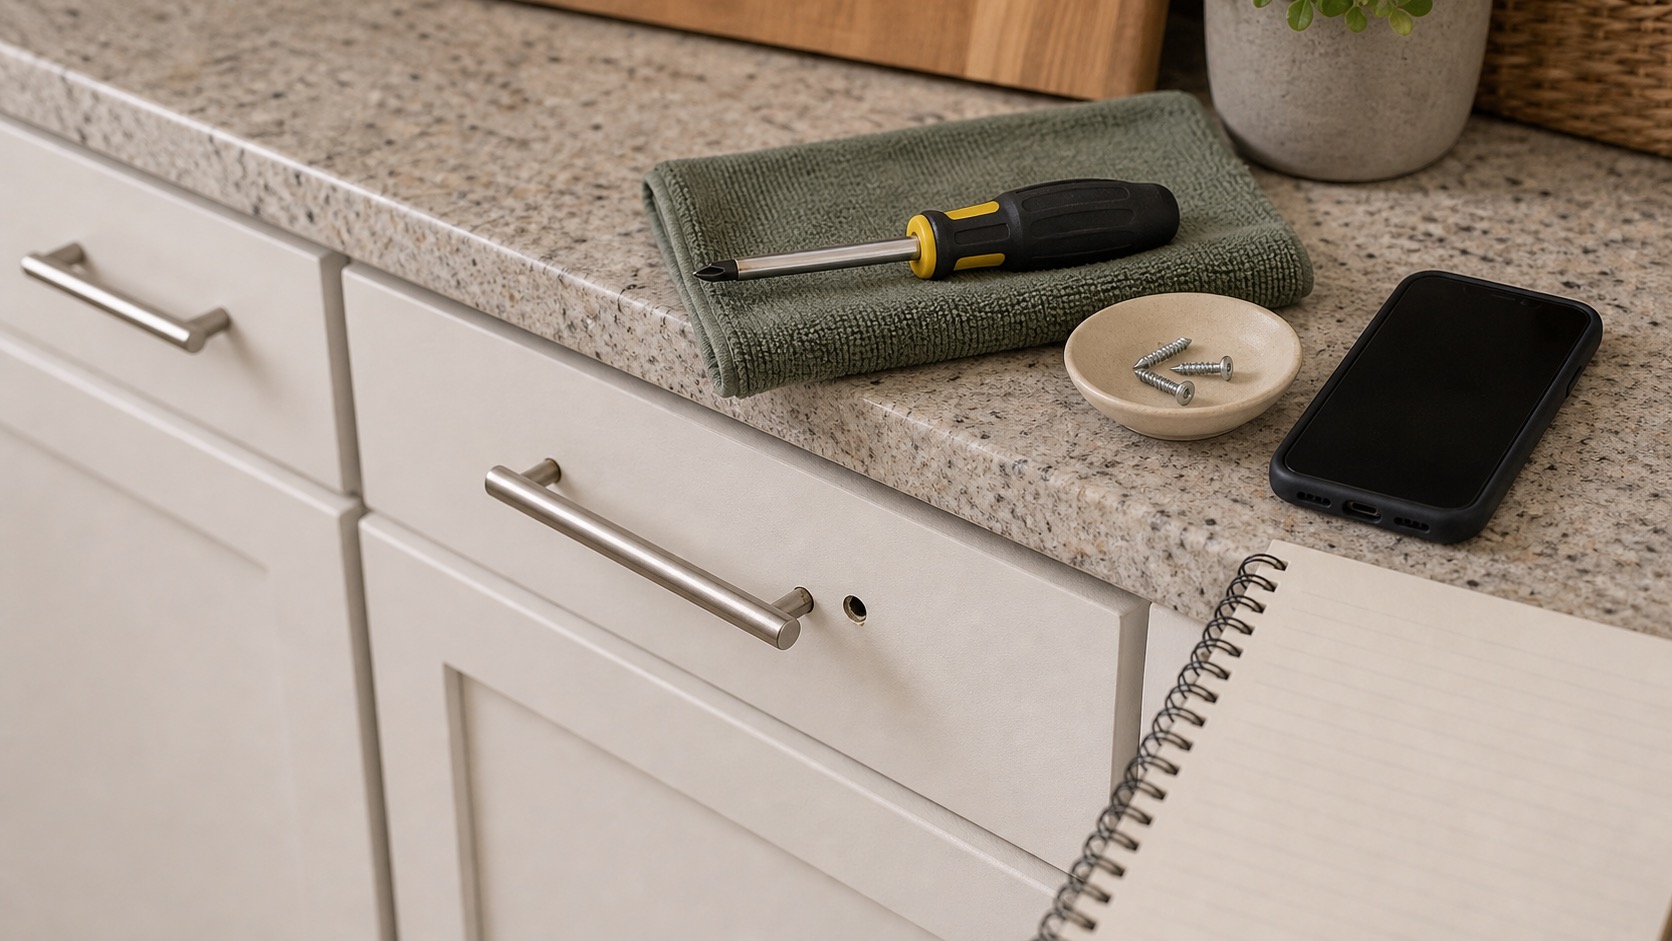
- Phillips screwdriver
- Flathead screwdriver if needed
- Small bowl for screws
- Flashlight
- Soft cloth
Renter Notes
Tightening existing screws is usually renter-friendly. Do not drill new holes, move handles, fill cabinet damage, or change hardware unless your landlord approved it.
Step-by-Step Guide
- Open the door or drawer fully and find the screw heads on the inside face.
What I check before the next step: I keep the door or window from trapping me while testing. Entry locks, broken latches, cracked frames, or security uncertainty belong with maintenance or a locksmith. - Hold the knob or pull steady from the outside so it does not twist against the finish.
What I check before the next step: Before continuing, I confirm the step stayed dry, visible, reversible, and within the lease or my comfort level. - Turn the inside screw clockwise in small increments until the handle stops wobbling.
What I check before the next step: I keep the door or window from trapping me while testing. Entry locks, broken latches, cracked frames, or security uncertainty belong with maintenance or a locksmith. - For two-screw pulls, alternate between screws so the handle tightens evenly.
What I check before the next step: I keep the door or window from trapping me while testing. Entry locks, broken latches, cracked frames, or security uncertainty belong with maintenance or a locksmith. - Wipe around the hardware and test the door or drawer with normal pressure.
What I check before the next step: I keep the door or window from trapping me while testing. Entry locks, broken latches, cracked frames, or security uncertainty belong with maintenance or a locksmith.
Safe Next Steps
- If the result improved, do one normal-use test and finish with the checklist item: Fragile items moved.
- If the result is mixed, stop after the listed low-risk checks and decide whether the issue belongs with maintenance, your landlord, or a licensed professional.
- If the result did not improve or got worse, do not add force, stronger chemicals, hidden disassembly, or a new tool. Contact maintenance if any stop sign appears.
- For a rental, send a short maintenance message with where the issue is, when you noticed it, what changed, what safe check you tried, and two photos. Keep the confirmation.
Common Mistakes
- Overtightening until the screw strips or crushes the cabinet surface.
- Using a screwdriver that is too small and chewing up the screw head.
- Letting the handle spin and scratch the cabinet front.
Cabinet hardware tightening
a loose cabinet handle, knob, or drawer pull is treated here as a beginner observation and control problem first, not a chance to prove you can take apart the home. The safe version is visible, reversible, and easy to stop.
For renters, the important line is ownership. You can usually observe, photograph, time, clean lightly, or tighten a visible non-security part, but hidden systems, building-owned fixtures, and lease-controlled hardware belong to maintenance.
What to Check Before You Act
Record the starting condition, perform only one low-risk check at a time, and compare movement source, driver fit, tightening movement, final function. Do not repeat a step that needs more force, chemical, height, access, or disassembly.
| Check | Before | After | Interpretation |
|---|---|---|---|
| Movement source | Record handle, screw, insert, or drawer-front movement | After one safe check: hold each part separately and wiggle gently | Only a loose visible fastener is a simple tightening task Stop if the board, insert, or whole front moves. |
| Driver fit | Record bit engagement and screw-head condition | After one safe check: choose the bit that fills the recess without wobble | Correct fit reduces stripping Stop if the bit slips or the head is already damaged. |
| Tightening movement | Record quarter-turn response on each fastener | After one safe check: alternate fasteners while supporting the handle | Even small movement should remove play without crushing material Stop if the screw spins or the surface dimples. |
| Final function | Record wiggle, alignment, and drawer operation | After one safe check: open and close gently several times | Stable alignment without binding is the target Stop if looseness returns immediately. |
Common Situations and Stop Points
| Symptom | Possible context | Safe first check | Stop point |
|---|---|---|---|
| Movement source | Only a loose visible fastener is a simple tightening task | hold each part separately and wiggle gently | the board, insert, or whole front moves |
| Driver fit | Correct fit reduces stripping | choose the bit that fills the recess without wobble | the bit slips or the head is already damaged |
| Tightening movement | Even small movement should remove play without crushing material | alternate fasteners while supporting the handle | the screw spins or the surface dimples |
| Final function | Stable alignment without binding is the target | open and close gently several times | looseness returns immediately |
Try It or Report It?
| Situation | Beginner can try | Do not touch | Contact |
|---|---|---|---|
| Observe and document | Empty the drawer or cabinet and support the hardware. Use the exact-fitting hand driver. | Hidden, fixed, energized, pressurized, structural, or lease-controlled parts | Use the record if the baseline is abnormal |
| One reversible first step | Tighten in alternating quarter-turns. Test gently and record recurring looseness. | Anything that needs force, drilling, cutting, panel removal, or mixed chemicals | Maintenance if the first step fails or the condition returns |
| Condition persists | Repeat the observation for movement source and driver fit, not the repair | Do not escalate tools or improvise a workaround | Landlord, maintenance, manufacturer support, or the responsible professional |
| Warning sign appears | Stop, keep distance, and photograph only if that is safe | Stop if the screw head strips or the bit slips. Stop if an insert spins inside the board. Stop for cracks, swelling, water damage, or crushed particleboard. | Urgent maintenance, utility, emergency services, or another appropriate safety channel |
Renter-Safe First Steps
- Empty the drawer or cabinet and support the hardware.
- Use the exact-fitting hand driver.
- Tighten in alternating quarter-turns.
- Test gently and record recurring looseness.
Stop Lines
- Stop if the screw head strips or the bit slips.
- Stop if an insert spins inside the board.
- Stop for cracks, swelling, water damage, or crushed particleboard.
- Stop before adding glue or a larger screw without approval.
- Stop if the handle loosens again immediately.
Additional FAQ
Can I add threadlocker?
Avoid adhesives in rental furniture or cabinets unless the owner or manufacturer approves them.
What if the screw is too long?
Do not stack random washers or replace hardware by guesswork. Photograph and measure it for maintenance.
What should I include in a maintenance message?
Include the exact location, when it started, photos, the movement source and driver fit and tightening movement and final function, what safe check you performed, and whether the condition improved, stayed the same, or worsened.
Related Next Steps
- Stripped Screw Rescue: Stop Before It Gets Worse - Stop early if the driver no longer grips.
- Under-Sink Leak Check: What to Look For Before Touching Plumbing - Rule out cabinet swelling from moisture.
- Starter Tools for Living Alone: What Actually Earns Space - Choose the correct hand driver.
What Not to Do
- Do not drill new cabinet holes in a rental.
- Do not glue handles to cabinet doors.
- Do not force a screw that spins freely or will not catch.
When to Pause and Ask for Help
Contact maintenance if screws are stripped, the cabinet front is cracked or swollen, the handle is missing, the drawer face is separating, or tightening does not hold.
FAQ
Why does the handle keep loosening?
The screw may be too short, stripped, or pulling from damaged cabinet material. If it loosens again quickly, report it.
Can I replace cabinet hardware in a rental?
Only with approval. Even matching hole spacing can leave finish marks or lease issues.
Should I use glue?
No. Glue can damage finishes and make future repair harder.
What screwdriver do I need?
Most cabinet screws use a Phillips screwdriver, but match the tool to the screw head you actually see.
Final Checklist
- Fragile items moved
- Correct screwdriver used
- Handle supported from outside
- Screws snug but not forced
- No drilling or glue used
- Damaged hardware reported
You May Also Like
More beginner-safe guides that connect to this repair, the same room, or the next safety decision a renter may need.
- Starter Tools for Living Alone: What Actually Earns Space - Build a compact toolkit for apartment living with renter-safe basics, a buy-first order, and clear limits on tools you do not need yet.
- Assemble Furniture Alone Without Cracking Boards - Assemble flat-pack furniture by yourself with safer staging, sorting, and stop points.
- Loose Interior Door Handle: A Safe One-Person Tightening Check - Tighten a loose interior door handle safely, with renter-aware stop points for locks and entry doors.
- First Apartment Maintenance Checklist - A realistic monthly checklist for keeping a first apartment safer and easier to manage.
- Under-Sink Leak Check: What to Look For Before Touching Plumbing - Check under a kitchen or bathroom sink for early leak signs without taking plumbing apart.
- Food Spill Inside the Fridge: Clean It Without Spreading Odor - Clean sticky fridge spills and odors without using harsh chemicals where food is stored.
- Garbage Disposal Smell: Safe Cleaning Without Reaching Inside - Freshen a garbage disposal with safe cleaning steps and clear stop points for jams or leaks.
- Grease on Kitchen Walls: Gentle Cleaning for Painted Surfaces - Learn how to clean grease off painted kitchen walls with a gentle spot test, minimal moisture, and stop points that protect rental finishes.