Apartment Showerhead Replacement: The Renter-Safe Version
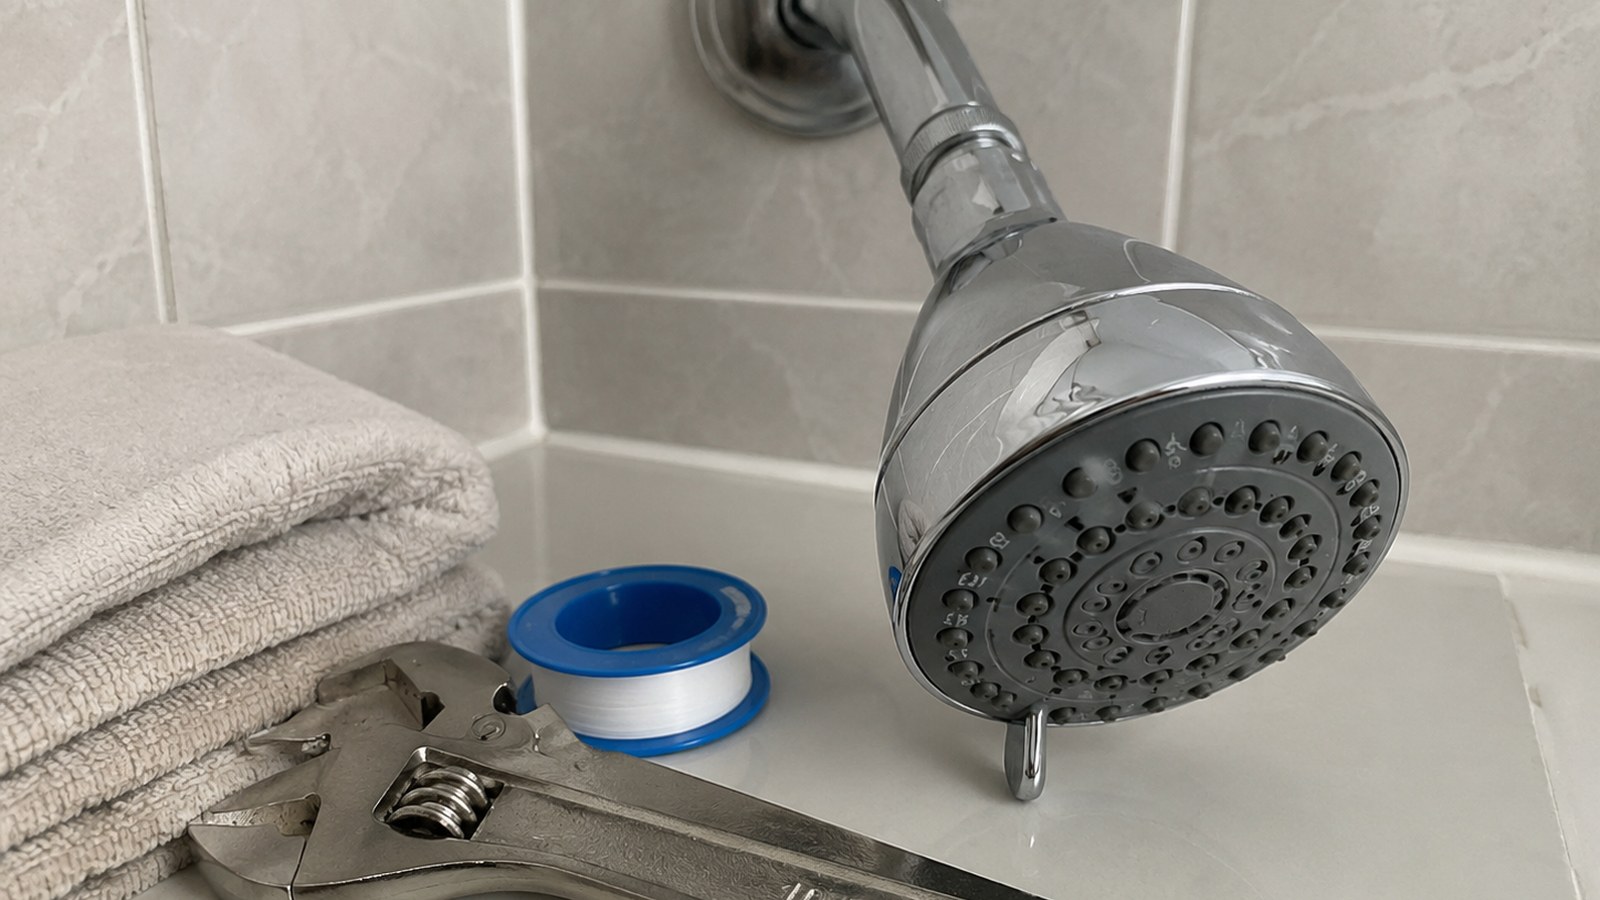
You can often replace a showerhead in an apartment, but only when your lease or property rules allow it and the removable head connects to a dry, stable, visible shower arm. Ask first when the rule is unclear, save the original part, and limit the work to the showerhead itself. Valves, cartridges, diverters, wall pipes, tub spouts, and leaks at the wall belong to maintenance.
By Portia Me'uan Thomas. Updated August 17, 2026. Edited for renter-aware safety.
Time: 15-25 minutes. Difficulty: Easy to moderate. Safety: Low to medium.
Quick Answer
Confirm the swap is allowed, put a towel in the tub, wrap the old showerhead connection with a rag, support the shower arm so it does not twist, loosen only the showerhead, clean the visible threads gently, install the new showerhead by hand according to its washer or tape instructions, test for leaks, and save the original part for move-out.
Before You Start
- Check your lease, resident handbook, or maintenance portal to confirm whether showerhead swaps are allowed.
- Take a photo of the original setup before loosening anything.
- Put a towel in the tub to protect the surface if a tool or part slips.
- Read the new showerhead instructions before removing the old one; some use a rubber washer and little or no tape.
- Do not twist the shower arm coming out of the wall. If that arm moves, stop.
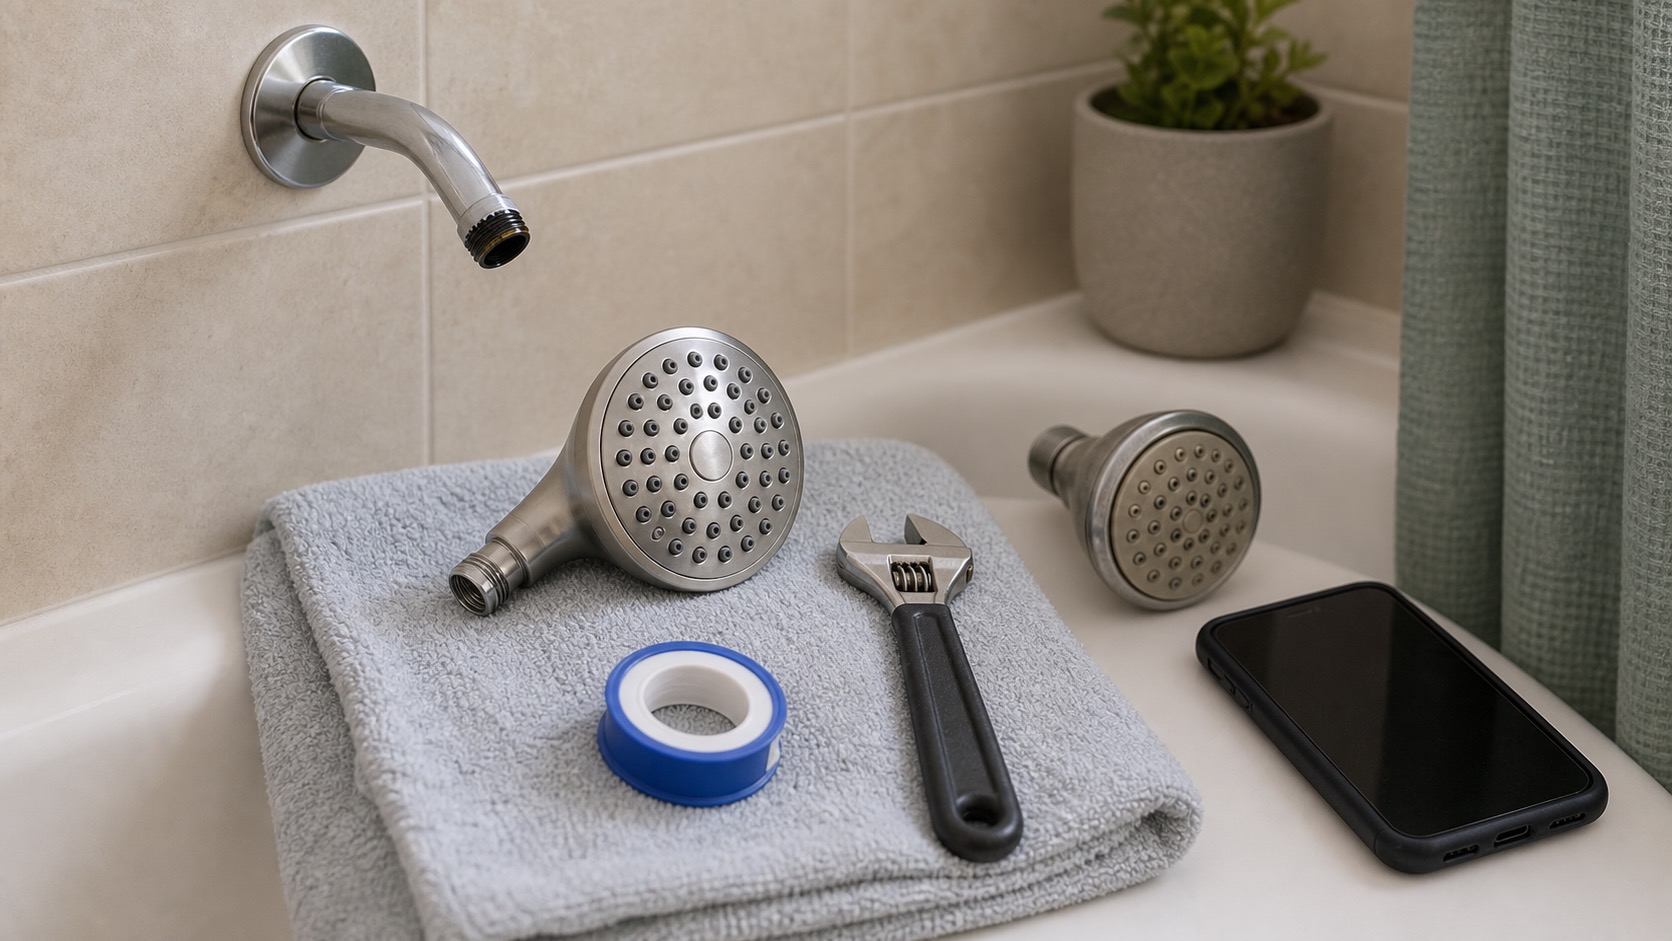
Tools Needed
- Adjustable wrench
- Soft rag
- Plumber's tape if instructions call for it
- Old towel for tub floor
- Small bag for the original showerhead and washer
- Phone camera for before-and-after photos
Renter Notes
Keep the original showerhead, washer, and any small parts in a labeled bag so you can reinstall them before move-out if required. Some properties do not allow fixture changes, and some require maintenance to perform even simple swaps. Stop and contact maintenance if the shower arm moves, leaks at the wall, looks corroded, feels loose, or if the existing showerhead will not loosen with gentle pressure. Take photos before and after so you can show that you changed only the removable head and did not alter the wall plumbing.
Step-by-Step Guide
- Turn the shower off completely and dry the connection.
What I check before the next step: I look for spreading water, wet electrical areas, sewage odor, swelling, or moisture below the fixture. Any of those turns this into a stop-and-report issue. - Wrap a rag around the old showerhead nut to protect the finish.
What I check before the next step: Before continuing, I confirm the step stayed dry, visible, reversible, and within the lease or my comfort level. - Hold the shower arm steady while loosening only the showerhead.
What I check before the next step: I look for spreading water, wet electrical areas, sewage odor, swelling, or moisture below the fixture. Any of those turns this into a stop-and-report issue. - If it does not loosen with gentle pressure, stop rather than twisting harder against the wall.
What I check before the next step: Before continuing, I confirm the step stayed dry, visible, reversible, and within the lease or my comfort level. - Remove old tape or debris from the visible threads gently without scratching or bending the shower arm.
What I check before the next step: I look for spreading water, wet electrical areas, sewage odor, swelling, or moisture below the fixture. Any of those turns this into a stop-and-report issue. - Confirm the new showerhead has the correct washer or follow its specific tape instructions.
What I check before the next step: I stay with accessible, user-facing checks only. Heat, burning smell, leaks, damaged cords, error codes, or panel access means the next step is maintenance. - Install the new showerhead by hand until snug, then stop before overtightening.
What I check before the next step: Before continuing, I confirm the step stayed dry, visible, reversible, and within the lease or my comfort level. - Run water at low flow first, then normal flow, and check for drips at the connection and at the wall.
What I check before the next step: I look for spreading water, wet electrical areas, sewage odor, swelling, or moisture below the fixture. Any of those turns this into a stop-and-report issue. - Dry the area, wait a few minutes, and check again with a tissue around the connection; a slow bead of water can be easy to miss while the shower is running.
What I check before the next step: I look for spreading water, wet electrical areas, sewage odor, swelling, or moisture below the fixture. Any of those turns this into a stop-and-report issue. - Store the original showerhead and any washer in a labeled bag for move-out or maintenance.
What I check before the next step: I stay with accessible, user-facing checks only. Heat, burning smell, leaks, damaged cords, error codes, or panel access means the next step is maintenance.
Safe Next Steps
- If the result improved, do one normal-use test and finish with the checklist item: Lease or maintenance rules checked.
- If the result is mixed, stop after the listed low-risk checks and decide whether the issue belongs with maintenance, your landlord, or a licensed professional.
- If the result did not improve or got worse, do not add force, stronger chemicals, hidden disassembly, or a new tool. Contact maintenance if any stop sign appears.
- For a rental, send a short maintenance message with where the issue is, when you noticed it, what changed, what safe check you tried, and two photos. Keep the confirmation.
Common Mistakes
- Using a wrench directly on visible metal and scratching it.
- Overtightening until threads or washers deform.
- Throwing away the original showerhead.
- Twisting the shower arm instead of only the showerhead.
- Adding too much plumber's tape when the new showerhead already seals with a washer.
- Ignoring a small leak at the wall because the new showerhead itself seems fine.
Can You Replace a Showerhead in an Apartment?
a showerhead replacement or leak at the showerhead connection is treated here as a beginner observation and control problem first, not a chance to prove you can take apart the home. The safe version is visible, reversible, and easy to stop.
For renters, the important line is ownership. You can usually observe, photograph, time, clean lightly, or tighten a visible non-security part, but hidden systems, building-owned fixtures, and lease-controlled hardware belong to maintenance.
What to Check Before You Act
Record the starting condition, perform only one low-risk check at a time, and compare permission and ownership, connection condition, thread engagement, final leak test. Do not repeat a step that needs more force, chemical, height, access, or disassembly.
| Check | Before | After | Interpretation |
|---|---|---|---|
| Permission and ownership | Record lease rule, written approval, and original-part storage plan | After one safe check: confirm the approved replacement scope | Approval defines whether the swap is renter work Stop if permission is missing or unclear. |
| Connection condition | Record drip location, corrosion, cracks, and whether the arm moves | After one safe check: photograph and hand-check only the removable head | A stable dry arm supports a simple accessory change Stop if the arm shifts or water appears at the wall. |
| Thread engagement | Record number of easy hand turns before resistance | After one safe check: restart once by hand if the head sits crooked | Smooth hand threading suggests correct alignment Stop if threads bind, grind, or need a wrench to start. |
| Final leak test | Record connection dry before water is turned on | After one safe check: run a short low-flow test and watch the joint | A dry joint after the test is the desired result Stop if dripping continues or water tracks toward the wall. |
Common Situations and Stop Points
| Symptom | Possible context | Safe first check | Stop point |
|---|---|---|---|
| Permission and ownership | Approval defines whether the swap is renter work | confirm the approved replacement scope | permission is missing or unclear |
| Connection condition | A stable dry arm supports a simple accessory change | photograph and hand-check only the removable head | the arm shifts or water appears at the wall |
| Thread engagement | Smooth hand threading suggests correct alignment | restart once by hand if the head sits crooked | threads bind, grind, or need a wrench to start |
| Final leak test | A dry joint after the test is the desired result | run a short low-flow test and watch the joint | dripping continues or water tracks toward the wall |
Try It or Report It?
| Situation | Beginner can try | Do not touch | Contact |
|---|---|---|---|
| Observe and document | Confirm written permission and save the original showerhead. Photograph the arm and connection before work. | Hidden, fixed, energized, pressurized, structural, or lease-controlled parts | Use the record if the baseline is abnormal |
| One reversible first step | Thread the replacement by hand before gentle final tightening. Run one short leak test and dry the joint. | Anything that needs force, drilling, cutting, panel removal, or mixed chemicals | Maintenance if the first step fails or the condition returns |
| Condition persists | Repeat the observation for permission and ownership and connection condition, not the repair | Do not escalate tools or improvise a workaround | Landlord, maintenance, manufacturer support, or the responsible professional |
| Warning sign appears | Stop, keep distance, and photograph only if that is safe | Stop if the shower arm moves at the wall. Stop for cracks, heavy corrosion, or a wall-side leak. Stop if threads bind or cross-thread. | Urgent maintenance, utility, emergency services, or another appropriate safety channel |
Renter-Safe First Steps
- Confirm written permission and save the original showerhead.
- Photograph the arm and connection before work.
- Thread the replacement by hand before gentle final tightening.
- Run one short leak test and dry the joint.
Stop Lines
- Stop if the shower arm moves at the wall.
- Stop for cracks, heavy corrosion, or a wall-side leak.
- Stop if threads bind or cross-thread.
- Stop before using excessive torque or opening the wall connection.
- Stop when written permission is absent.
Additional FAQ
Can renters replace a showerhead without changing the plumbing?
Only when the lease or written property guidance allows it and the job is limited to a compatible removable head on a stable visible arm. If the rule is unclear, ask first.
How tight should the new showerhead be?
Start fully by hand, then follow the product instructions. More force is not a substitute for correct thread alignment or the right seal.
What if the arm turns with the showerhead?
Stop. Movement at the wall can disturb hidden plumbing and should be handled by maintenance.
What should I include in a maintenance message?
Include the exact location, when it started, photos, the permission and ownership and connection condition and thread engagement and final leak test, what safe check you performed, and whether the condition improved, stayed the same, or worsened.
Related Next Steps
- Under-Sink Leak Check: What to Look For Before Touching Plumbing - Use the same dry-before-and-after leak documentation habit.
- Hard Water Stains on Faucets and Shower Glass - Clean mineral residue before assuming the showerhead needs replacement.
- Safe to DIY? A Renter's Home Repair Filter - Check ownership and hidden-system boundaries first.
What Not to Do
- Do not replace valves, cartridges, or pipes behind the wall.
- Do not continue if the pipe at the wall moves.
- Do not use excessive tape to force a poor fit.
- Do not use pliers or a wrench on the shower arm without protection and a clear reason.
- Do not install a heavy or unusual attachment if your lease, water pressure, or wall pipe condition is unclear.
When to Pause and Ask for Help
Contact maintenance if the shower arm is loose, leaks at the wall, is corroded, will not hold steady, or if water leaks after hand-tightening and one gentle adjustment. Also contact maintenance for low water pressure, valve problems, tub diverter issues, damaged tile, or any leak that appears behind the wall. Use a licensed plumber only if you are responsible for arranging service and your landlord approves it.
FAQ
Do I need plumber's tape?
Some showerheads need little or none because they use a rubber washer. Follow the product instructions instead of automatically wrapping many layers.
Can I take the new showerhead when I move?
Usually yes, but reinstall the original if your lease expects the unit returned that way and the original part is still in good condition.
What if it leaks after installation?
Turn water off, check the washer and threads, and try one gentle adjustment. If it still leaks, contact maintenance.
Do I need landlord permission to replace an apartment showerhead?
Check your lease, resident handbook, or maintenance portal. If fixture changes are not clearly allowed, ask in writing before removing the original showerhead.
What if the pipe coming out of the wall turns?
Stop immediately. Movement at the wall can create a hidden leak, so maintenance should inspect it.
Can a new showerhead fix low pressure?
Sometimes it improves the spray pattern, but low pressure can also come from building plumbing, a valve, sediment, or a maintenance issue.
Final Checklist
- Lease or maintenance rules checked
- Original showerhead photographed
- Tub protected
- Shower arm supported
- Connection hand-tightened
- No wall leak
- Water tested
- Original part saved
References
Use these official resources as background context. Product manuals, lease rules, local requirements, property maintenance instructions, and qualified professional advice should still come first for your exact home.
- Showerheads - EPA WaterSense. Use for flow-rate and WaterSense context before choosing a replacement showerhead.
- Fix a Leak Week - EPA WaterSense. Use as background for documenting leaks at the shower arm or wall connection instead of forcing parts.
You May Also Like
More beginner-safe guides that connect to this repair, the same room, or the next safety decision a renter may need.
- Slow Bathroom Sink: Renter-Safe First Checks Before Maintenance - Try safe first steps for a slow bathroom sink before escalating to apartment maintenance.
- Running Toilet in an Apartment: What You Can Check Safely - Check a running toilet tank without replacing plumbing parts or risking a leak.
- Loose Interior Door Handle: A Safe One-Person Tightening Check - Tighten a loose interior door handle safely, with renter-aware stop points for locks and entry doors.
- When Not to DIY a Home Repair - Clear stop signs for repairs that are unsafe, lease-sensitive, or require licensed help.
- Slow Shower Drain: Safe Hair and Soap Buildup Cleanup - Clear hair and soap buildup from a slow shower drain without harsh chemicals or pipe damage.
- Under-Sink Leak Check: What to Look For Before Touching Plumbing - Check under a kitchen or bathroom sink for early leak signs without taking plumbing apart.
- Apartment Smoke Detector Test: A Safe Monthly Check - Learn how to test an apartment smoke detector with its test button, what a failed test or chirp means, and when renters should call maintenance.
- Bathroom Mold Spots: Clean, Document, or Report? - Handle small bathroom mold spots with ventilation, protective gear, and clear renter stop points.