Assemble Furniture Alone Without Cracking Boards
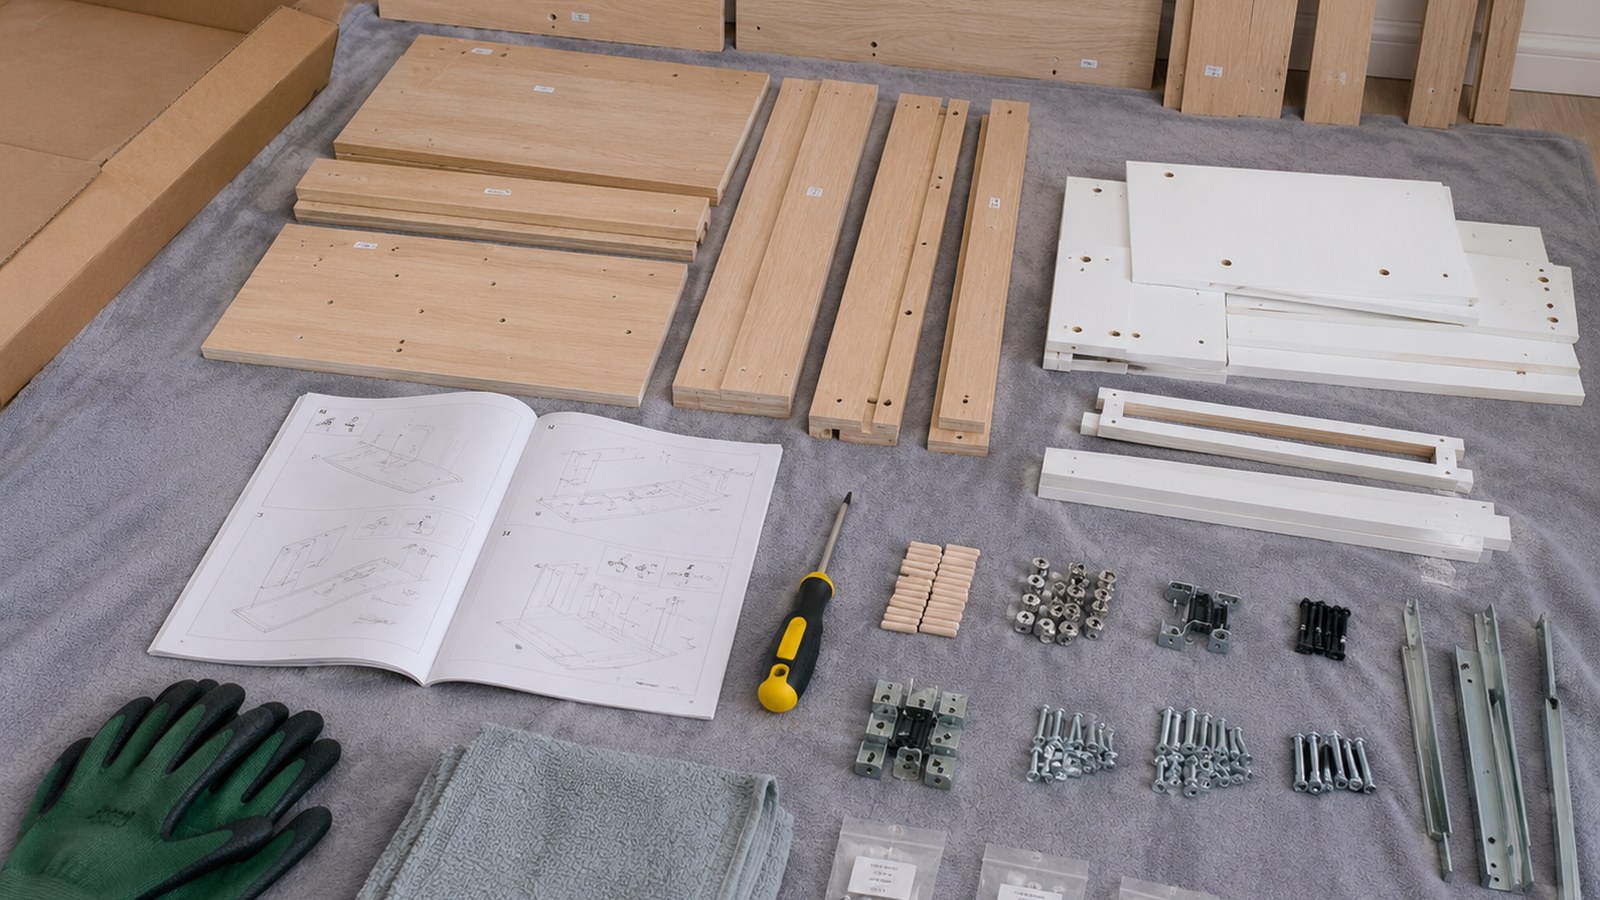
Use this for small to medium flat-pack furniture you can lift and control alone. Do not try to assemble tall, heavy, glass, wall-mounted, or tip-risk furniture by yourself.
By Portia Me'uan Thomas. Updated August 17, 2026. Edited for renter-aware safety.
Time: 30 minutes to 2 hours. Difficulty: Easy to moderate. Safety: Low to medium depending on size and weight.
Quick Answer
Clear floor space, read the whole instruction booklet, sort hardware, build on a soft surface, tighten screws loosely at first, square the piece before final tightening, and stop if a step needs a second person. Anchor tall furniture only according to instructions and lease rules.
Material Fit
Hardware and setup tasks depend on what the screw or load is biting into. When the material is unknown, I stop before drilling or anchoring.
| Material or surface | Safest first method | Conditional next method | Avoid / stop line |
|---|---|---|---|
| Solid wood or sturdy cabinet face | Hand-tighten visible screws a quarter-turn at a time. | Use normal-use testing before adding load. | Stop for splitting, spinning screws, or shifting alignment. |
| Particleboard / MDF furniture | Gentle cam-lock or screw adjustment only. | Unload shelves before testing. | Avoid over-tightening; it can crumble the material. |
| Drywall or plaster wall | Use removable or approved methods first. | Anchors only with landlord approval and correct hardware. | Stop if the wall crumbles, flexes, or hides utilities. |
| Tile, brick, metal frame, entry door | Document and request approval or maintenance. | Professional installation may be needed. | Do not drill or modify without written permission. |
Before You Start
- Confirm the box is light enough for you to move safely.
- Open the box flat and protect floors with cardboard or a blanket.
- Count major parts and hardware before tightening anything.
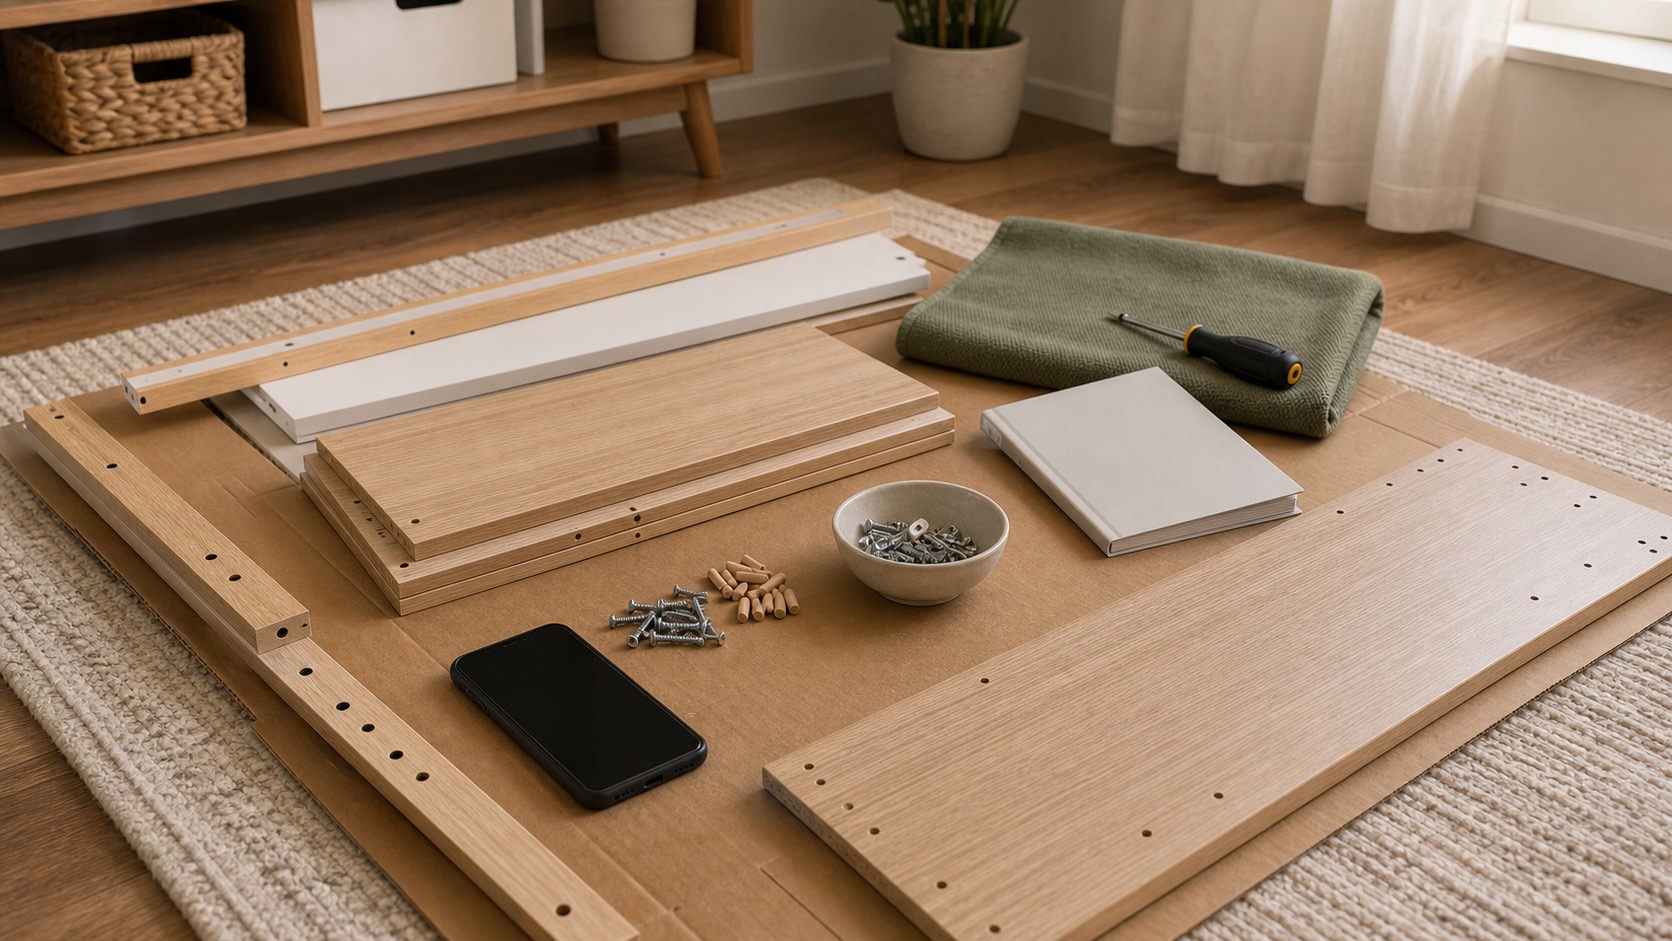
Tools Needed
- Instruction booklet
- Included hardware
- Multi-bit screwdriver
- Small bowl or tray
- Soft blanket or cardboard
- Tape measure
- Level
Renter Notes
Wall anchoring may require landlord approval, but tall furniture can be a tipping hazard. Ask your landlord or maintenance team how to anchor safely in your unit if the instructions require it.
Step-by-Step Guide
- Clear enough floor space to lay parts flat without stepping over them.
What I check before the next step: I match the tool to the job and stop if the tool starts slipping, damaging material, or hiding the real problem. - Read the instructions once and identify any steps marked for two people.
What I check before the next step: I match the tool to the job and stop if the tool starts slipping, damaging material, or hiding the real problem. - Sort screws, dowels, cams, and brackets into separate piles or bowls.
What I check before the next step: I use hand pressure only and stop when resistance changes suddenly. Spinning screws, cracking material, wobble, or a need to drill usually means permission or help is needed. - Assemble pieces loosely at first so panels can shift into alignment.
What I check before the next step: I use hand pressure only and stop when resistance changes suddenly. Spinning screws, cracking material, wobble, or a need to drill usually means permission or help is needed. - Check that the item is square and level before final tightening.
What I check before the next step: I treat the result as information. If the problem improves, I verify once; if it stays the same or worsens, I do not keep repeating the step with more force. - Move the furniture slowly, avoid dragging weak joints, and follow anchoring instructions for tall pieces.
What I check before the next step: I use hand pressure only and stop when resistance changes suddenly. Spinning screws, cracking material, wobble, or a need to drill usually means permission or help is needed.
Safe Next Steps
- If the result improved, do one normal-use test and finish with the checklist item: Instructions read.
- Clean and store the tool before deciding whether to buy or use something stronger. If the job requires a tool you do not understand, pause and ask maintenance or a qualified person.
- If the result did not improve or got worse, do not add force, stronger chemicals, hidden disassembly, or a new tool. Get help, contact maintenance, or hire a qualified assembler if any stop sign appears.
- For a rental, send a short maintenance message with where the issue is, when you noticed it, what changed, what safe check you tried, and two photos. Keep the confirmation.
Common Mistakes
- Fully tightening the first screws before all panels are aligned.
- Using a power drill and stripping soft hardware.
- Building heavy furniture upright too early and cracking joints.
One-person flat-pack assembly
assembling flat-pack furniture alone without cracking panels or creating a tip-over risk is treated here as a beginner observation and control problem first, not a chance to prove you can take apart the home. The safe version is visible, reversible, and easy to stop.
For renters, the important line is ownership. You can usually observe, photograph, time, clean lightly, or tighten a visible non-security part, but hidden systems, building-owned fixtures, and lease-controlled hardware belong to maintenance.
What to Check Before You Act
Record the starting condition, perform only one low-risk check at a time, and compare parts inventory, panel support, fastener seating, final stability. Do not repeat a step that needs more force, chemical, height, access, or disassembly.
| Check | Before | After | Interpretation |
|---|---|---|---|
| Parts inventory | Record panel labels, fastener counts, damage, and missing hardware | After one safe check: match every part to the manual before assembly | A complete undamaged kit prevents forced substitutions Stop if a structural panel or required fastener is missing or damaged. |
| Panel support | Record floor protection, reach, balance, and need for a second person | After one safe check: assemble flat and use padded supports where instructed | Stable support reduces cracking and pinch risk Stop if a panel is too large or heavy to control. |
| Fastener seating | Record alignment, gap, and resistance at each joint | After one safe check: start all fasteners loosely, square the frame, then tighten in stages | Even seating avoids splitting and distortion Stop if a cam, dowel, or screw binds or breaks the surface. |
| Final stability | Record level, rocking, drawer extension, load limit, and anti-tip requirement | After one safe check: test empty on a level floor | An empty stable test precedes loading and anchoring Stop if the unit rocks, leans, or requires an unapproved anchor. |
Common Situations and Stop Points
| Symptom | Possible context | Safe first check | Stop point |
|---|---|---|---|
| Parts inventory | A complete undamaged kit prevents forced substitutions | match every part to the manual before assembly | a structural panel or required fastener is missing or damaged |
| Panel support | Stable support reduces cracking and pinch risk | assemble flat and use padded supports where instructed | a panel is too large or heavy to control |
| Fastener seating | Even seating avoids splitting and distortion | start all fasteners loosely, square the frame, then tighten in stages | a cam, dowel, or screw binds or breaks the surface |
| Final stability | An empty stable test precedes loading and anchoring | test empty on a level floor | the unit rocks, leans, or requires an unapproved anchor |
Try It or Report It?
| Situation | Beginner can try | Do not touch | Contact |
|---|---|---|---|
| Observe and document | Inventory and photograph all parts before assembly. Use a padded clear floor and follow the exact sequence. | Hidden, fixed, energized, pressurized, structural, or lease-controlled parts | Use the record if the baseline is abnormal |
| One reversible first step | Start fasteners loosely and tighten evenly by hand. Get help for lifting and complete approved anti-tip steps before loading. | Anything that needs force, drilling, cutting, panel removal, or mixed chemicals | Maintenance if the first step fails or the condition returns |
| Condition persists | Repeat the observation for parts inventory and panel support, not the repair | Do not escalate tools or improvise a workaround | Landlord, maintenance, manufacturer support, or the responsible professional |
| Warning sign appears | Stop, keep distance, and photograph only if that is safe | Stop for missing or damaged structural parts. Stop when a panel is too heavy or awkward for one person. Stop if fasteners bind, spin, or crack the finish. | Urgent maintenance, utility, emergency services, or another appropriate safety channel |
Renter-Safe First Steps
- Inventory and photograph all parts before assembly.
- Use a padded clear floor and follow the exact sequence.
- Start fasteners loosely and tighten evenly by hand.
- Get help for lifting and complete approved anti-tip steps before loading.
Stop Lines
- Stop for missing or damaged structural parts.
- Stop when a panel is too heavy or awkward for one person.
- Stop if fasteners bind, spin, or crack the finish.
- Stop before loading unstable or unanchored furniture.
- Stop before drilling a rental wall without approval and wall information.
Additional FAQ
Should I use a power drill?
Usually not unless the manufacturer specifically calls for it. Hand tools give better feedback and reduce overtightening.
Can I skip the anti-tip strap if no children live here?
Follow the manufacturer instructions. Tip-over can affect adults, visitors, pets, and anyone opening drawers or climbing.
What should I include in a maintenance message?
Include the exact location, when it started, photos, the parts inventory and panel support and fastener seating and final stability, what safe check you performed, and whether the condition improved, stayed the same, or worsened.
Related Next Steps
- Wobbly Bookshelf: Secure the Risk Without Wall Damage - Address stability and approved anchoring before loading.
- Stripped Screw Rescue: Stop Before It Gets Worse - Stop a damaged fastener from becoming permanent.
- Starter Tools for Living Alone: What Actually Earns Space - Use a small correct-fitting hand-tool set.
What Not to Do
- Do not assemble tall bookcases, wardrobes, glass tops, or heavy beds alone if instructions call for two people.
- Do not skip required anti-tip hardware on tall furniture.
- Do not drill into rental walls for anchors without permission and the right hardware for the wall type.
When to Pause and Ask for Help
Get help, contact maintenance, or hire a qualified assembler if the furniture is too heavy to control, requires wall anchoring you are not allowed to install, arrives damaged, includes glass, or must support significant weight like a bed frame.
FAQ
Can I use a drill to go faster?
Use hand tools unless the instructions allow a drill. A drill can strip screws or crack particleboard quickly.
What if I put a panel on backward?
Stop, loosen nearby fasteners, and reverse it before forcing the next step. Forcing parts usually causes damage.
Do I really need to anchor furniture?
Tall furniture can tip. Follow the product instructions and ask your landlord about approved anchoring methods.
How do I move it after assembly?
Lift from strong points if you can do so safely. Dragging can twist joints and tear feet or panels.
Final Checklist
- Instructions read
- Hardware sorted
- Floor protected
- Screws left loose until aligned
- Piece checked square and level
- Heavy or tall items handled with help
- Anchoring handled safely
References
Use these official resources as background context. Product manuals, lease rules, local requirements, property maintenance instructions, and qualified professional advice should still come first for your exact home.
- Anchor It - U.S. Consumer Product Safety Commission. Use for tip-over prevention context after assembling dressers, shelves, and other tall furniture.
- Tip-over information center - U.S. Consumer Product Safety Commission. Use as background for checking stability and anchoring needs before loading assembled furniture.
You May Also Like
More beginner-safe guides that connect to this repair, the same room, or the next safety decision a renter may need.
- Starter Tools for Living Alone: What Actually Earns Space - Build a compact toolkit for apartment living with renter-safe basics, a buy-first order, and clear limits on tools you do not need yet.
- Loose Cabinet Handles and Drawer Pulls: A 10-Minute Check - Tighten loose cabinet knobs and drawer pulls without stripping screws or damaging rental cabinets.
- Curtains in a Rental: Hang Them Without Wall Damage - Add privacy with renter-friendly curtain options that avoid drilling and wall damage.
- When Not to DIY a Home Repair - Clear stop signs for repairs that are unsafe, lease-sensitive, or require licensed help.
- Stripped Screw Rescue: Stop Before It Gets Worse - Try low-risk stripped screw removal steps before damaging hardware, cabinets, or rental fixtures.
- Wobbly Bookshelf: Secure the Risk Without Wall Damage - Stabilize a wobbly bookshelf with safer loading, leveling, and landlord-approved anchoring choices.
- Safe to DIY? A Renter's Home Repair Filter - Use a simple safety filter before deciding whether to DIY a repair in your first place.
- First Apartment Maintenance Checklist - A realistic monthly checklist for keeping a first apartment safer and easier to manage.