Curtains in a Rental: Hang Them Without Wall Damage
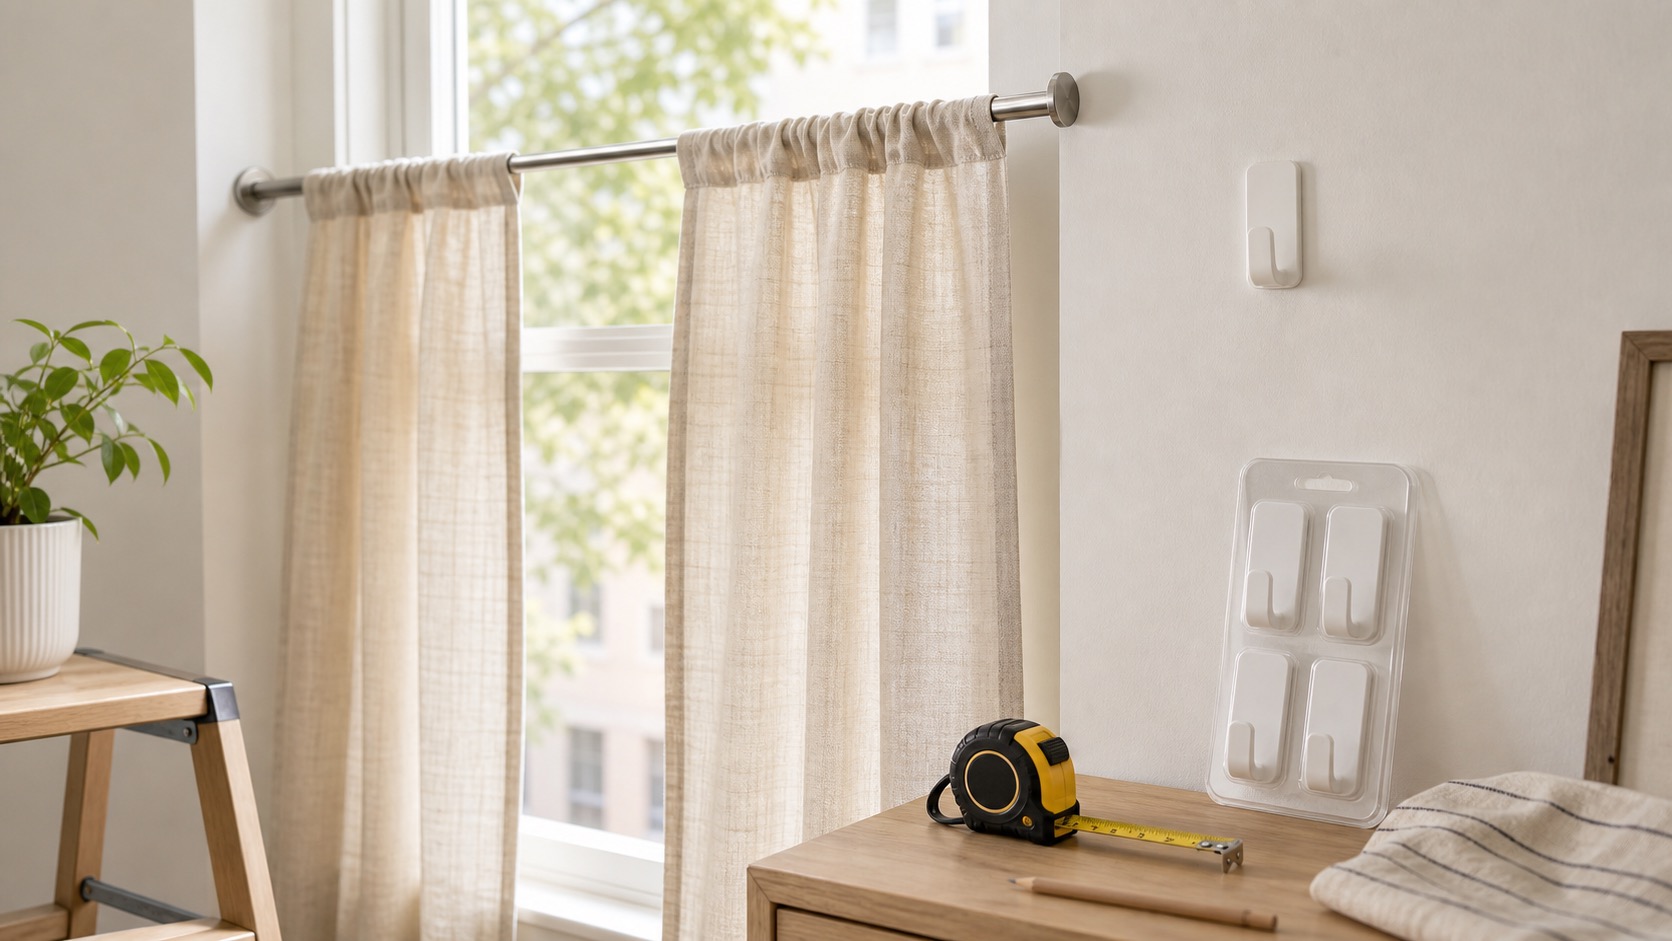
Use this when you want more privacy, shade, or a softer room without making permanent holes. This guide focuses on tension rods and removable options, not drilling into walls, trim, brick, or window frames.
By Portia Me'uan Thomas. Updated August 17, 2026. Edited for renter-aware safety.
Time: 20-40 minutes. Difficulty: Easy. Safety: Low if you can reach safely.
Quick Answer
Measure the window, choose a tension rod or no-drill curtain solution rated for your curtain weight, clean the contact surfaces, install it level, and use lightweight curtains. Avoid heavy rods, drilling, or adhesive products that could peel paint unless your landlord approved them.
Material Fit
Hardware and setup tasks depend on what the screw or load is biting into. When the material is unknown, I stop before drilling or anchoring.
| Material or surface | Safest first method | Conditional next method | Avoid / stop line |
|---|---|---|---|
| Solid wood or sturdy cabinet face | Hand-tighten visible screws a quarter-turn at a time. | Use normal-use testing before adding load. | Stop for splitting, spinning screws, or shifting alignment. |
| Particleboard / MDF furniture | Gentle cam-lock or screw adjustment only. | Unload shelves before testing. | Avoid over-tightening; it can crumble the material. |
| Drywall or plaster wall | Use removable or approved methods first. | Anchors only with landlord approval and correct hardware. | Stop if the wall crumbles, flexes, or hides utilities. |
| Tile, brick, metal frame, entry door | Document and request approval or maintenance. | Professional installation may be needed. | Do not drill or modify without written permission. |
Before You Start
- Confirm whether your lease allows holes in walls or trim.
- Measure the inside width of the window frame if using a tension rod.
- Use a stable step stool only if the window is safely within reach.
Tools Needed
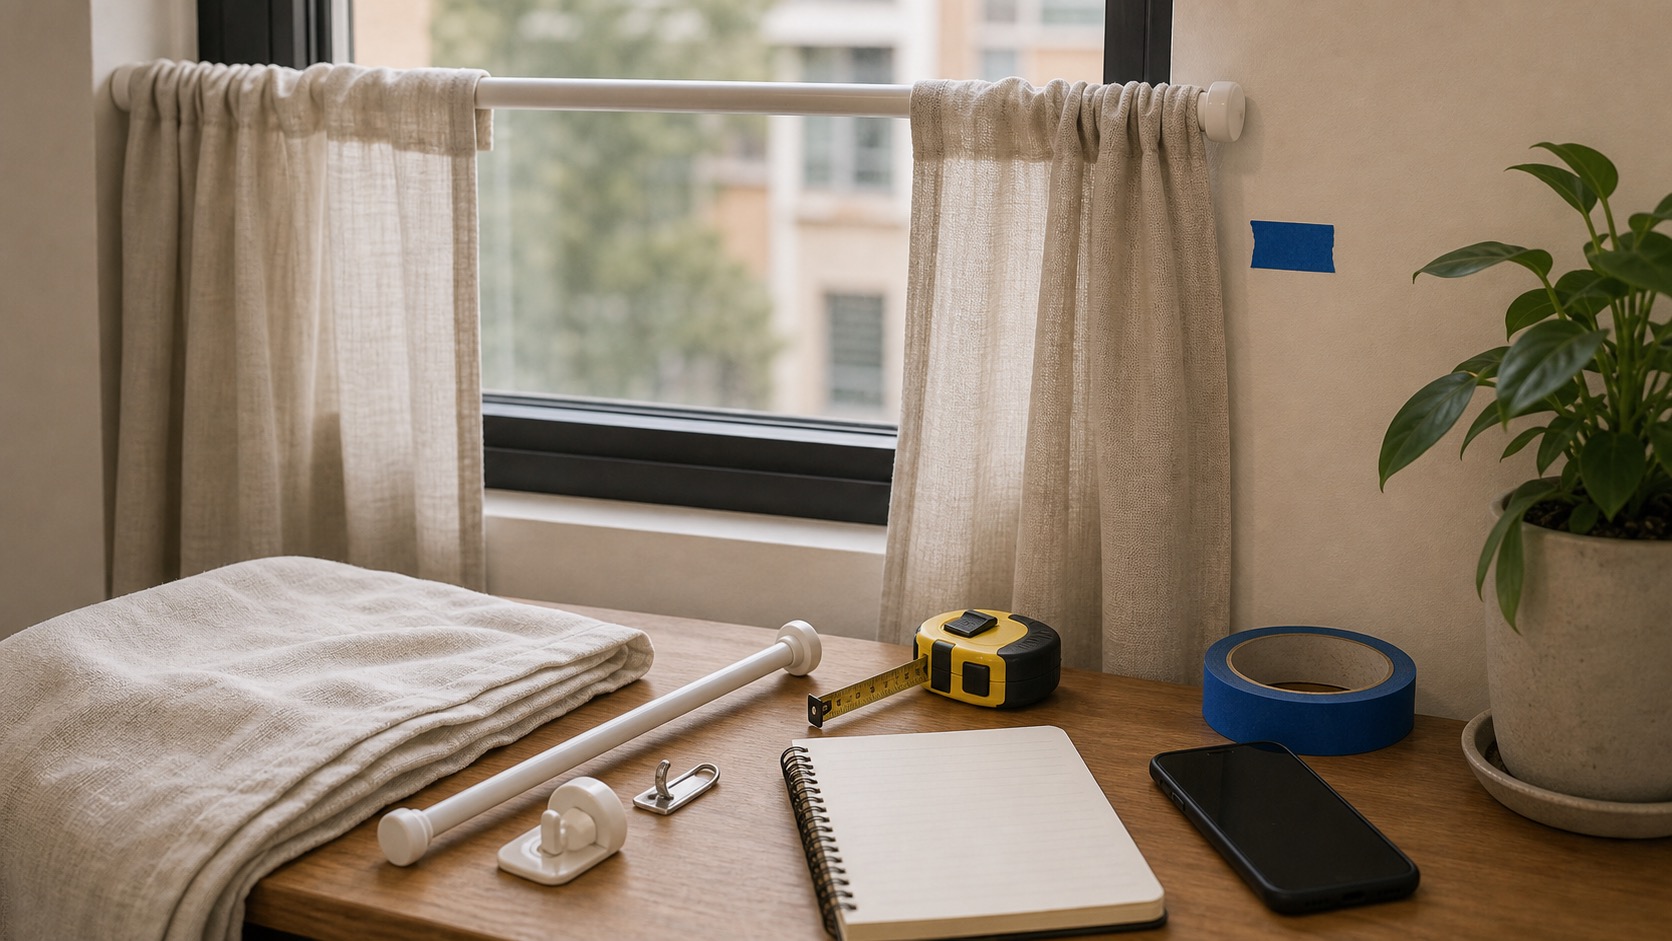
- Tape measure
- Pencil
- Small level
- Stable step stool if needed
- Microfiber cloth
- Tension rod or approved no-drill hardware
- Lightweight curtains
Renter Notes
Check your lease before drilling or using adhesive mounts. Some removable products still damage paint, so test carefully and keep curtains light.
Step-by-Step Guide
- Measure the window width and height before buying curtains or hardware.
What I check before the next step: I keep the door or window from trapping me while testing. Entry locks, broken latches, cracked frames, or security uncertainty belong with maintenance or a locksmith. - Choose a tension rod or no-drill setup rated for more than the curtain weight.
What I check before the next step: I use hand pressure only and stop when resistance changes suddenly. Spinning screws, cracking material, wobble, or a need to drill usually means permission or help is needed. - Wipe the contact surfaces so dust does not reduce grip.
What I check before the next step: I do not mix chemicals or scrub harder if the finish changes. I ventilate, spot-check, and stop for strong odor, spreading stains, mold growth, or damaged surfaces. - Set the rod slightly longer than the opening, compress it, and place it inside the frame.
What I check before the next step: Before continuing, I confirm the step stayed dry, visible, reversible, and within the lease or my comfort level. - Use a small level and adjust until the curtain hangs evenly.
What I check before the next step: I use hand pressure only and stop when resistance changes suddenly. Spinning screws, cracking material, wobble, or a need to drill usually means permission or help is needed. - Open and close the curtains gently for a few days and check that the rod has not slipped.
What I check before the next step: I treat the result as information. If the problem improves, I verify once; if it stays the same or worsens, I do not keep repeating the step with more force.
Safe Next Steps
- If the result improved, do one normal-use test and finish with the checklist item: Lease checked.
- If the result is mixed, stop after the listed low-risk checks and decide whether the issue belongs with maintenance, your landlord, or a licensed professional.
- If the result did not improve or got worse, do not add force, stronger chemicals, hidden disassembly, or a new tool. Contact your landlord or maintenance team if any stop sign appears.
- For a rental, send a short maintenance message with where the issue is, when you noticed it, what changed, what safe check you tried, and two photos. Keep the confirmation.
Common Mistakes
- Using heavy blackout curtains on a weak tension rod.
- Installing adhesive hooks on dirty or fragile paint.
- Standing on a chair instead of a stable step stool.
Renter-safe curtain support planning
hanging curtains without unauthorized wall or trim damage is treated here as a beginner observation and control problem first, not a chance to prove you can take apart the home. The safe version is visible, reversible, and easy to stop.
For renters, the important line is ownership. You can usually observe, photograph, time, clean lightly, or tighten a visible non-security part, but hidden systems, building-owned fixtures, and lease-controlled hardware belong to maintenance.
What to Check Before You Act
Record the starting condition, perform only one low-risk check at a time, and compare mounting permission, opening and clearance, load, surface response. Do not repeat a step that needs more force, chemical, height, access, or disassembly.
| Check | Before | After | Interpretation |
|---|---|---|---|
| Mounting permission | Record lease rule, written approval, and existing bracket condition | After one safe check: choose an approved existing or no-drill support | The lease and wall ownership determine the mounting method Stop if drilling or permanent hardware is not approved. |
| Opening and clearance | Record width, height, trim depth, heater, vent, and window movement | After one safe check: measure twice with the window fully operated | Clearance prevents blocked operation and heat exposure Stop if the curtain would block egress, heat, sprinkler, or alarm. |
| Load | Record rod, curtain, and hardware weight rating | After one safe check: select the lightest setup within the rated span | Long spans and heavy fabric increase pullout risk Stop if rating is missing or the support bows. |
| Surface response | Record paint lift, trim compression, slipping, and bracket movement | After one safe check: perform a short unloaded then lightly loaded check | No movement or finish change is the desired baseline Stop if paint lifts, trim dents, or support shifts. |
Common Situations and Stop Points
| Symptom | Possible context | Safe first check | Stop point |
|---|---|---|---|
| Mounting permission | The lease and wall ownership determine the mounting method | choose an approved existing or no-drill support | drilling or permanent hardware is not approved |
| Opening and clearance | Clearance prevents blocked operation and heat exposure | measure twice with the window fully operated | the curtain would block egress, heat, sprinkler, or alarm |
| Load | Long spans and heavy fabric increase pullout risk | select the lightest setup within the rated span | rating is missing or the support bows |
| Surface response | No movement or finish change is the desired baseline | perform a short unloaded then lightly loaded check | paint lifts, trim dents, or support shifts |
Try It or Report It?
| Situation | Beginner can try | Do not touch | Contact |
|---|---|---|---|
| Observe and document | Confirm lease rules and photograph the window first. Measure the opening, clearances, and total load. | Hidden, fixed, energized, pressurized, structural, or lease-controlled parts | Use the record if the baseline is abnormal |
| One reversible first step | Use approved existing brackets or a correctly rated reversible system. Test lightly before hanging the full curtain. | Anything that needs force, drilling, cutting, panel removal, or mixed chemicals | Maintenance if the first step fails or the condition returns |
| Condition persists | Repeat the observation for mounting permission and opening and clearance, not the repair | Do not escalate tools or improvise a workaround | Landlord, maintenance, manufacturer support, or the responsible professional |
| Warning sign appears | Stop, keep distance, and photograph only if that is safe | Stop before drilling without written approval and wall information. Stop if the setup blocks egress, heaters, vents, sprinklers, or alarms. Stop if paint lifts, trim compresses, or hardware slips. | Urgent maintenance, utility, emergency services, or another appropriate safety channel |
Renter-Safe First Steps
- Confirm lease rules and photograph the window first.
- Measure the opening, clearances, and total load.
- Use approved existing brackets or a correctly rated reversible system.
- Test lightly before hanging the full curtain.
Stop Lines
- Stop before drilling without written approval and wall information.
- Stop if the setup blocks egress, heaters, vents, sprinklers, or alarms.
- Stop if paint lifts, trim compresses, or hardware slips.
- Stop when weight ratings are missing or exceeded.
- Stop if cords create an accessible loop hazard.
Additional FAQ
Are adhesive hooks damage-free?
No product is damage-free on every paint and wall. Check the rating, surface instructions, cure time, and an inconspicuous test area.
Can I use a tension rod on painted trim?
Only if the product permits that surface and the trim is sound. Pressure can dent trim or lift paint.
What should I include in a maintenance message?
Include the exact location, when it started, photos, the mounting permission and opening and clearance and load and surface response, what safe check you performed, and whether the condition improved, stayed the same, or worsened.
Related Next Steps
- Small Drywall Holes in a Rental: Patch or Report? - Understand why wall damage should not be created casually.
- Drafty Apartment Window: Renter-Safe First Fixes - Keep draft treatment separate from curtain support.
- Move-In Inspection Before You Unpack - Save the original window and trim condition.
What Not to Do
- Do not drill into walls, trim, tile, brick, or window frames without approval.
- Do not hang heavy curtains over a bed or crib with weak temporary hardware.
- Do not block fire exits, heaters, vents, or sprinkler heads with fabric.
When to Pause and Ask for Help
Contact your landlord or maintenance team if you need permanent hardware, the window frame is damaged, the blinds are broken, or a window does not lock or open safely. Use a professional installer for heavy window treatments.
FAQ
Are tension rods renter-friendly?
Usually, if they fit the frame and hold lightweight curtains. They can still scuff paint if overtightened.
Can I use adhesive hooks?
Only if your lease allows them and the paint is sound. Removable adhesive can still peel paint.
What curtains are safest for no-drill hanging?
Lightweight panels are safer than heavy lined or blackout curtains on temporary hardware.
What if my apartment already has blinds?
Do not remove building-provided blinds without permission. Add curtains in a way that does not interfere with them.
Final Checklist
- Lease checked
- Window measured
- Lightweight curtains chosen
- Contact surfaces cleaned
- Stable stool used if needed
- No blocked vents or exits
- Rod checked for slipping
References
Use these official resources as background context. Product manuals, lease rules, local requirements, property maintenance instructions, and qualified professional advice should still come first for your exact home.
- Window coverings - U.S. Consumer Product Safety Commission. Use for cord-safety context when choosing blinds, shades, or curtain layouts near children or guests.
You May Also Like
More beginner-safe guides that connect to this repair, the same room, or the next safety decision a renter may need.
- Small Drywall Holes in a Rental: Patch or Report? - Patch small nail and screw holes in rental drywall without making a bigger wall problem.
- Front Door Security Check for Renters - Improve front-door confidence with renter-safe checks, habits, and clear lock repair boundaries.
- First Apartment Maintenance Checklist - A realistic monthly checklist for keeping a first apartment safer and easier to manage.
- Starter Tools for Living Alone: What Actually Earns Space - Build a compact toolkit for apartment living with renter-safe basics, a buy-first order, and clear limits on tools you do not need yet.
- The Quiet Habit That Helped at Move-Out: Why I Photograph Apartment Problems Now - Build a simple, privacy-aware apartment photo record with safe wide and detail images, useful notes, original files, official request confirmations, and move-out comparisons.
- Move-In Inspection Before You Unpack - Inspect a rental apartment before unpacking so you can document damage, leaks, locks, and safety issues early.
- Pest Evidence in a Rental: Where to Check First - Look for early pest evidence in a rental apartment and report it before the problem spreads.
- Apartment Laundry Without Damaging Clothes - Use shared apartment laundry machines with fewer mistakes, safer habits, and less clothing damage.