Wobbly Bookshelf: Secure the Risk Without Wall Damage
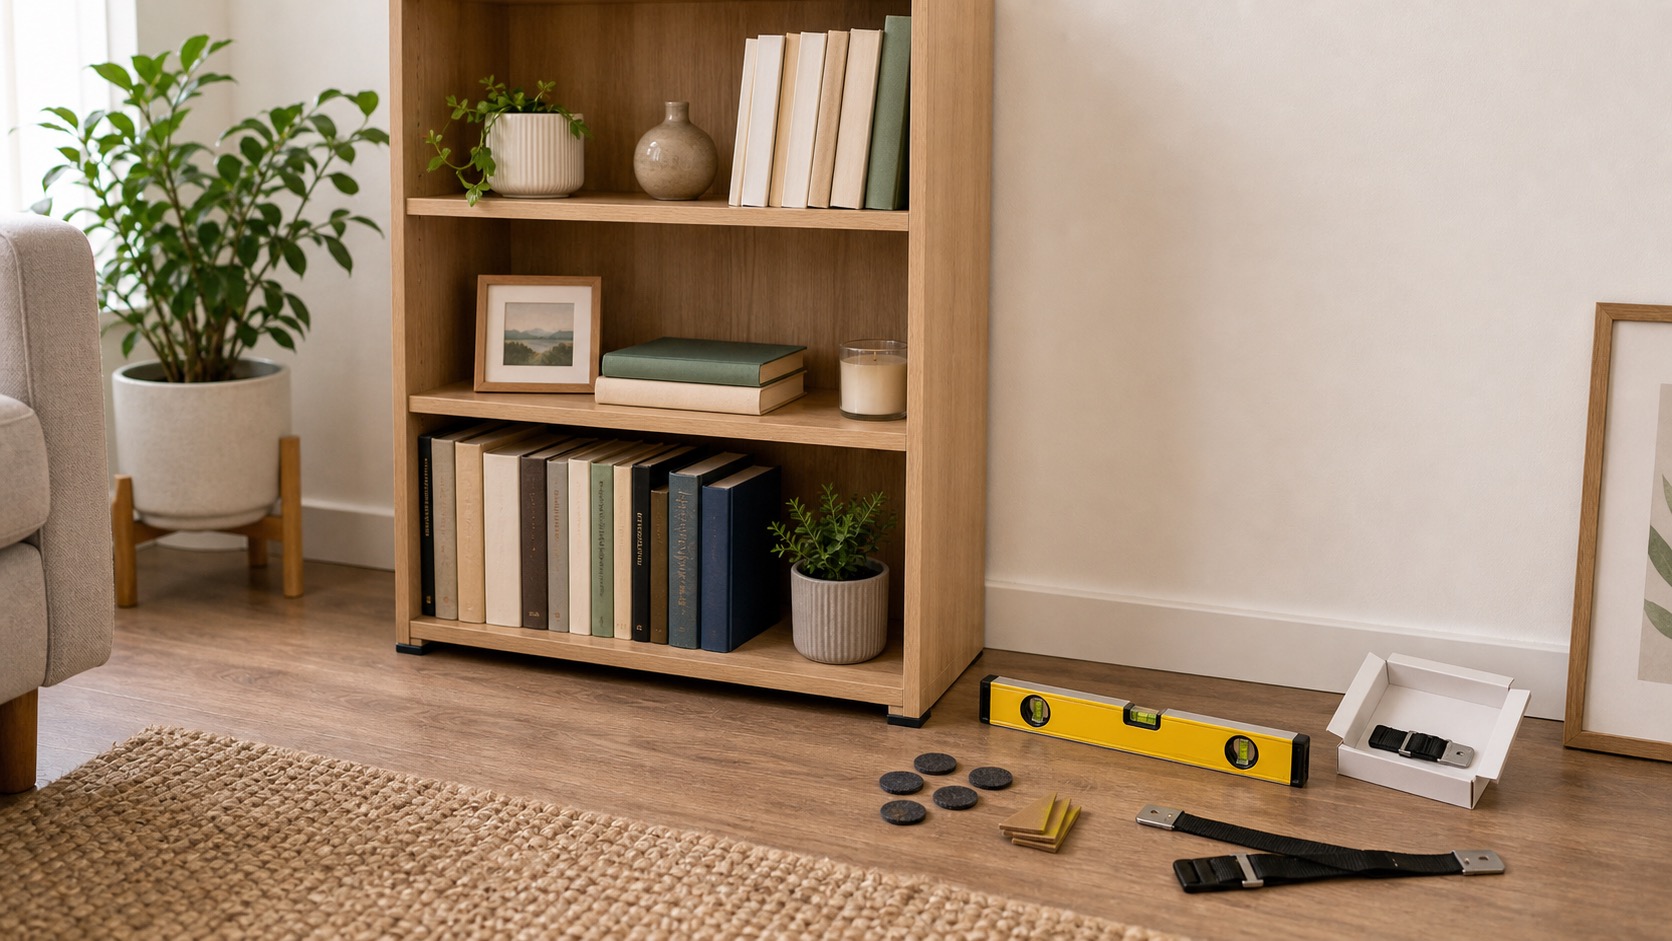
Use this when a freestanding bookshelf rocks, leans, or feels nervous when you pull out a book in your apartment. This guide covers low-risk stabilization and decision-making, not drilling into the wall without permission.
By Portia Me'uan Thomas. Updated August 17, 2026. Edited for renter-aware safety.
Time: 20-45 minutes. Difficulty: Easy to moderate. Safety: Medium for tall furniture.
Quick Answer
Unload the shelf, check that it is assembled square, tighten its hardware, level it with furniture shims, place heavier items low, and ask your landlord about approved anti-tip anchoring if the shelf is tall. Do not rely on books or tape to hold a leaning shelf upright.
Material Fit
Hardware and setup tasks depend on what the screw or load is biting into. When the material is unknown, I stop before drilling or anchoring.
| Material or surface | Safest first method | Conditional next method | Avoid / stop line |
|---|---|---|---|
| Solid wood or sturdy cabinet face | Hand-tighten visible screws a quarter-turn at a time. | Use normal-use testing before adding load. | Stop for splitting, spinning screws, or shifting alignment. |
| Particleboard / MDF furniture | Gentle cam-lock or screw adjustment only. | Unload shelves before testing. | Avoid over-tightening; it can crumble the material. |
| Drywall or plaster wall | Use removable or approved methods first. | Anchors only with landlord approval and correct hardware. | Stop if the wall crumbles, flexes, or hides utilities. |
| Tile, brick, metal frame, entry door | Document and request approval or maintenance. | Professional installation may be needed. | Do not drill or modify without written permission. |
Before You Start
- Remove books and objects before tightening or moving the shelf.
- Check whether the bookshelf is tall, narrow, or placed on carpet, which increases tipping risk.
- Review the furniture instructions for required anti-tip hardware.
Tools Needed
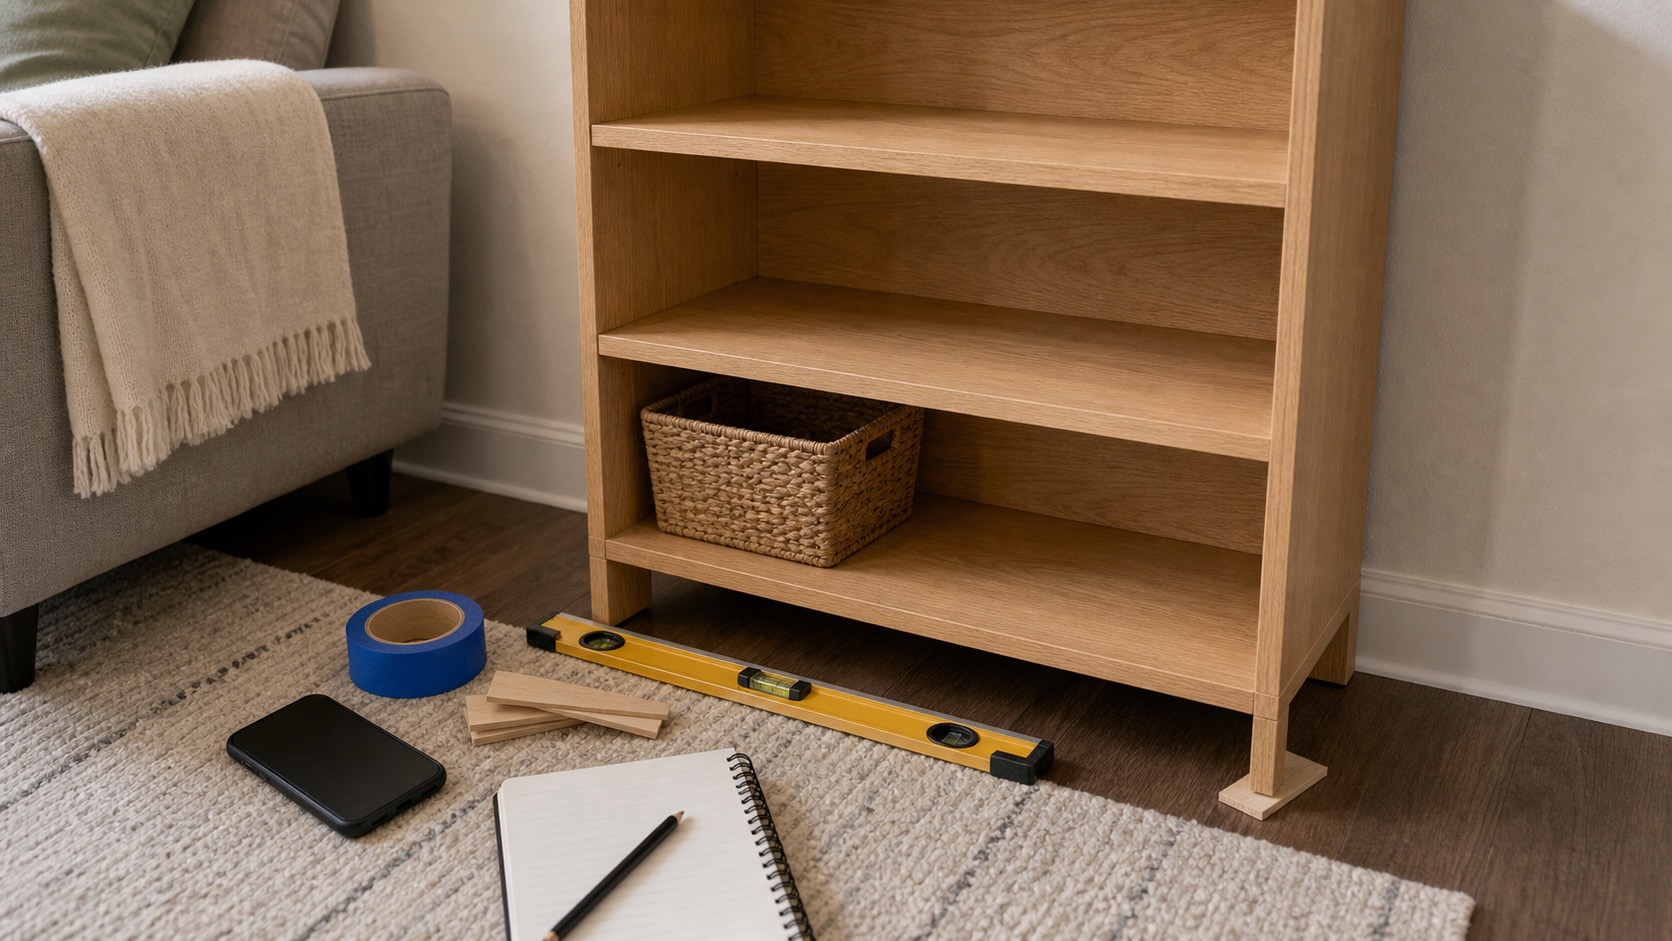
- Screwdriver or hex key for the bookshelf hardware
- Level
- Furniture shims
- Tape measure
- Anti-tip kit if approved
- Phone camera
Renter Notes
Tall furniture can be a real tip hazard, but wall anchoring may require approval and the right fastener for the wall type. Ask your landlord or maintenance team before drilling.
Step-by-Step Guide
- Unload the bookshelf from top to bottom so it is light enough to handle.
What I check before the next step: I keep the door or window from trapping me while testing. Entry locks, broken latches, cracked frames, or security uncertainty belong with maintenance or a locksmith. - Check all visible screws, cam locks, brackets, and back panels for looseness.
What I check before the next step: I keep the door or window from trapping me while testing. Entry locks, broken latches, cracked frames, or security uncertainty belong with maintenance or a locksmith. - Tighten hardware by hand, alternating sides so the frame stays square.
What I check before the next step: I use hand pressure only and stop when resistance changes suddenly. Spinning screws, cracking material, wobble, or a need to drill usually means permission or help is needed. - Move the shelf fully against the wall and check it with a level.
What I check before the next step: I use hand pressure only and stop when resistance changes suddenly. Spinning screws, cracking material, wobble, or a need to drill usually means permission or help is needed. - Use furniture shims under low corners until the shelf sits steady.
What I check before the next step: I use hand pressure only and stop when resistance changes suddenly. Spinning screws, cracking material, wobble, or a need to drill usually means permission or help is needed. - Reload heavier items on lower shelves and ask your landlord about approved anchoring for tall or tip-risk furniture.
What I check before the next step: I use hand pressure only and stop when resistance changes suddenly. Spinning screws, cracking material, wobble, or a need to drill usually means permission or help is needed.
Safe Next Steps
- If the result improved, do one normal-use test and finish with the checklist item: Shelf unloaded.
- Clean and store the tool before deciding whether to buy or use something stronger. If the job requires a tool you do not understand, pause and ask maintenance or a qualified person.
- If the result did not improve or got worse, do not add force, stronger chemicals, hidden disassembly, or a new tool. Get help from maintenance, your landlord, or a qualified installer if any stop sign appears.
- For a rental, send a short maintenance message with where the issue is, when you noticed it, what changed, what safe check you tried, and two photos. Keep the confirmation.
Common Mistakes
- Trying to fix wobble while the shelf is fully loaded.
- Putting the heaviest items on the top shelf.
- Skipping anti-tip hardware on tall furniture because drilling feels inconvenient.
Bookshelf stability and tip-over control
a wobbly or top-heavy bookshelf in a rental is treated here as a beginner observation and control problem first, not a chance to prove you can take apart the home. The safe version is visible, reversible, and easy to stop.
For renters, the important line is ownership. You can usually observe, photograph, time, clean lightly, or tighten a visible non-security part, but hidden systems, building-owned fixtures, and lease-controlled hardware belong to maintenance.
What to Check Before You Act
Record the starting condition, perform only one low-risk check at a time, and compare rocking source, frame and hardware, load pattern, anti-tip plan. Do not repeat a step that needs more force, chemical, height, access, or disassembly.
| Check | Before | After | Interpretation |
|---|---|---|---|
| Rocking source | Record which corner lifts and whether floor, foot, frame, or joint moves | After one safe check: empty the unit and test lightly on the final floor position | Base rocking differs from a loose or distorted frame Stop if the unit leans, shifts suddenly, or cannot stand safely. |
| Frame and hardware | Record joint gaps, loose fasteners, cracked panels, and back-panel attachment | After one safe check: compare with the manual and gently check visible approved fasteners | A sound square frame is required before anchoring Stop if panels crack, fasteners spin, or hardware is missing. |
| Load pattern | Record heavy items, shelf height, drawer extension, and climb temptations | After one safe check: place heavier items low only after the unit is stable | Lower loading reduces but does not eliminate tip-over risk Stop if children may climb or multiple drawers/doors pull weight forward. |
| Anti-tip plan | Record manufacturer kit, wall type, stud location, lease approval, and installer responsibility | After one safe check: obtain the approved installation path | Correct anchoring depends on both furniture and wall Stop if hardware, wall type, or approval is uncertain. |
Common Situations and Stop Points
| Symptom | Possible context | Safe first check | Stop point |
|---|---|---|---|
| Rocking source | Base rocking differs from a loose or distorted frame | empty the unit and test lightly on the final floor position | the unit leans, shifts suddenly, or cannot stand safely |
| Frame and hardware | A sound square frame is required before anchoring | compare with the manual and gently check visible approved fasteners | panels crack, fasteners spin, or hardware is missing |
| Load pattern | Lower loading reduces but does not eliminate tip-over risk | place heavier items low only after the unit is stable | children may climb or multiple drawers/doors pull weight forward |
| Anti-tip plan | Correct anchoring depends on both furniture and wall | obtain the approved installation path | hardware, wall type, or approval is uncertain |
Try It or Report It?
| Situation | Beginner can try | Do not touch | Contact |
|---|---|---|---|
| Observe and document | Unload the shelf from top to bottom and isolate the area. Identify whether the base, frame, or hardware moves. | Hidden, fixed, energized, pressurized, structural, or lease-controlled parts | Use the record if the baseline is abnormal |
| One reversible first step | Re-square and tighten only manufacturer-approved visible joints. Arrange approved anti-tip installation before reloading. | Anything that needs force, drilling, cutting, panel removal, or mixed chemicals | Maintenance if the first step fails or the condition returns |
| Condition persists | Repeat the observation for rocking source and frame and hardware, not the repair | Do not escalate tools or improvise a workaround | Landlord, maintenance, manufacturer support, or the responsible professional |
| Warning sign appears | Stop, keep distance, and photograph only if that is safe | Stop using any tall or unstable unit until secured. Stop for cracked panels, missing hardware, or spinning fasteners. Stop if the unit is too heavy to control alone. | Urgent maintenance, utility, emergency services, or another appropriate safety channel |
Renter-Safe First Steps
- Unload the shelf from top to bottom and isolate the area.
- Identify whether the base, frame, or hardware moves.
- Re-square and tighten only manufacturer-approved visible joints.
- Arrange approved anti-tip installation before reloading.
Stop Lines
- Stop using any tall or unstable unit until secured.
- Stop for cracked panels, missing hardware, or spinning fasteners.
- Stop if the unit is too heavy to control alone.
- Stop before improvised shims or wall anchoring without manufacturer guidance.
- Stop before drilling a rental wall without written approval and wall information.
Additional FAQ
Is leveling enough if the shelf no longer rocks?
No. Leveling addresses floor contact; it does not replace manufacturer-required tip-over restraint.
Can adhesive straps replace wall anchors?
Use only the restraint method specified for the furniture and wall. Adhesive products are not universal substitutes for mechanical anchoring.
What should I include in a maintenance message?
Include the exact location, when it started, photos, the rocking source and frame and hardware and load pattern and anti-tip plan, what safe check you performed, and whether the condition improved, stayed the same, or worsened.
Related Next Steps
- Assemble Furniture Alone Without Cracking Boards - Check frame squareness and assembly sequence first.
- Curtains in a Rental: Hang Them Without Wall Damage - Apply the same lease and wall-identification discipline.
- Safe to DIY? A Renter's Home Repair Filter - Decide whether approved installation needs a professional.
What Not to Do
- Do not drill into walls without permission and the right anchor for the wall type.
- Do not use adhesive hooks, tape, or string as a substitute for anti-tip hardware.
- Do not keep using a cracked, leaning, or collapsing shelf.
When to Pause and Ask for Help
Get help from maintenance, your landlord, or a qualified installer if the bookshelf is tall, heavy, cracked, requires wall anchoring you cannot install, sits on uneven flooring, or could injure someone if it tips.
FAQ
Do all bookshelves need wall anchors?
Not all, but tall, narrow, heavy, or child-accessible shelves often do. Follow the furniture instructions.
Can shims fix a wobbly shelf?
Shims can help with uneven floors, but they do not replace proper assembly or anti-tip anchoring.
What should go on the bottom shelf?
Heavy books and dense items belong low to reduce tipping risk.
Can maintenance install an anchor for me?
Some buildings will, especially if wall drilling requires approval. Ask before making holes.
Final Checklist
- Shelf unloaded
- Hardware tightened
- Back panel checked
- Shelf leveled
- Heavy items loaded low
- Anchoring approval requested if needed
References
Use these official resources as background context. Product manuals, lease rules, local requirements, property maintenance instructions, and qualified professional advice should still come first for your exact home.
- Anchor It - U.S. Consumer Product Safety Commission. Use for furniture tip-over risk context; renters should get approval for wall anchoring when required by the lease.
- Tip-over information center - U.S. Consumer Product Safety Commission. Use as background for why tall or unstable furniture should not be treated as a cosmetic issue.
You May Also Like
More beginner-safe guides that connect to this repair, the same room, or the next safety decision a renter may need.
- Assemble Furniture Alone Without Cracking Boards - Assemble flat-pack furniture by yourself with safer staging, sorting, and stop points.
- Curtains in a Rental: Hang Them Without Wall Damage - Add privacy with renter-friendly curtain options that avoid drilling and wall damage.
- Stripped Screw Rescue: Stop Before It Gets Worse - Try low-risk stripped screw removal steps before damaging hardware, cabinets, or rental fixtures.
- Safe to DIY? A Renter's Home Repair Filter - Use a simple safety filter before deciding whether to DIY a repair in your first place.
- Starter Tools for Living Alone: What Actually Earns Space - Build a compact toolkit for apartment living with renter-safe basics, a buy-first order, and clear limits on tools you do not need yet.
- Loose Cabinet Handles and Drawer Pulls: A 10-Minute Check - Tighten loose cabinet knobs and drawer pulls without stripping screws or damaging rental cabinets.
- First Apartment Maintenance Checklist - A realistic monthly checklist for keeping a first apartment safer and easier to manage.
- When Not to DIY a Home Repair - Clear stop signs for repairs that are unsafe, lease-sensitive, or require licensed help.