Loose Toilet Seat: A Simple Check Before It Gets Worse
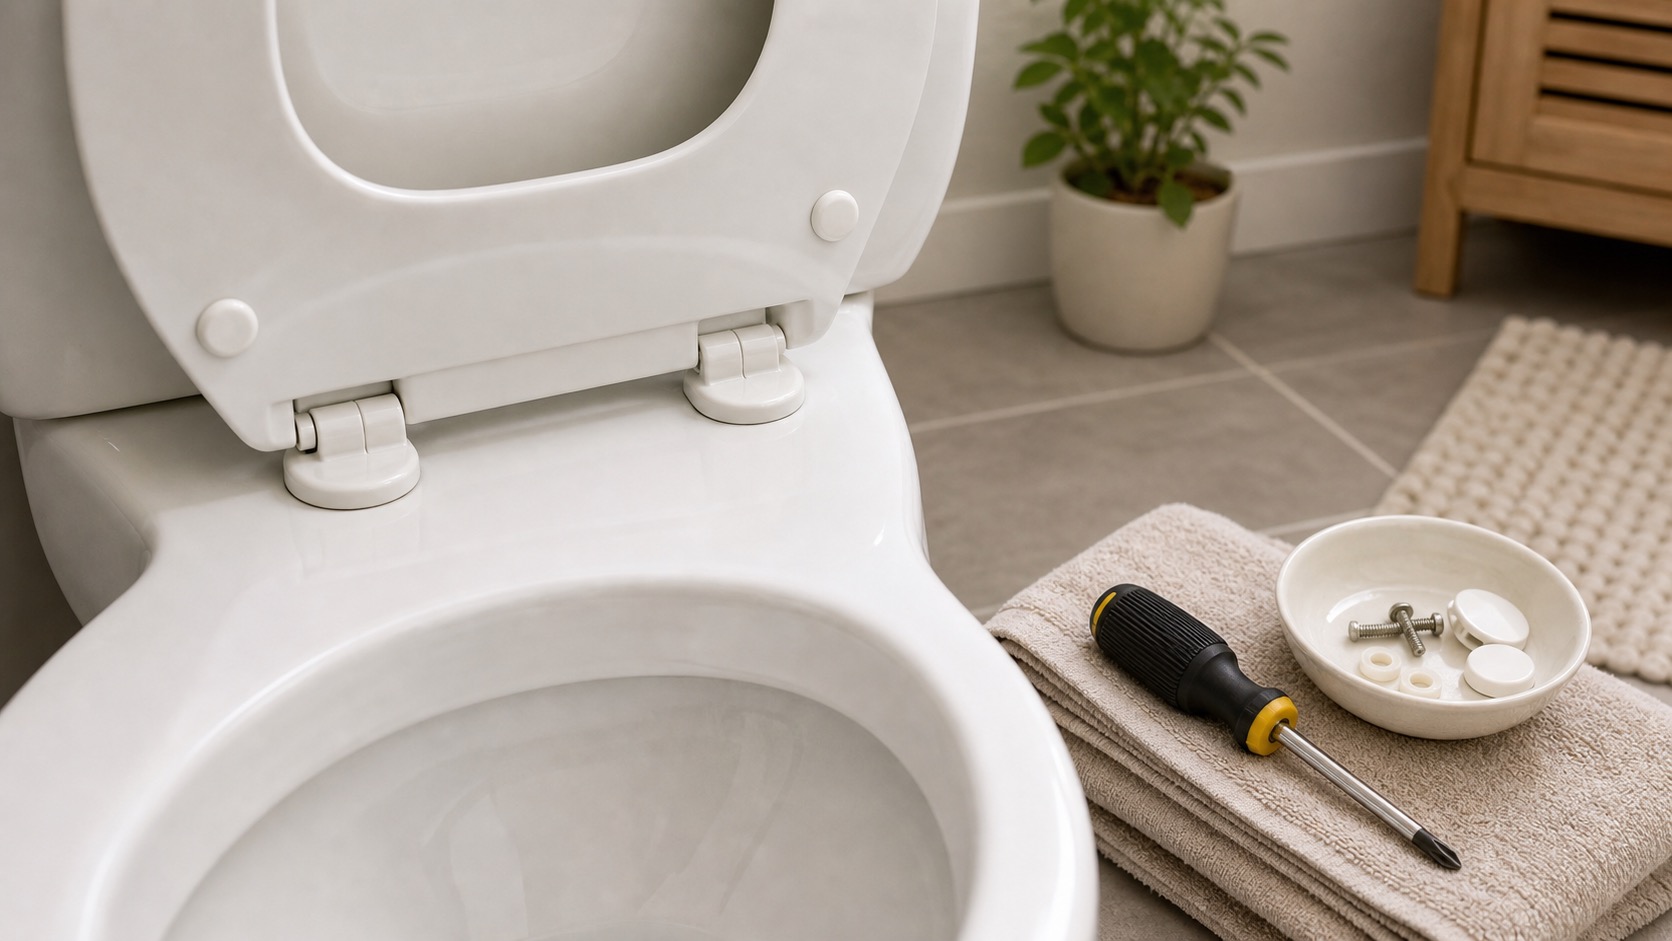
Use this when the toilet seat shifts side to side but the toilet itself is stable and not leaking. This is for the seat bolts only, not the toilet tank, floor bolts, wax ring, or plumbing connections.
By Portia Me'uan Thomas. Updated August 17, 2026. Edited for renter-aware safety.
Time: 10-20 minutes. Difficulty: Easy. Safety: Low.
Quick Answer
Clean and dry the hinge area, open the bolt caps, hold the nut underneath if reachable, tighten each seat bolt gradually, and stop when the seat no longer shifts. Call maintenance if bolts are rusted, hidden, spinning, broken, or the toilet moves at the floor.
Material Fit
Hardware and setup tasks depend on what the screw or load is biting into. When the material is unknown, I stop before drilling or anchoring.
| Material or surface | Safest first method | Conditional next method | Avoid / stop line |
|---|---|---|---|
| Solid wood or sturdy cabinet face | Hand-tighten visible screws a quarter-turn at a time. | Use normal-use testing before adding load. | Stop for splitting, spinning screws, or shifting alignment. |
| Particleboard / MDF furniture | Gentle cam-lock or screw adjustment only. | Unload shelves before testing. | Avoid over-tightening; it can crumble the material. |
| Drywall or plaster wall | Use removable or approved methods first. | Anchors only with landlord approval and correct hardware. | Stop if the wall crumbles, flexes, or hides utilities. |
| Tile, brick, metal frame, entry door | Document and request approval or maintenance. | Professional installation may be needed. | Do not drill or modify without written permission. |
Before You Start
- Clean the toilet seat hinge area so the tool does not slip.
- Confirm the toilet bowl and base do not move when you sit or gently press.
- Do not force rusted plastic or metal bolts.
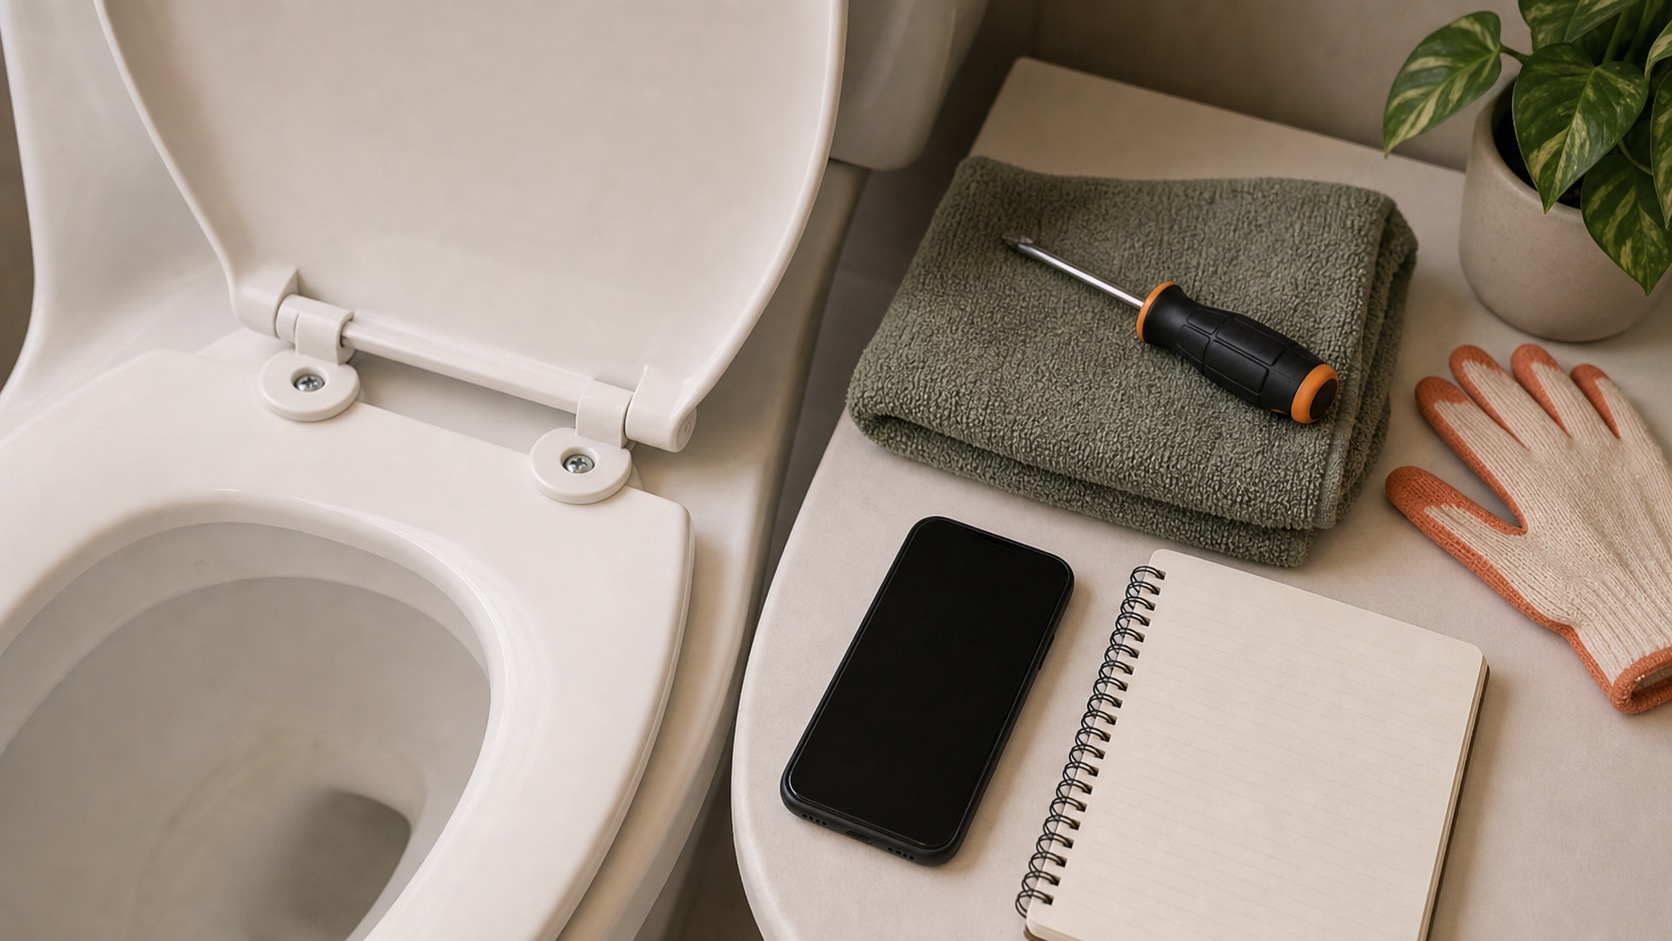
Tools Needed
- Gloves
- Disinfecting cleaner
- Paper towels
- Flathead screwdriver
- Phillips screwdriver
- Adjustable wrench or pliers if the nut is accessible
Renter Notes
Tightening a seat is usually renter-friendly. Replacing seats, rusted hardware, or anything connected to the toilet base may be maintenance responsibility, so ask before removing parts.
Step-by-Step Guide
- Put on gloves, clean the hinge area, and dry it with paper towels.
What I check before the next step: I keep the door or window from trapping me while testing. Entry locks, broken latches, cracked frames, or security uncertainty belong with maintenance or a locksmith. - Flip open the small caps behind the toilet seat to expose the bolt heads.
What I check before the next step: I look for spreading water, wet electrical areas, sewage odor, swelling, or moisture below the fixture. Any of those turns this into a stop-and-report issue. - Hold the nut underneath the bowl if it is visible and reachable.
What I check before the next step: Before continuing, I confirm the step stayed dry, visible, reversible, and within the lease or my comfort level. - Tighten one bolt a few turns, then tighten the other so the seat stays centered.
What I check before the next step: I use hand pressure only and stop when resistance changes suddenly. Spinning screws, cracking material, wobble, or a need to drill usually means permission or help is needed. - Close and open the seat to make sure it moves normally and sits straight.
What I check before the next step: Before continuing, I confirm the step stayed dry, visible, reversible, and within the lease or my comfort level. - Stop tightening as soon as the seat is stable; overtightening can crack plastic or porcelain.
What I check before the next step: I photograph the condition before cleaning or covering it. Spreading marks, softness, recurring odor, or leak-related damage should be reported.
Safe Next Steps
- If the result improved, do one normal-use test and finish with the checklist item: Hinge area cleaned.
- If the result is mixed, stop after the listed low-risk checks and decide whether the issue belongs with maintenance, your landlord, or a licensed professional.
- If the result did not improve or got worse, do not add force, stronger chemicals, hidden disassembly, or a new tool. Contact maintenance if any stop sign appears.
- For a rental, send a short maintenance message with where the issue is, when you noticed it, what changed, what safe check you tried, and two photos. Keep the confirmation.
Common Mistakes
- Cranking down on one bolt until the seat twists off center.
- Using too much force on old plastic caps or rusted bolts.
- Confusing a loose seat with a loose toilet base.
Toilet seat hardware check
a loose toilet seat on an otherwise stable dry toilet is treated here as a beginner observation and control problem first, not a chance to prove you can take apart the home. The safe version is visible, reversible, and easy to stop.
For renters, the important line is ownership. You can usually observe, photograph, time, clean lightly, or tighten a visible non-security part, but hidden systems, building-owned fixtures, and lease-controlled hardware belong to maintenance.
What to Check Before You Act
Record the starting condition, perform only one low-risk check at a time, and compare what moves, dryness and condition, fastener response, final alignment. Do not repeat a step that needs more force, chemical, height, access, or disassembly.
| Check | Before | After | Interpretation |
|---|---|---|---|
| What moves | Record seat, hinge, fastener, porcelain, toilet base, or floor | After one safe check: wiggle the closed seat lightly while watching each part | Only seat-and-hinge movement belongs in this guide Stop if porcelain, toilet base, or floor moves. |
| Dryness and condition | Record water, staining, odor, cracks, rust, and swollen flooring | After one safe check: inspect with a flashlight without reaching behind plumbing | A dry intact mounting area supports gentle work Stop if water, sewage odor, crack, corrosion, or floor damage is present. |
| Fastener response | Record small-turn movement and whether the nut holds | After one safe check: alternate quarter-turns while supporting both sides | The seat should become stable without high torque Stop if hardware spins, binds, or porcelain creaks. |
| Final alignment | Record seat centered, hinges even, and lid movement | After one safe check: open, close, and wiggle gently | Stable centered motion is the desired result Stop if looseness returns or the seat binds. |
Common Situations and Stop Points
| Symptom | Possible context | Safe first check | Stop point |
|---|---|---|---|
| What moves | Only seat-and-hinge movement belongs in this guide | wiggle the closed seat lightly while watching each part | porcelain, toilet base, or floor moves |
| Dryness and condition | A dry intact mounting area supports gentle work | inspect with a flashlight without reaching behind plumbing | water, sewage odor, crack, corrosion, or floor damage is present |
| Fastener response | The seat should become stable without high torque | alternate quarter-turns while supporting both sides | hardware spins, binds, or porcelain creaks |
| Final alignment | Stable centered motion is the desired result | open, close, and wiggle gently | looseness returns or the seat binds |
Try It or Report It?
| Situation | Beginner can try | Do not touch | Contact |
|---|---|---|---|
| Observe and document | Confirm only the seat and hinge move. Inspect for dry intact porcelain and flooring. | Hidden, fixed, energized, pressurized, structural, or lease-controlled parts | Use the record if the baseline is abnormal |
| One reversible first step | Use the correct hand tool with small alternating turns. Center and retest the seat without sitting on it during adjustment. | Anything that needs force, drilling, cutting, panel removal, or mixed chemicals | Maintenance if the first step fails or the condition returns |
| Condition persists | Repeat the observation for what moves and dryness and condition, not the repair | Do not escalate tools or improvise a workaround | Landlord, maintenance, manufacturer support, or the responsible professional |
| Warning sign appears | Stop, keep distance, and photograph only if that is safe | Stop if the toilet base or floor moves. Stop for water, sewage odor, cracks, corrosion, or damaged flooring. Stop if hardware spins, is hidden, or needs force. | Urgent maintenance, utility, emergency services, or another appropriate safety channel |
Renter-Safe First Steps
- Confirm only the seat and hinge move.
- Inspect for dry intact porcelain and flooring.
- Use the correct hand tool with small alternating turns.
- Center and retest the seat without sitting on it during adjustment.
Stop Lines
- Stop if the toilet base or floor moves.
- Stop for water, sewage odor, cracks, corrosion, or damaged flooring.
- Stop if hardware spins, is hidden, or needs force.
- Stop before touching supply, tank, base, or plumbing connections.
- Stop if porcelain creaks or chips.
Additional FAQ
Can I use pliers directly on the plastic nut?
Use the tool and method specified for the hardware. Excess grip can deform plastic or transfer force to porcelain.
What if the whole toilet rocks?
Stop using this as a seat repair. A moving toilet base needs prompt maintenance because the seal, fasteners, floor, or porcelain may be involved.
What should I include in a maintenance message?
Include the exact location, when it started, photos, the what moves and dryness and condition and fastener response and final alignment, what safe check you performed, and whether the condition improved, stayed the same, or worsened.
Related Next Steps
- Running Toilet in an Apartment: What You Can Check Safely - Keep tank symptoms separate from seat hardware.
- Under-Sink Leak Check: What to Look For Before Touching Plumbing - Use the same dry-paper evidence habit around visible water.
- Starter Tools for Living Alone: What Actually Earns Space - Choose a small correct-fitting hand tool.
What Not to Do
- Do not tighten floor bolts at the base of the toilet as beginner rental DIY.
- Do not remove rusted or stuck toilet-seat hardware unless maintenance approves it.
- Do not ignore water around the toilet base.
When to Pause and Ask for Help
Contact maintenance if the toilet itself rocks, water appears around the base, bolts are rusted or broken, the seat hardware spins without tightening, or the seat needs replacement under your lease.
FAQ
Why does my toilet seat keep sliding?
The seat bolts may be loose, the nuts may be worn, or the hinge hardware may be damaged.
Can I replace the whole seat?
Ask your landlord first. Some rentals allow it, but others want maintenance to install approved parts.
How tight should the bolts be?
Snug enough that the seat does not shift, but not so tight that plastic bends or porcelain is stressed.
What if the nut underneath is hard to reach?
Do not strain or force it. Take photos and ask maintenance.
Final Checklist
- Hinge area cleaned
- Toilet base checked stable
- Both bolts tightened evenly
- Seat centered
- No overtightening
- Leaks or rocking reported
You May Also Like
More beginner-safe guides that connect to this repair, the same room, or the next safety decision a renter may need.
- Running Toilet in an Apartment: What You Can Check Safely - Check a running toilet tank without replacing plumbing parts or risking a leak.
- Starter Tools for Living Alone: What Actually Earns Space - Build a compact toolkit for apartment living with renter-safe basics, a buy-first order, and clear limits on tools you do not need yet.
- First Apartment Maintenance Checklist - A realistic monthly checklist for keeping a first apartment safer and easier to manage.
- When Not to DIY a Home Repair - Clear stop signs for repairs that are unsafe, lease-sensitive, or require licensed help.
- Slow Shower Drain: Safe Hair and Soap Buildup Cleanup - Clear hair and soap buildup from a slow shower drain without harsh chemicals or pipe damage.
- Slow Bathroom Sink: Renter-Safe First Checks Before Maintenance - Try safe first steps for a slow bathroom sink before escalating to apartment maintenance.
- Under-Sink Leak Check: What to Look For Before Touching Plumbing - Check under a kitchen or bathroom sink for early leak signs without taking plumbing apart.
- Apartment Smoke Detector Test: A Safe Monthly Check - Learn how to test an apartment smoke detector with its test button, what a failed test or chirp means, and when renters should call maintenance.