Quiet a Squeaky Door Without Pulling Hinge Pins
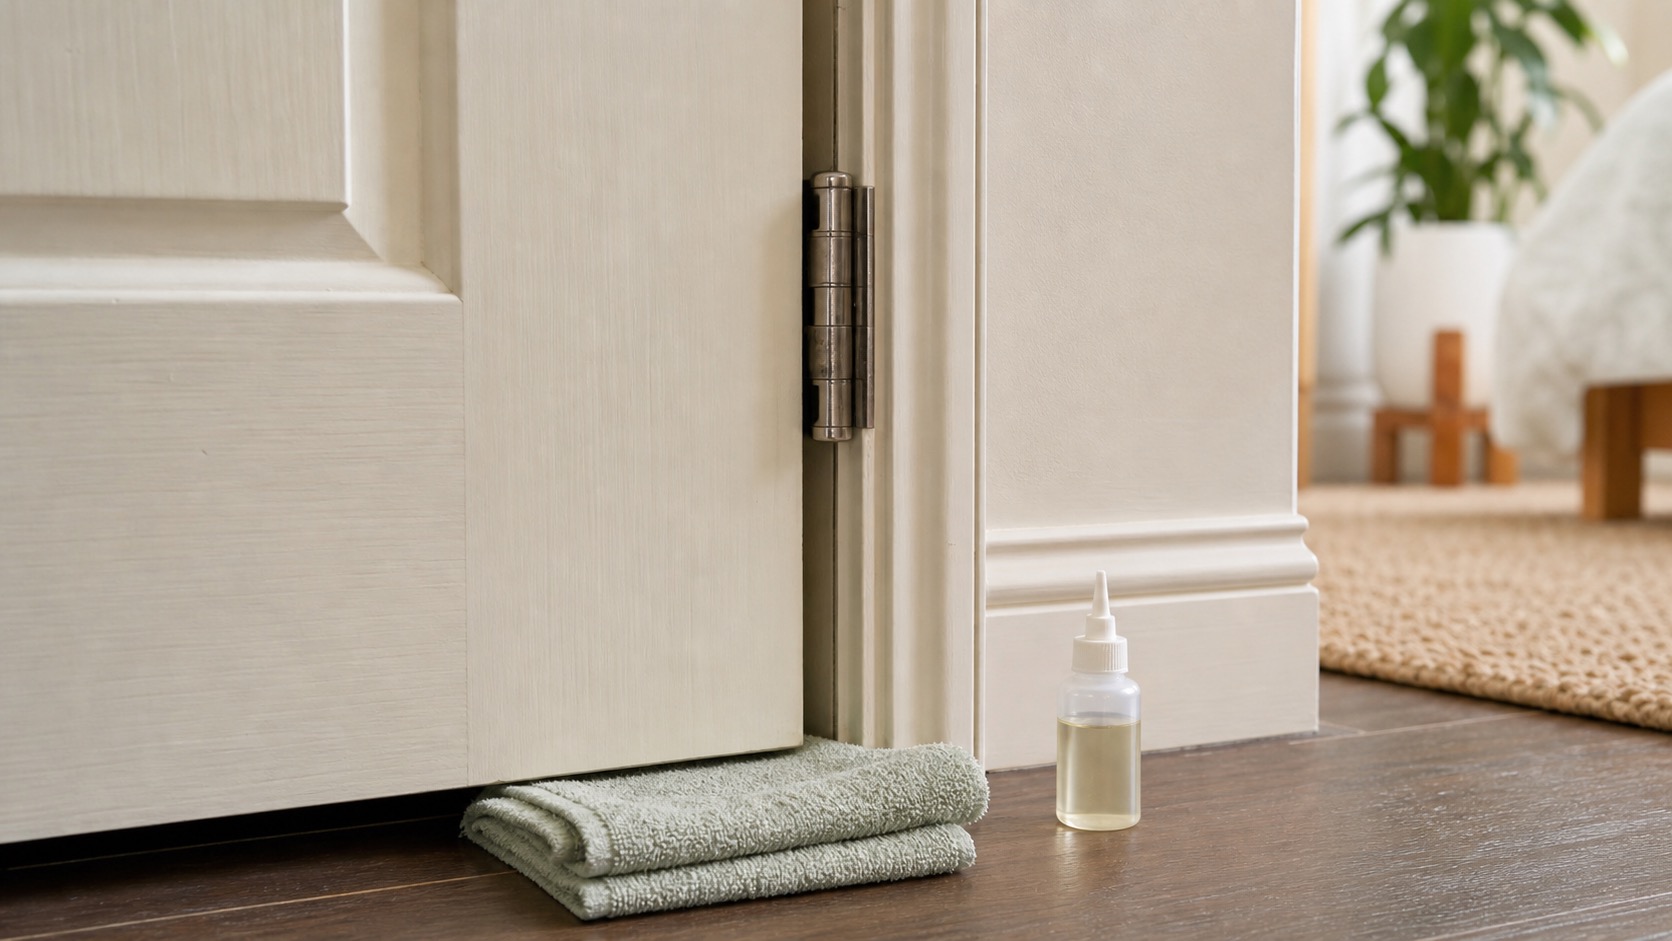
Use this for a bedroom, bathroom, closet, pantry, or interior hallway door that squeaks when it swings but still hangs straight, closes normally, and does not scrape hard against the frame. The goal is simple hinge cleaning and light lubrication while the door stays in place. This is not a door-removal guide, hinge-pin repair, frame alignment project, or entry-door security repair. If the squeak comes with sagging, cracking trim, loose hinge screws, or a door that no longer latches, treat it as a maintenance issue rather than a simple noise fix.
By Portia Me'uan Thomas. Updated August 17, 2026. Edited for renter-aware safety.
Time: 5-10 minutes. Difficulty: Easy. Safety: Low.
Quick Answer
Put a towel under the hinge area, wipe dust and old residue from the hinge barrels, apply one tiny drop or short spray of silicone lubricant or light household machine oil where the hinge sections meet, swing the door slowly several times, and wipe away every bit of excess. Contact maintenance if the hinge is bent, loose, rusty, pulling from the frame, or paired with a door that rubs, sticks, or will not latch.
Material Fit
Hardware and setup tasks depend on what the screw or load is biting into. When the material is unknown, I stop before drilling or anchoring.
| Material or surface | Safest first method | Conditional next method | Avoid / stop line |
|---|---|---|---|
| Solid wood or sturdy cabinet face | Hand-tighten visible screws a quarter-turn at a time. | Use normal-use testing before adding load. | Stop for splitting, spinning screws, or shifting alignment. |
| Particleboard / MDF furniture | Gentle cam-lock or screw adjustment only. | Unload shelves before testing. | Avoid over-tightening; it can crumble the material. |
| Drywall or plaster wall | Use removable or approved methods first. | Anchors only with landlord approval and correct hardware. | Stop if the wall crumbles, flexes, or hides utilities. |
| Tile, brick, metal frame, entry door | Document and request approval or maintenance. | Professional installation may be needed. | Do not drill or modify without written permission. |
Before You Start
- Place a towel under the hinge area to catch drips before using any lubricant.
- Open a window if using a spray lubricant, and keep the spray away from heaters, pilot lights, and smoke detectors.
- Check that the hinge is not visibly bent, rusty, cracked, or separating from the frame.
- Open and close the door once while watching whether the top, side, or bottom rubs the frame.
- If the door is an entry door, fire door, very heavy door, or door with a closer, contact maintenance instead of experimenting.
Tools Needed
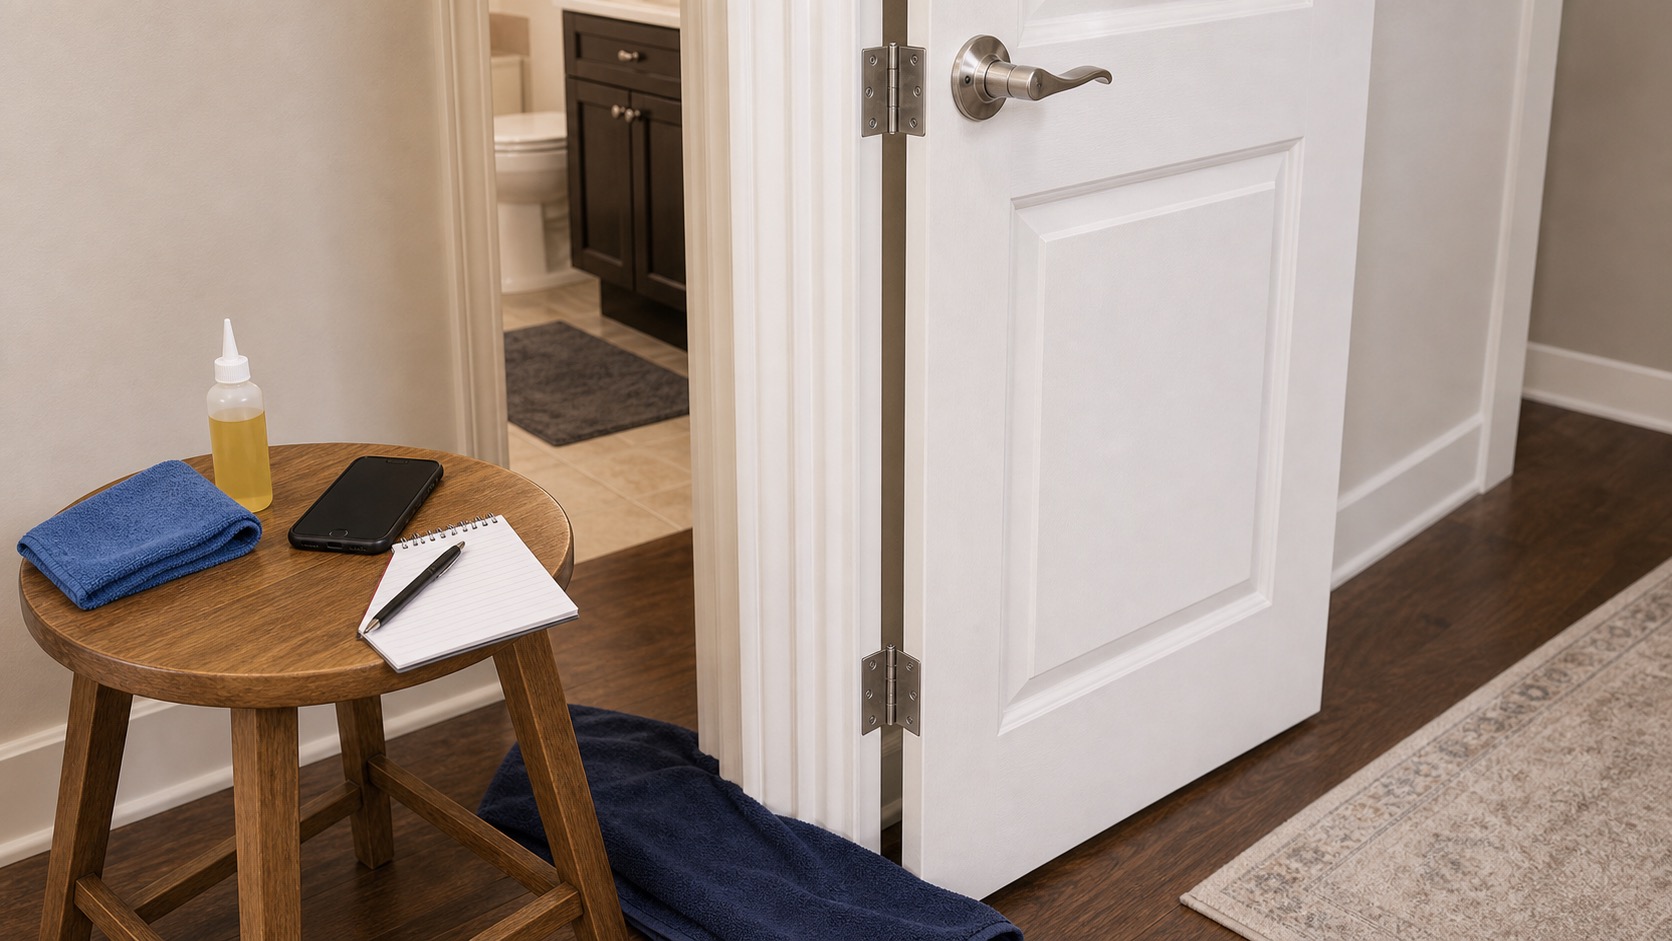
- Clean rag
- Paper towel
- Silicone spray or light machine oil
- Drop cloth or old towel
- Small screwdriver only for gently checking visibly loose screws
Renter Notes
Light cleaning and lubrication is usually renter-friendly because it does not alter the door or hardware. Still, avoid removing hinge pins, sanding the door, drilling new holes, painting hardware, or changing hinges without written approval. Entry doors, fire-rated doors, heavy doors, and doors with security hardware deserve extra caution because they affect safety, code, or building responsibility. If the squeak started after a leak, heavy humidity, settling, or visible frame movement, document the change instead of treating it as a normal hinge noise.
Step-by-Step Guide
- Open the door halfway so all hinges are visible and easy to reach.
What I check before the next step: I keep the door or window from trapping me while testing. Entry locks, broken latches, cracked frames, or security uncertainty belong with maintenance or a locksmith. - Wipe dust and old residue from the hinge barrels and nearby painted surfaces.
What I check before the next step: I keep the door or window from trapping me while testing. Entry locks, broken latches, cracked frames, or security uncertainty belong with maintenance or a locksmith. - Identify the hinge that squeaks by moving the door slowly and listening from a safe distance.
What I check before the next step: I keep the door or window from trapping me while testing. Entry locks, broken latches, cracked frames, or security uncertainty belong with maintenance or a locksmith. - Apply one small drop or very short spray at the top of the squeaky hinge barrel.
What I check before the next step: I keep the door or window from trapping me while testing. Entry locks, broken latches, cracked frames, or security uncertainty belong with maintenance or a locksmith. - Swing the door slowly 8-10 times to work the lubricant into the hinge.
What I check before the next step: I keep the door or window from trapping me while testing. Entry locks, broken latches, cracked frames, or security uncertainty belong with maintenance or a locksmith. - If another hinge still squeaks, repeat with the same tiny amount rather than soaking all hinges.
What I check before the next step: I keep the door or window from trapping me while testing. Entry locks, broken latches, cracked frames, or security uncertainty belong with maintenance or a locksmith. - Wipe off extra lubricant from the hinge, trim, paint, and floor so it does not stain or attract dust.
What I check before the next step: I keep the door or window from trapping me while testing. Entry locks, broken latches, cracked frames, or security uncertainty belong with maintenance or a locksmith. - Check the door gap around the frame after the sound improves; uneven gaps, fresh scraping, or a latch that misses the strike plate point to alignment instead of lubrication.
What I check before the next step: I keep the door or window from trapping me while testing. Entry locks, broken latches, cracked frames, or security uncertainty belong with maintenance or a locksmith. - Test the door again and note whether the sound improved, stayed the same, or came back immediately.
What I check before the next step: I make the note useful: date, location, what changed, one wide photo, and one close-up before I touch anything else.
Safe Next Steps
- If the result improved, do one normal-use test and finish with the checklist item: Door confirmed as interior and low-risk.
- If the result is mixed, stop after the listed low-risk checks and decide whether the issue belongs with maintenance, your landlord, or a licensed professional.
- If the result did not improve or got worse, do not add force, stronger chemicals, hidden disassembly, or a new tool. Contact maintenance if any stop sign appears.
- For a rental, send a short maintenance message with where the issue is, when you noticed it, what changed, what safe check you tried, and two photos. Keep the confirmation.
Common Mistakes
- Using too much oil and leaving stains on trim or flooring.
- Using cooking oil, which can become sticky and smell stale.
- Ignoring loose hinge screws that allow the door to sag.
- Spraying lubricant broadly instead of aiming at the hinge barrel.
- Trying to fix a rubbing or misaligned door as if it were only a squeak.
Hinge cleaning and lubrication
squeaky interior door hinge is treated here as a beginner observation and control problem first, not a chance to prove you can take apart the home. The safe version is visible, reversible, and easy to stop.
For renters, the important line is ownership. You can usually observe, photograph, time, clean lightly, or tighten a visible non-security part, but hidden systems, building-owned fixtures, and lease-controlled hardware belong to maintenance.
What to Check Before You Act
Use sound notes rather than pretending to measure decibels without equipment. Record before, after, and whether the squeak returns.
| Check | Before | After | Interpretation |
|---|---|---|---|
| Squeak location | Top/middle/bottom hinge | Confirmed after slow swing | Treat only the hinge that squeaks. |
| Sound note | Loud/medium/light | Record after cleaning/lubrication | Practical before/after record. |
| Door gap | Even/uneven/rubbing | No change expected | Rubbing means alignment, not just hinge dryness. |
| Return check | After first fix | Record next day/week | Immediate return suggests maintenance. |
Common Situations and Stop Points
| Symptom | Possible context | Safe first check | Stop point |
|---|---|---|---|
| Dry squeak only | Dust or dry hinge | Wipe and tiny lubricant | Sound returns immediately |
| Door rubs frame | Sagging or swelling | Photograph gap | Maintenance |
| Loose hinge screws | Stripped wood or settling | Gentle visible screw check | Screw spins |
| Entry/fire door squeaks | Heavy or rated hardware | Document | Do not adjust |
Try It or Report It?
| Situation | Beginner can try | Do not touch | Contact |
|---|---|---|---|
| Interior light door | Wipe hinge and use tiny lubricant | Hinge pins | Maintenance if recurring |
| Sagging door | Document rub marks | Sanding, planing, shimming | Maintenance |
| Entry or fire door | Report noise and latch behavior | Closers, pins, rated hardware | Property maintenance |
| Oil stain risk | Use towel and wipe excess | Broad spray | Clean up immediately |
Renter-Safe First Steps
- Wipe dust.
- Apply a tiny amount at hinge barrel.
- Swing door slowly.
- Wipe excess.
Stop Lines
- Stop for entry or fire-rated doors.
- Stop for sagging.
- Stop if hinge screws pull out.
- Stop if door will not latch.
- Stop before removing pins or sanding.
Additional FAQ
Can I use cooking oil?
No. It can get sticky, smell stale, and attract dust.
Should I lubricate every hinge?
Treat only the hinge that squeaks first.
What if the squeak returns tomorrow?
Document hinge condition and ask maintenance to inspect alignment or worn hardware.
Related Next Steps
- Loose Interior Door Handle: A Safe One-Person Tightening Check - Another interior door task.
- Sticky Apartment Door: Find the Rub Before You Force It - Use if squeak is paired with rubbing.
- Front Door Security Check for Renters - Entry doors need a different response.
What Not to Do
- Do not remove a heavy door by yourself.
- Do not hammer hinge pins in a rental unless maintenance has approved it.
- Do not spray lubricant near smoke detectors, heaters, or open flames.
- Do not sand, plane, drill, shim, or replace hinges on a rental door without approval.
- Do not ignore an entry door that squeaks because it is sagging, loose, or no longer closes securely.
When to Pause and Ask for Help
Contact maintenance if screws are pulling out, the hinge is bent or rusty, the door scrapes the frame, the door is heavy, the door does not latch, paint or wood is cracking around the hinge, or the squeak returns immediately after cleaning and light lubrication. Use a licensed locksmith or door professional only if you are responsible for arranging work and the landlord approves it.
FAQ
Can I use WD-40?
It may quiet a hinge temporarily, but silicone spray or light machine oil usually lasts longer for hinges. Use very little and wipe the area clean.
What if only one hinge squeaks?
Treat only that hinge first. Too much lubricant on all hinges can create mess without benefit.
Why does the squeak come back?
The hinge may be dirty, dry, bent, rusty, or under stress from a sagging or misaligned door.
Can I tighten hinge screws too?
Yes, gently tighten visible screws if they are loose. Stop if they spin without catching because the wood or screw may be stripped.
Should I remove the hinge pin?
Not as a beginner rental fix. Removing pins can make a door shift, pinch fingers, or become too heavy to control.
What if the door rubs at the top or bottom?
That is usually an alignment or swelling issue, not just a squeak. Document it and contact maintenance.
Final Checklist
- Door confirmed as interior and low-risk
- Hinge area wiped clean
- Small amount of lubricant used
- Door swung slowly
- Excess wiped off
- Rubbing or loose hinges reported
You May Also Like
More beginner-safe guides that connect to this repair, the same room, or the next safety decision a renter may need.
- Loose Interior Door Handle: A Safe One-Person Tightening Check - Tighten a loose interior door handle safely, with renter-aware stop points for locks and entry doors.
- First Apartment Maintenance Checklist - A realistic monthly checklist for keeping a first apartment safer and easier to manage.
- When Not to DIY a Home Repair - Clear stop signs for repairs that are unsafe, lease-sensitive, or require licensed help.
- Front Door Security Check for Renters - Improve front-door confidence with renter-safe checks, habits, and clear lock repair boundaries.
- Lost Keys or Locked Out: What to Do First - Handle lost keys or an apartment lockout without damaging the door, lock, or lease relationship.
- Sticky Apartment Door: Find the Rub Before You Force It - Troubleshoot a sticky interior apartment door with safe, reversible first steps.
- Move-In Inspection Before You Unpack - Inspect a rental apartment before unpacking so you can document damage, leaks, locks, and safety issues early.
- Safe to DIY? A Renter's Home Repair Filter - Use a simple safety filter before deciding whether to DIY a repair in your first place.