Move-In Inspection Before You Unpack
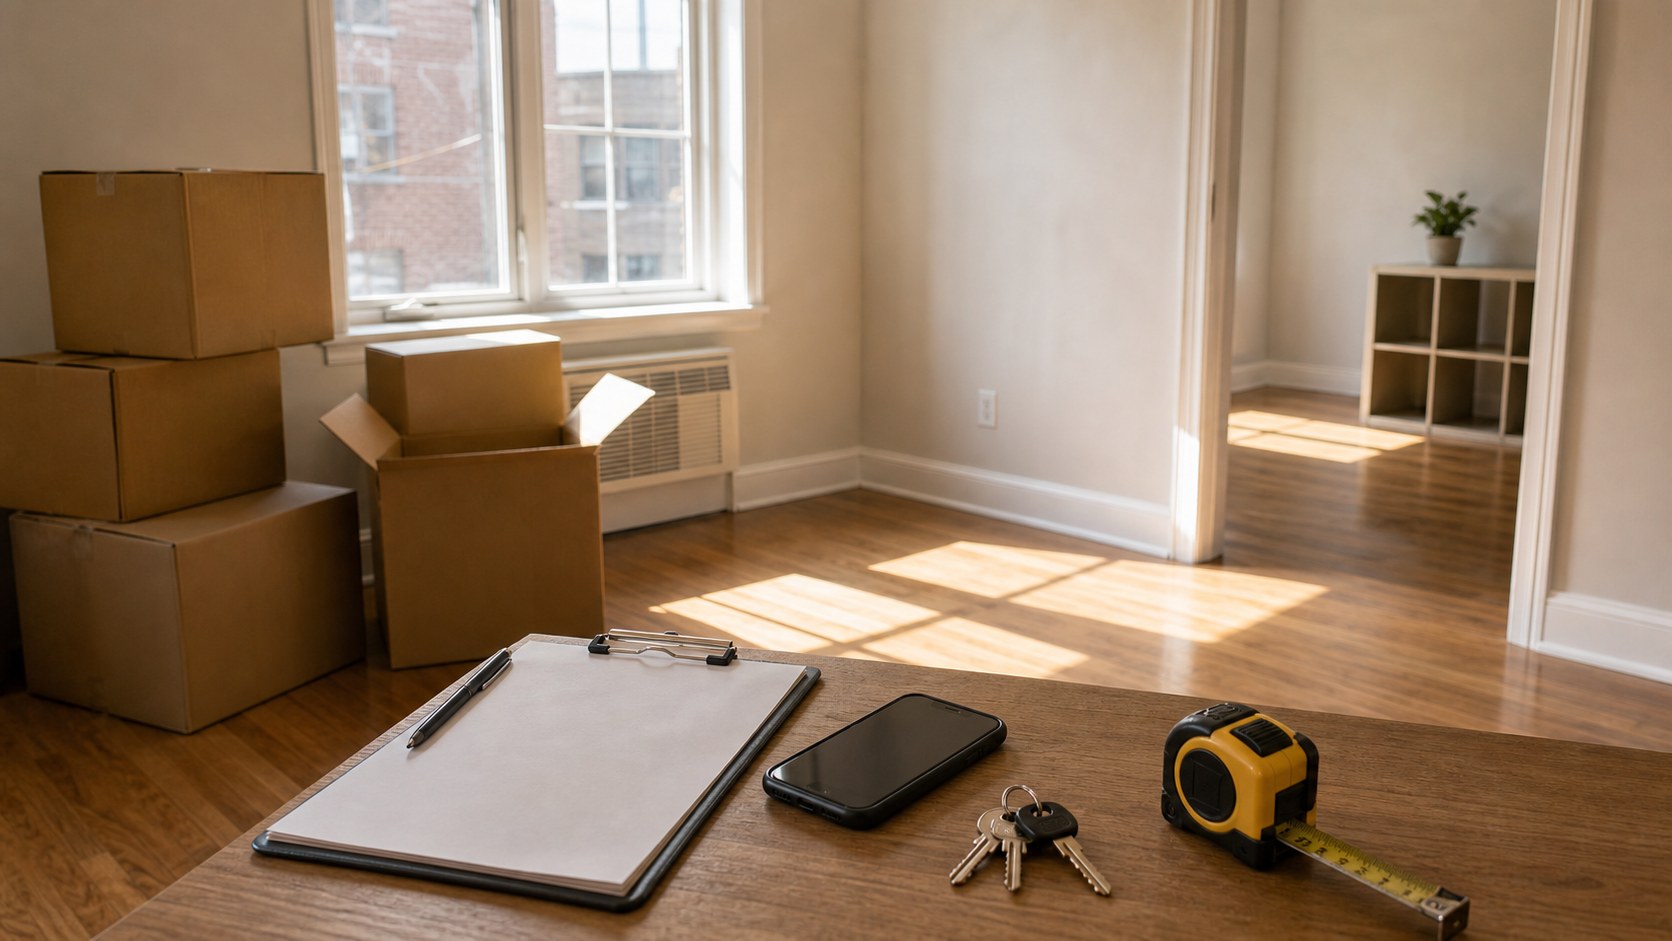
Use this on move-in day before boxes cover the floors, cabinets, outlets, and corners. The goal is to catch existing damage and safety issues while the apartment is still easy to photograph and report.
By Portia Me'uan Thomas. Updated August 17, 2026. Edited for renter-aware safety.
Time: 45-90 minutes. Difficulty: Easy. Safety: Low unless you find hazards.
Quick Answer
Before unpacking, walk through each room with your phone, test lights and locks, check under sinks, look for stains or pest signs, photograph damage, and submit a written move-in report through the landlord or maintenance process.
Before You Start
- Do the inspection before unpacking large furniture or covering walls and floors.
- Keep all photos dated and stored in a folder you can find later.
- Report urgent hazards before sleeping in the unit if they affect locks, alarms, heat, water, or electricity.
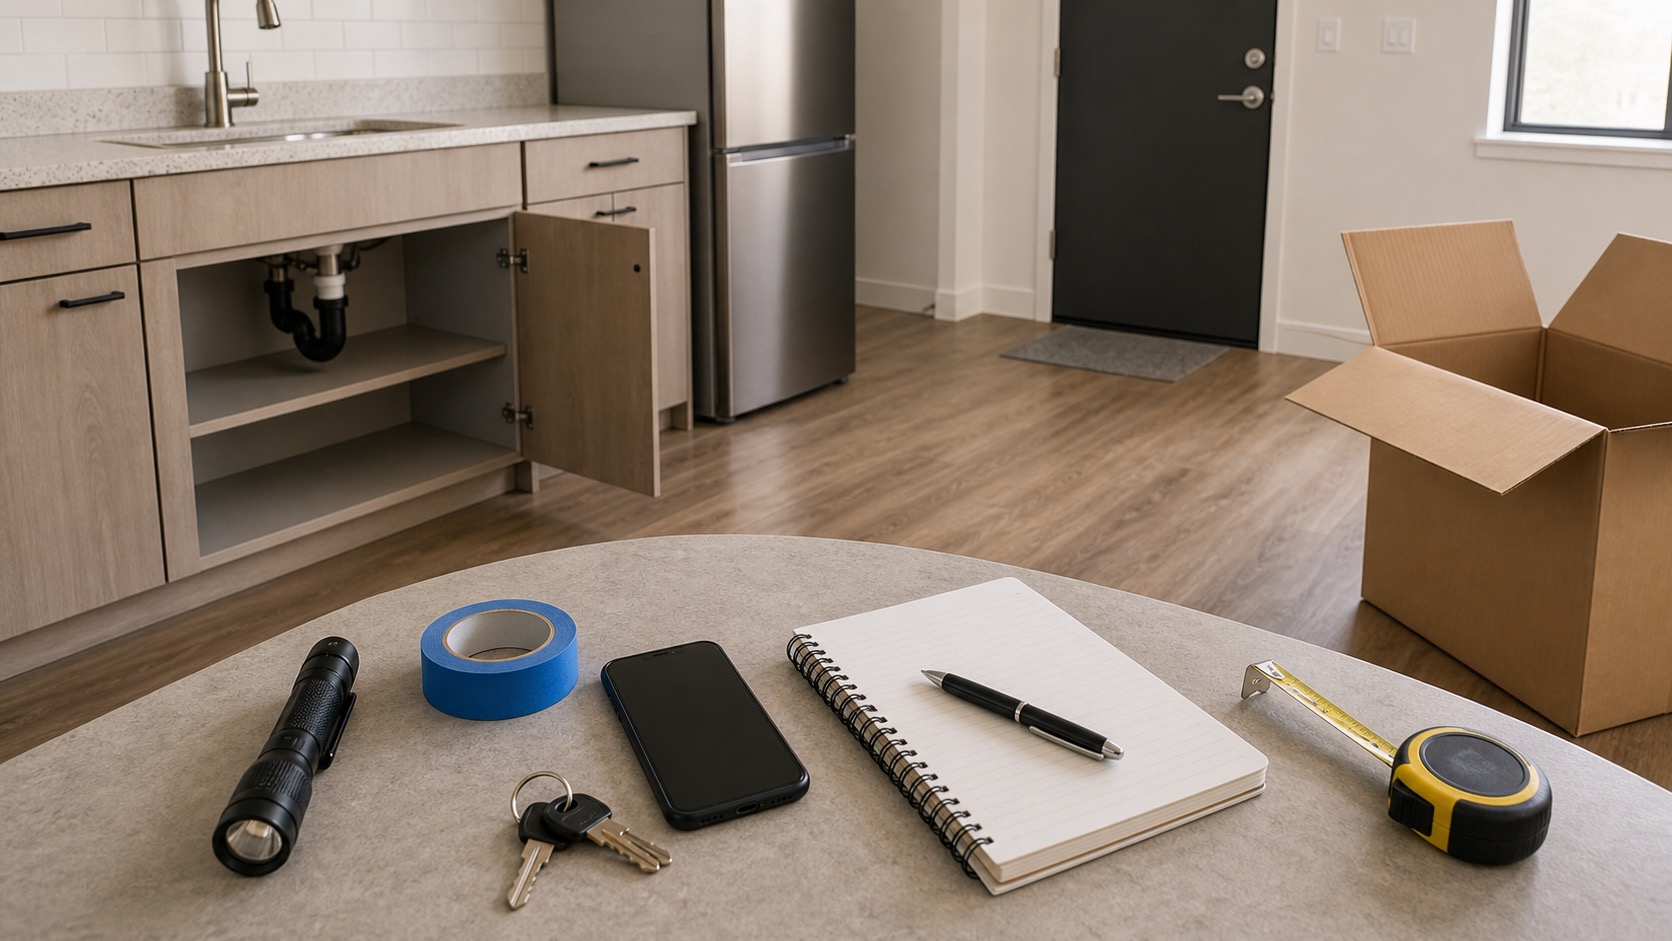
Tools Needed
- Phone camera
- Flashlight
- Outlet tester only if you already know how to use one safely
- Notes app or notebook
- Painter's tape
- Move-in checklist or lease packet
Renter Notes
A move-in inspection protects both safety and your deposit record. Do not repair damage you did not cause; document it and send it to your landlord or maintenance team as soon as possible.
Step-by-Step Guide
- Start at the entry door and photograph the lock, frame, peephole, keys, and any visible damage.
What I check before the next step: I make the note useful: date, location, what changed, one wide photo, and one close-up before I touch anything else. - Walk each room clockwise and photograph walls, floors, ceilings, windows, doors, outlets, and built-in fixtures.
What I check before the next step: I make the note useful: date, location, what changed, one wide photo, and one close-up before I touch anything else. - Open cabinets and closets, then check shelves, hinges, smells, stains, and pest evidence.
What I check before the next step: I document evidence before cleaning it away, then avoid sprays, foggers, or sealing large gaps until maintenance or pest control can review the pattern. - Run faucets briefly and look under sinks for drips, swelling, rust, or old water marks.
What I check before the next step: I look for spreading water, wet electrical areas, sewage odor, swelling, or moisture below the fixture. Any of those turns this into a stop-and-report issue. - Test lights, smoke detectors with the test button, window locks, and provided appliances without taking anything apart.
What I check before the next step: I stay dry and hands-off with wiring or panels. Smoke, sparks, heat, burning smell, carbon monoxide alarms, repeated trips, or wet electrical areas mean stop immediately. - Submit a clear written list with photos through the official landlord or maintenance channel.
What I check before the next step: I make the note useful: date, location, what changed, one wide photo, and one close-up before I touch anything else.
Safe Next Steps
- If the result improved, do one normal-use test and finish with the checklist item: Photos taken before unpacking.
- If the result is mixed, stop after the listed low-risk checks and decide whether the issue belongs with maintenance, your landlord, or a licensed professional.
- If the result did not improve or got worse, do not add force, stronger chemicals, hidden disassembly, or a new tool. Contact your landlord or maintenance team immediately for the stop signs listed below.
- For a rental, send a short maintenance message with where the issue is, when you noticed it, what changed, what safe check you tried, and two photos. Keep the confirmation.
Common Mistakes
- Unpacking first and losing access to corners, floors, and cabinet backs.
- Only taking close-up photos without a wider shot that shows where the damage is.
- Assuming small stains or loose locks are not worth documenting.
Rental condition and safety documentation
a move-in inspection before boxes hide the rental condition is treated here as a beginner observation and control problem first, not a chance to prove you can take apart the home. The safe version is visible, reversible, and easy to stop.
For renters, the important line is ownership. You can usually observe, photograph, time, clean lightly, or tighten a visible non-security part, but hidden systems, building-owned fixtures, and lease-controlled hardware belong to maintenance.
What to Check Before You Act
Walk one consistent route, timestamp the photos, and mark each item as normal, damaged, untested, or urgent. Save the submitted report and confirmation outside the resident portal too.
| Check | Before | After | Interpretation |
|---|---|---|---|
| Room coverage | Rooms and surfaces expected | Wide photos completed | Missing rooms create documentation gaps; revisit before unpacking if safe. |
| Finding record | Location and description | Wide photo, close-up, date, and size reference | A complete record is easier for maintenance to locate and evaluate. |
| User-function checks | Untested | Normal, failed, or not safely accessible | Failures go in the written report; inaccessible items are not a reason to improvise. |
| Submission trail | Draft or paper form | Sent time and confirmation saved | A saved copy shows exactly what was reported and when. |
Common Situations and Stop Points
| Symptom | Possible context | Safe first check | Stop point |
|---|---|---|---|
| Existing scratch, stain, or chip | Pre-existing wear or damage | Wide and close photos with location | Do not patch or hide before reporting |
| Damp cabinet or ceiling mark | Leak, condensation, or older damage | Photograph and check for active water from a distance | Active water, softness, odor, or electricity nearby |
| Entry door will not secure | Lock, latch, hinge, or frame issue | Keep door open and document | Do not stay unsecured or alter the lock |
| Alarm missing or fails normal test | Missing power, age, placement, or device fault | Follow property test instructions once | Do not disable or open the device |
Try It or Report It?
| Situation | Beginner can try | Do not touch | Contact |
|---|---|---|---|
| Cosmetic condition | Photograph, measure, and report | Patch, paint, or clean away evidence first | Landlord or property manager |
| Normal user control | One ordinary function check | Panels, wiring, valves, or fixed parts | Maintenance if failed |
| Safety equipment or entry security | Document and follow posted test process | Lock cylinders, wiring, or alarm internals | Urgent maintenance |
| Immediate hazard | Leave or keep distance | The source | Emergency maintenance, utility, or emergency services |
Renter-Safe First Steps
- Take wide and close photos.
- Record sizes, locations, dates, and function results.
- Use normal user controls once.
- Submit and save the written condition report.
Stop Lines
- Stop for gas odor, smoke, sparks, or an alarm.
- Stop for active leaks, sewage, or water near electricity.
- Stop if the entry cannot be secured.
- Stop before opening panels or moving appliances.
- Stop before cleaning, patching, or hiding material evidence.
Additional FAQ
What if the portal limits photos?
Submit the clearest priority images, state that more are available, and keep the complete timestamped set in your own backup.
Should I clean first?
Photograph the original condition first. For any damage, contamination, pest evidence, or moisture concern, ask before cleaning away evidence.
What if I cannot test something safely?
Mark it untested and explain why. An inaccessible or unsafe control is itself useful information for maintenance.
Related Next Steps
- First Apartment Maintenance Checklist - Turn the move-in record into a monthly maintenance baseline.
- The Quiet Habit That Helped at Move-Out: Why I Photograph Apartment Problems Now - Build a timestamped condition record before unpacking hides details.
- Apartment Smoke Detector Test: A Safe Monthly Check - Use the dedicated alarm-testing boundaries.
- Pest Evidence in a Rental: Where to Check First - Document pest clues before cleaning or unpacking food.
- Safer Mail and Package Habits for Apartment Living - Learn the building's mailroom, locker, and delivery process.
- Apartment Balcony Cleaning and Safety Check - Record balcony drainage, railing, and surface condition before use.
What Not to Do
- Do not repair, paint, patch, or replace items before documenting move-in condition.
- Do not open electrical panels, appliance backs, walls, ceilings, or locked utility areas.
- Do not ignore missing smoke detectors, broken locks, active leaks, or signs of pests.
When to Pause and Ask for Help
Contact your landlord or maintenance team immediately for missing alarms, broken entry locks, active leaks, electrical problems, no heat or cooling during required seasons, pest evidence, mold, or appliance failures. Call emergency services if there is fire, smoke, gas smell, carbon monoxide alarm, or immediate danger.
FAQ
Should I photograph every wall?
Yes. Wide shots plus close-ups make it easier to show damage existed before you unpacked.
What if my landlord gave me a move-in form?
Use it, but keep your own photos and written notes too.
How soon should I submit issues?
As soon as possible, ideally within the move-in reporting window listed in your lease or resident portal.
Should I test outlets?
Only use a simple outlet tester if you already know how to use it. Do not remove outlet covers or touch wiring.
Final Checklist
- Photos taken before unpacking
- Locks and windows checked
- Sinks checked for leaks
- Alarms tested
- Appliances noted
- Move-in report submitted
References
Use these official resources as background context. Product manuals, lease rules, local requirements, property maintenance instructions, and qualified professional advice should still come first for your exact home.
- Smoke alarms - U.S. Fire Administration. Use as background for testing and documenting alarms before settling into a rental.
- A brief guide to mold, moisture and your home - U.S. Environmental Protection Agency. Use for documenting moisture, stains, odors, and visible mold concerns during move-in.
- Fix a Leak Week - EPA WaterSense. Use as background for checking under sinks, around toilets, and near appliances before unpacking.
You May Also Like
More beginner-safe guides that connect to this repair, the same room, or the next safety decision a renter may need.
- First Apartment Maintenance Checklist - A realistic monthly checklist for keeping a first apartment safer and easier to manage.
- Under-Sink Leak Check: What to Look For Before Touching Plumbing - Check under a kitchen or bathroom sink for early leak signs without taking plumbing apart.
- Front Door Security Check for Renters - Improve front-door confidence with renter-safe checks, habits, and clear lock repair boundaries.
- Pest Evidence in a Rental: Where to Check First - Look for early pest evidence in a rental apartment and report it before the problem spreads.
- The Quiet Habit That Helped at Move-Out: Why I Photograph Apartment Problems Now - Build a simple, privacy-aware apartment photo record with safe wide and detail images, useful notes, original files, official request confirmations, and move-out comparisons.
- Curtains in a Rental: Hang Them Without Wall Damage - Add privacy with renter-friendly curtain options that avoid drilling and wall damage.
- Apartment Laundry Without Damaging Clothes - Use shared apartment laundry machines with fewer mistakes, safer habits, and less clothing damage.
- Shared-Wall Noise Problems: A Renter's Documentation Plan - Handle apartment noise issues with documentation, simple comfort steps, and safer escalation.