Pest Evidence in a Rental: Where to Check First
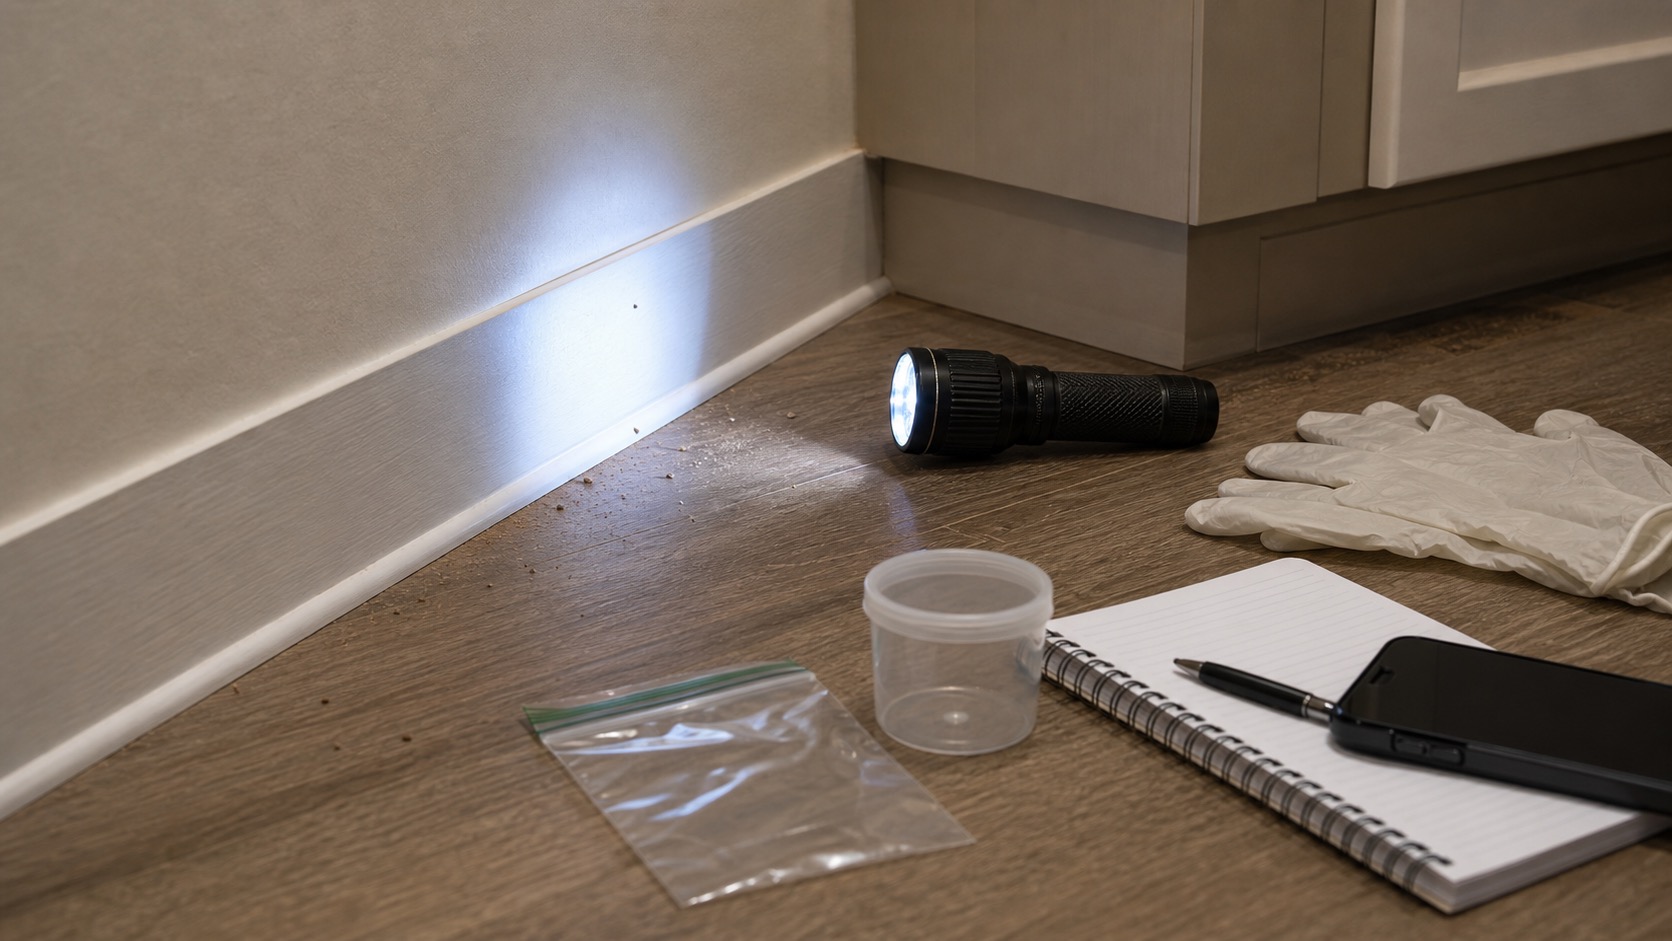
Use this when you see tiny droppings, shed skins, strange crumbs, gnaw marks, or a bug you cannot identify near cabinets, baseboards, sinks, or trash areas. The goal is inspection, cleanup, and documentation, not heavy pesticide use.
By Portia Me'uan Thomas. Updated August 17, 2026. Edited for renter-aware safety.
Time: 20-40 minutes. Difficulty: Easy. Safety: Low to medium.
Quick Answer
Check dark, warm, food-adjacent areas with a flashlight, photograph evidence, seal food, remove trash, clean crumbs, and report suspected pests to your landlord or maintenance team. Avoid foggers or strong pesticides unless the property specifically directs you.
Before You Start
- Do not touch droppings or dead insects with bare hands.
- Keep pets and children away from suspected pest evidence.
- Avoid spraying chemicals before documenting what you found.
Tools Needed
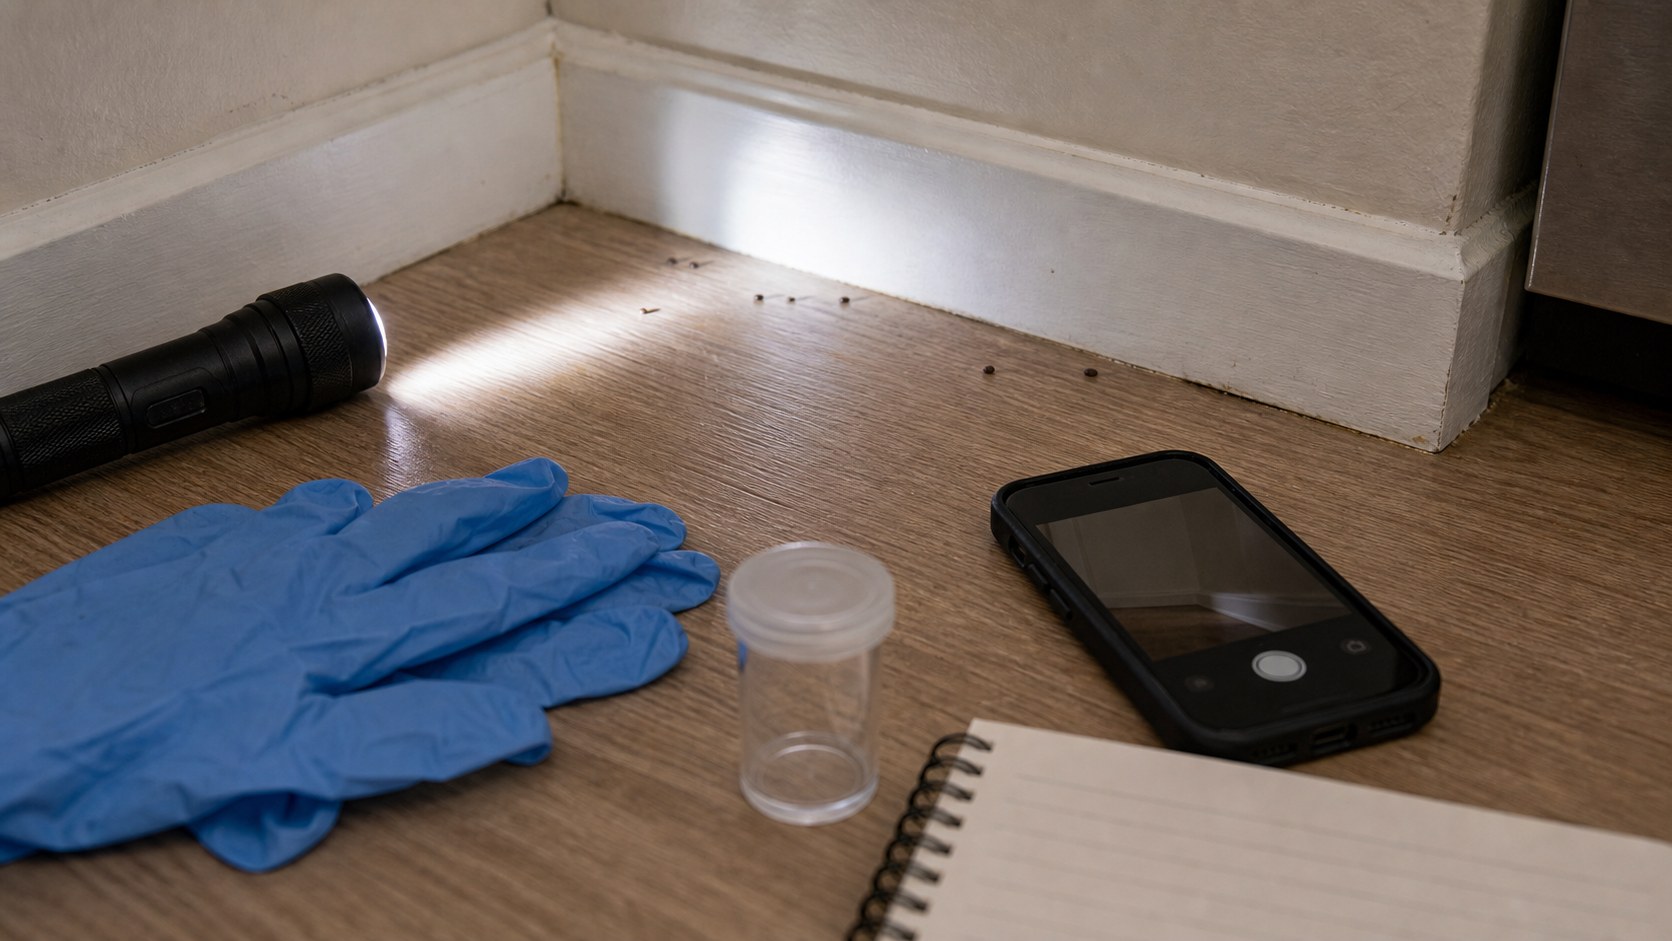
- Flashlight
- Phone camera
- Gloves
- Paper towels
- Trash bags
- Sealed food containers
- Mild cleaner
Renter Notes
Pest control responsibility varies by lease and location, but early reporting is usually expected. Keep notes and photos, and follow property instructions for treatment access and preparation.
Step-by-Step Guide
- Check under sinks, behind the trash can, along baseboards, inside lower cabinets, and near appliance gaps.
What I check before the next step: I stay with accessible, user-facing checks only. Heat, burning smell, leaks, damaged cords, error codes, or panel access means the next step is maintenance. - Photograph droppings, shed skins, nests, gnaw marks, damaged packaging, or insects from a safe distance.
What I check before the next step: I make the note useful: date, location, what changed, one wide photo, and one close-up before I touch anything else. - Throw away contaminated food packaging and place trash in a sealed bag.
What I check before the next step: Before continuing, I confirm the step stayed dry, visible, reversible, and within the lease or my comfort level. - Wipe crumbs, grease, and sticky spills with mild cleaner.
What I check before the next step: I do not mix chemicals or scrub harder if the finish changes. I ventilate, spot-check, and stop for strong odor, spreading stains, mold growth, or damaged surfaces. - Move dry food into sealed containers and avoid leaving dishes or pet food out overnight.
What I check before the next step: Before continuing, I confirm the step stayed dry, visible, reversible, and within the lease or my comfort level. - Send photos and a specific location list to your landlord or maintenance team.
What I check before the next step: I make the note useful: date, location, what changed, one wide photo, and one close-up before I touch anything else.
Safe Next Steps
- If the result improved, do one normal-use test and finish with the checklist item: Evidence photographed.
- If the result is mixed, stop after the listed low-risk checks and decide whether the issue belongs with maintenance, your landlord, or a licensed professional.
- If the result did not improve or got worse, do not add force, stronger chemicals, hidden disassembly, or a new tool. Contact your landlord or maintenance team when any stop sign appears.
- For a rental, send a short maintenance message with where the issue is, when you noticed it, what changed, what safe check you tried, and two photos. Keep the confirmation.
Common Mistakes
- Cleaning everything before taking photos, leaving maintenance with no evidence.
- Using strong sprays that scatter pests into walls or neighboring units.
- Leaving open cereal, rice, pet food, or trash available overnight.
Pest evidence monitoring
possible pest evidence in a rental apartment is treated here as a beginner observation and control problem first, not a chance to prove you can take apart the home. The safe version is visible, reversible, and easy to stop.
For renters, the important line is ownership. You can usually observe, photograph, time, clean lightly, or tighten a visible non-security part, but hidden systems, building-owned fixtures, and lease-controlled hardware belong to maintenance.
What to Check Before You Act
Record the starting condition, perform only one low-risk check at a time, and compare evidence type, location pattern, activity trend, food and water control. Do not repeat a step that needs more force, chemical, height, access, or disassembly.
| Check | Before | After | Interpretation |
|---|---|---|---|
| Evidence type | Record droppings, gnaw marks, shed skins, insects, nests, odor, bites, or damaged food | After one safe check: photograph with a size reference without touching | Clear evidence supports identification and targeted action Stop if there is a bite, live aggressive animal, nest, heavy contamination, or unknown hazardous material. |
| Location pattern | Record room, cabinet edge, pipe gap, baseboard, food source, and moisture | After one safe check: map sightings and dates | Patterns help locate attractants and building entry routes Stop if inspection would enter walls, ceilings, ducts, or unsafe utility areas. |
| Activity trend | Record new evidence count after the area is handled by an approved method | After one safe check: use management-approved monitoring without pesticides | New evidence shows activity is ongoing Stop if activity increases or spreads rooms. |
| Food and water control | Record open food, crumbs, leaks, trash, and pet food | After one safe check: seal food and remove accessible attractants | Prevention supports but does not replace building treatment Stop if contaminated food or active plumbing is involved. |
Common Situations and Stop Points
| Symptom | Possible context | Safe first check | Stop point |
|---|---|---|---|
| Evidence type | Clear evidence supports identification and targeted action | photograph with a size reference without touching | there is a bite, live aggressive animal, nest, heavy contamination, or unknown hazardous material |
| Location pattern | Patterns help locate attractants and building entry routes | map sightings and dates | inspection would enter walls, ceilings, ducts, or unsafe utility areas |
| Activity trend | New evidence shows activity is ongoing | use management-approved monitoring without pesticides | activity increases or spreads rooms |
| Food and water control | Prevention supports but does not replace building treatment | seal food and remove accessible attractants | contaminated food or active plumbing is involved |
Try It or Report It?
| Situation | Beginner can try | Do not touch | Contact |
|---|---|---|---|
| Observe and document | Photograph evidence without touching or disturbing it. Map locations, dates, food, water, and entry clues. | Hidden, fixed, energized, pressurized, structural, or lease-controlled parts | Use the record if the baseline is abnormal |
| One reversible first step | Seal unaffected food and remove ordinary accessible attractants. Follow management or public-health instructions for cleanup and monitoring. | Anything that needs force, drilling, cutting, panel removal, or mixed chemicals | Maintenance if the first step fails or the condition returns |
| Condition persists | Repeat the observation for evidence type and location pattern, not the repair | Do not escalate tools or improvise a workaround | Landlord, maintenance, manufacturer support, or the responsible professional |
| Warning sign appears | Stop, keep distance, and photograph only if that is safe | Stop before sweeping or vacuuming rodent droppings or nesting material. Stop before spraying unidentified pests or mixing pesticides. Stop for bites, heavy contamination, nests, or live aggressive animals. | Urgent maintenance, utility, emergency services, or another appropriate safety channel |
Renter-Safe First Steps
- Photograph evidence without touching or disturbing it.
- Map locations, dates, food, water, and entry clues.
- Seal unaffected food and remove ordinary accessible attractants.
- Follow management or public-health instructions for cleanup and monitoring.
Stop Lines
- Stop before sweeping or vacuuming rodent droppings or nesting material.
- Stop before spraying unidentified pests or mixing pesticides.
- Stop for bites, heavy contamination, nests, or live aggressive animals.
- Stop before opening walls, ceilings, ducts, or utility spaces.
- Stop if children, pets, or sensitive occupants could contact the area.
Additional FAQ
Should I clean droppings before maintenance sees them?
Photograph first and follow CDC or property instructions. Do not dry-sweep or vacuum rodent waste.
Should I buy pesticide immediately?
No. Integrated pest management starts with monitoring, identification, prevention, and the least-risk effective control.
What should I include in a maintenance message?
Include the exact location, when it started, photos, the evidence type and location pattern and activity trend and food and water control, what safe check you performed, and whether the condition improved, stayed the same, or worsened.
Related Next Steps
- Move-In Inspection Before You Unpack - Preserve evidence before food and boxes enter the space.
- Under-Sink Leak Check: What to Look For Before Touching Plumbing - Document moisture that may attract pests.
- Simple Weekly Cleaning Routine for a First Apartment - Build simple food and trash prevention into the routine.
What Not to Do
- Do not use indoor foggers, outdoor pesticides, or mixed chemicals as a first response.
- Do not seal large gaps, remove baseboards, or open wall cavities yourself.
- Do not ignore pest evidence because you only saw one bug.
When to Pause and Ask for Help
Contact your landlord or maintenance team when you find droppings, recurring insects, gnaw marks, damaged food, pest odors, or activity in more than one room. Use licensed pest control if your lease makes you responsible, and seek urgent help for bites, severe infestations, or health concerns.
FAQ
What counts as pest evidence?
Droppings, shed skins, egg cases, gnaw marks, dead insects, damaged packaging, and repeated sightings all count.
Should I buy traps first?
You can use simple monitoring traps if allowed, but report evidence before trying to manage a rental pest issue alone.
Can pests come from another unit?
Yes. That is why apartment pest issues should be reported early instead of treated only inside one unit.
Do I have to clean before pest control comes?
Usually you should remove food access and clutter, but follow the specific preparation instructions from your property or pest professional.
Final Checklist
- Evidence photographed
- Food sealed
- Trash removed
- Crumbs and spills cleaned
- Locations listed
- Landlord or maintenance contacted
References
Use these official resources as background context. Product manuals, lease rules, local requirements, property maintenance instructions, and qualified professional advice should still come first for your exact home.
- Integrated pest management principles - U.S. Environmental Protection Agency. Use for documenting entry points, food sources, moisture, and evidence before requesting maintenance or pest control.
- Rodent control - Centers for Disease Control and Prevention. Use for health and cleanup context when droppings, nests, gnaw marks, or rodent activity are present.
You May Also Like
More beginner-safe guides that connect to this repair, the same room, or the next safety decision a renter may need.
- Move-In Inspection Before You Unpack - Inspect a rental apartment before unpacking so you can document damage, leaks, locks, and safety issues early.
- First Apartment Maintenance Checklist - A realistic monthly checklist for keeping a first apartment safer and easier to manage.
- Simple Weekly Cleaning Routine for a First Apartment - Create a realistic weekly cleaning routine for a first apartment without turning it into a full-day project.
- When Not to DIY a Home Repair - Clear stop signs for repairs that are unsafe, lease-sensitive, or require licensed help.
- The Quiet Habit That Helped at Move-Out: Why I Photograph Apartment Problems Now - Build a simple, privacy-aware apartment photo record with safe wide and detail images, useful notes, original files, official request confirmations, and move-out comparisons.
- Curtains in a Rental: Hang Them Without Wall Damage - Add privacy with renter-friendly curtain options that avoid drilling and wall damage.
- Apartment Laundry Without Damaging Clothes - Use shared apartment laundry machines with fewer mistakes, safer habits, and less clothing damage.
- Shared-Wall Noise Problems: A Renter's Documentation Plan - Handle apartment noise issues with documentation, simple comfort steps, and safer escalation.